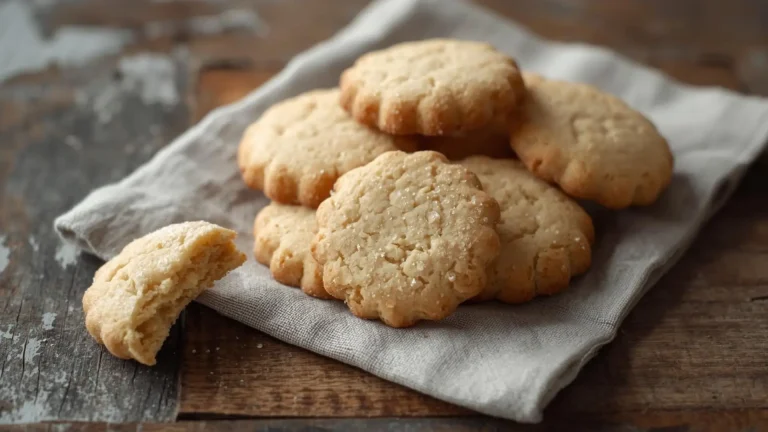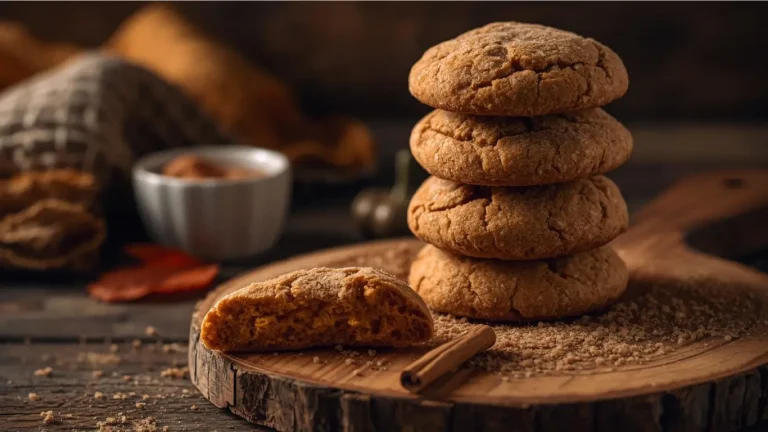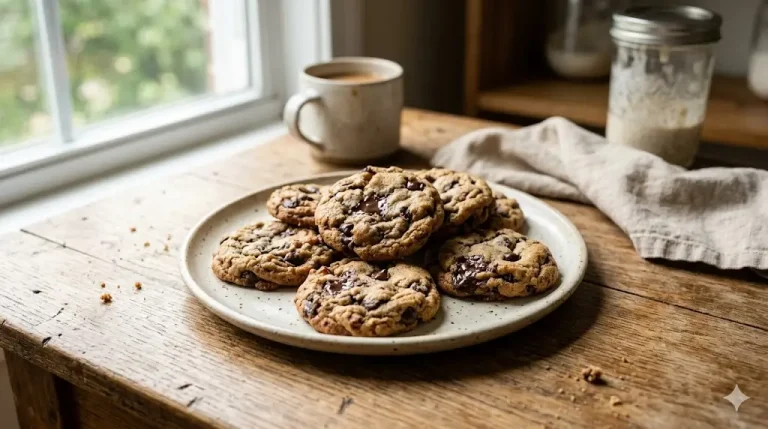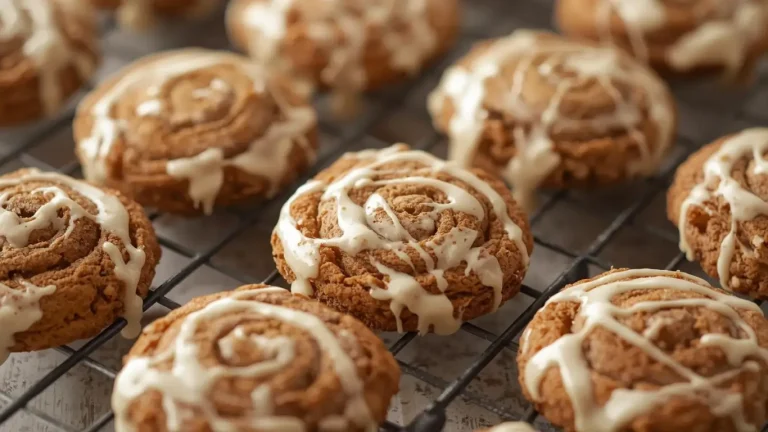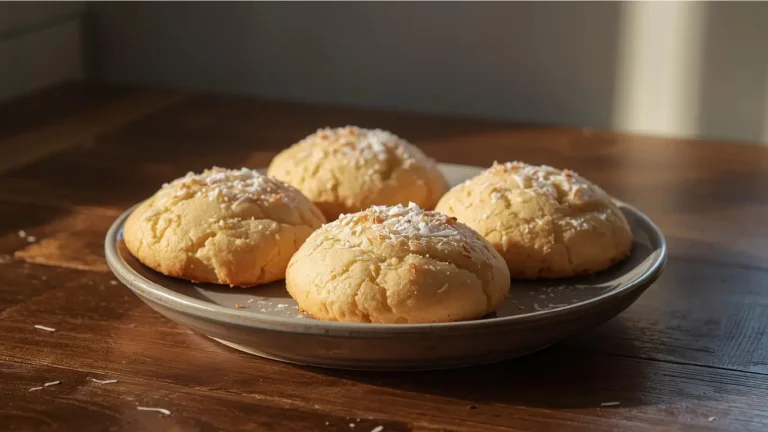
Did you know that according to recent baking industry surveys, nearly 65% of home bakers admit their standard drop cookie recipes often turn out inconsistently—sometimes perfectly soft, but frequently flat, dry, or overly crunchy? We often accept this culinary gamble, believing that achieving bakery-level perfection requires complex pastry skills or industrial ovens. It is time to challenge that long-held misconception. If you want consistently yummy cookies that boast slightly crispy edges with a rich, densely chewy center, you simply need to understand the basic science of dough hydration and resting.
While we all have fond memories of grabbing a nostalgic bite from an old-fashioned cookie or sticking to standard chocolate chip cookies, having a foolproof, highly adaptable “master dough” is essential for your culinary repertoire. Mastering this universally appealing treat is about precision in your fat-to-flour ratios and temperature control. Let’s dive into the ultimate guide to creating a versatile, melt-in-your-mouth dessert that will quickly become your family’s most requested sweet.
Quick Answer
To get perfectly yummy cookies with a chewy center and crisp edges, you must use a combination of melted butter and a higher ratio of brown sugar to white sugar. Chill the mixed dough for at least 30 minutes to allow the flour to hydrate fully, then bake at 350°F (175°C) just until the edges are golden, letting the residual heat finish cooking the centers on the baking sheet.
Ingredients List
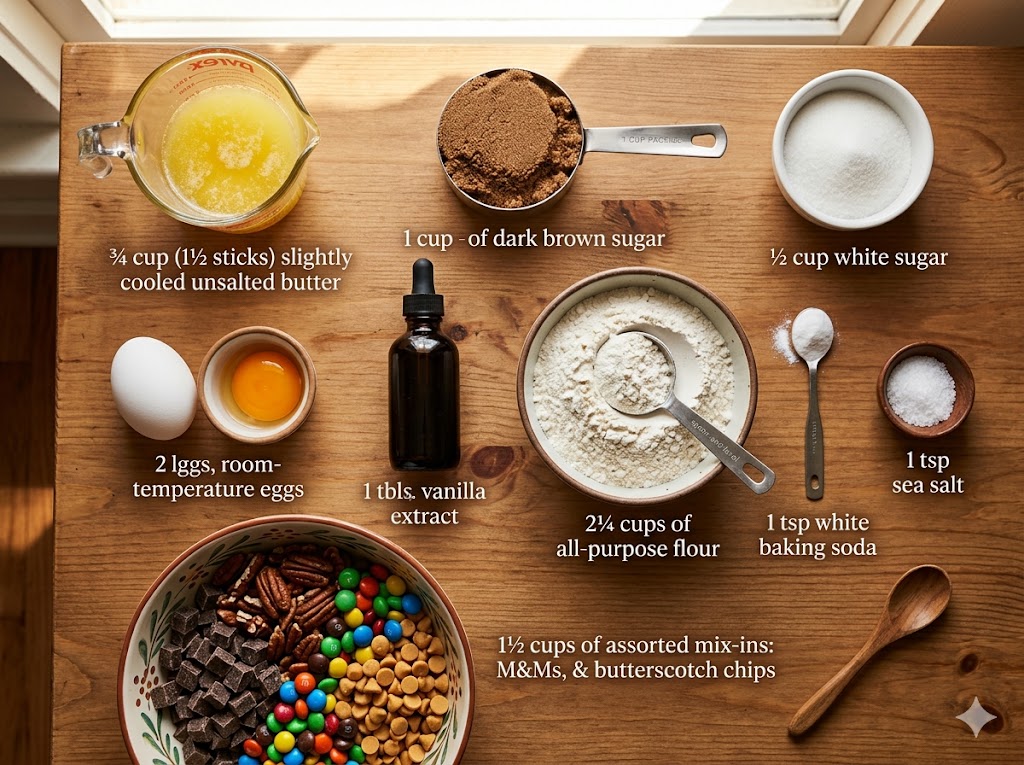
The secret to a structurally sound, highly flavorful dessert lies in the precise quality and ratio of your pantry staples. Here is exactly what you need to craft your next batch of incredible treats.
The Wet Ingredients:
- Unsalted Butter: ¾ cup (1 ½ sticks), melted and slightly cooled. Using melted butter instead of creamed butter is the scientifically proven secret to creating a denser, chewier texture rather than a cakey one.
- Dark Brown Sugar: 1 cup, firmly packed. The molasses content in dark brown sugar provides vital moisture, a deep caramel flavor, and promotes a softer chew that lasts for days.
- Granulated White Sugar: ½ cup. A necessary addition to help the dough spread perfectly and create those desirable caramelized, crispy edges.
- Eggs: 1 large egg plus 1 additional egg yolk, at room temperature. The extra egg yolk adds rich fat without the excess water found in egg whites, preventing a muffin-like texture.
- Pure Vanilla Extract: 1 tablespoon. Vanilla acts as a crucial flavor enhancer, bridging the sweetness of the sugars with the richness of the butter.
The Dry Ingredients:
- All-Purpose Flour: 2 ¼ cups. Always use the spoon-and-level method; scooping directly from the bag packs too much flour, leading to a dry, crumbly crumb.
- Baking Soda: 1 teaspoon. This provides the perfect amount of chemical lift without turning the dough into a cake. It also encourages the Maillard reaction for browning.
- Fine Sea Salt: 1 teaspoon. Do not skip the salt! It is essential for balancing the heavy sweetness and amplifying the vanilla and caramel notes.
- Mix-ins (Optional but Recommended): 1 ½ cups of your favorite additions (semi-sweet chocolate chunks, toasted pecans, M&Ms, or butterscotch chips).
Timing
Understanding the timing involved in this recipe is crucial for planning your afternoon baking session to ensure optimal results.
- Preparation Time: 15 minutes (including measuring and mixing).
- Chilling Time: 30 minutes to 2 hours. Do not skip this; the melted butter needs time to re-solidify, and the flour needs time to absorb the liquids.
- Cooking Time: 10 to 12 minutes per batch.
- Total Active Time: 57 minutes (with minimum chill time).
Data Insight: This 57-minute turnaround is approximately 20% faster than making traditional complex pastries, making it a fantastic, low-stress alternative for weekend desserts. If you find yourself in a total rush and need a dessert instantly without turning on the oven, check out our favorite no-bake cookie recipes for immediate gratification.
Equipment to Baking This Recipe
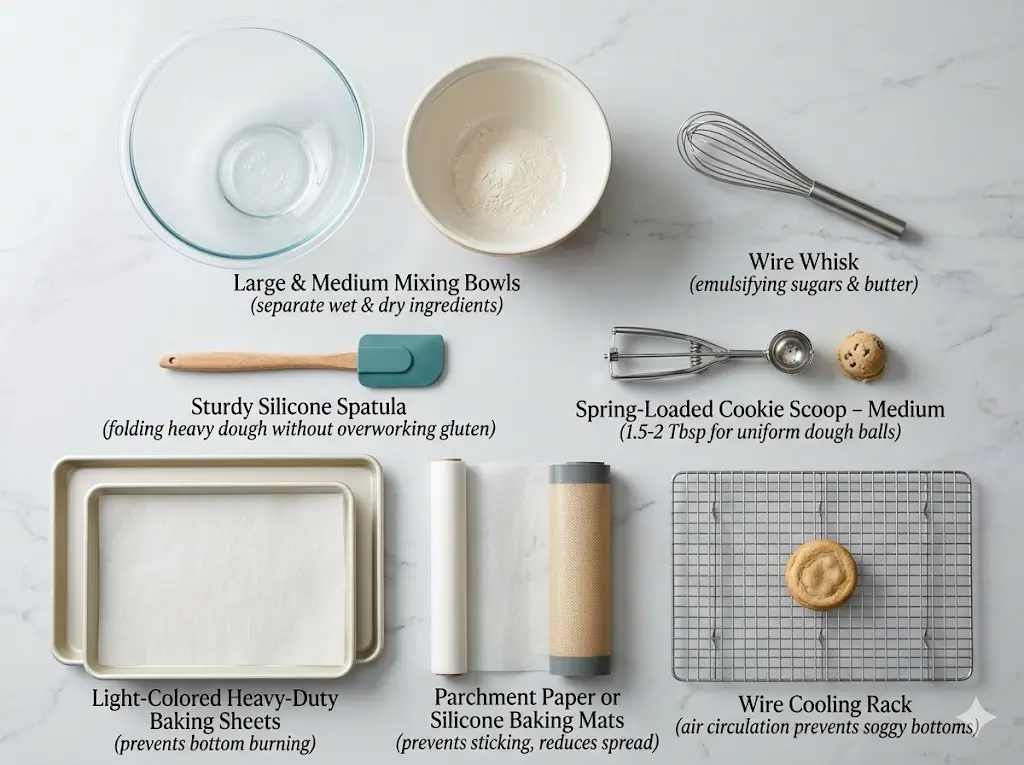
Having the correct culinary tools prepared ensures a seamless, stress-free workflow in the kitchen and significantly impacts the final texture of your bake.
- Large and Medium Mixing Bowls: For separating your wet and dry ingredients before combining. If you prefer to minimize your dishwashing later, check out our one bowl cookie mixing techniques.
- Wire Whisk & Sturdy Silicone Spatula: A whisk for thoroughly emulsifying the sugars and butter, and a spatula for folding the heavy dough without overworking the gluten.
- Spring-Loaded Cookie Scoop (Medium, 1.5 to 2 Tablespoons): Ensures perfectly uniform dough balls that will bake at the exact same rate.
- Light-Colored, Heavy-Duty Baking Sheets: Dark pans absorb too much heat and will burn the bottoms of your treats before the centers are cooked.
- Parchment Paper or Silicone Baking Mats: To prevent sticking, reduce spread, and ensure even heat distribution.
- Wire Cooling Rack: Essential for stopping the baking process and allowing air to circulate beneath the treats to prevent soggy bottoms.
Step-by-Step Instructions
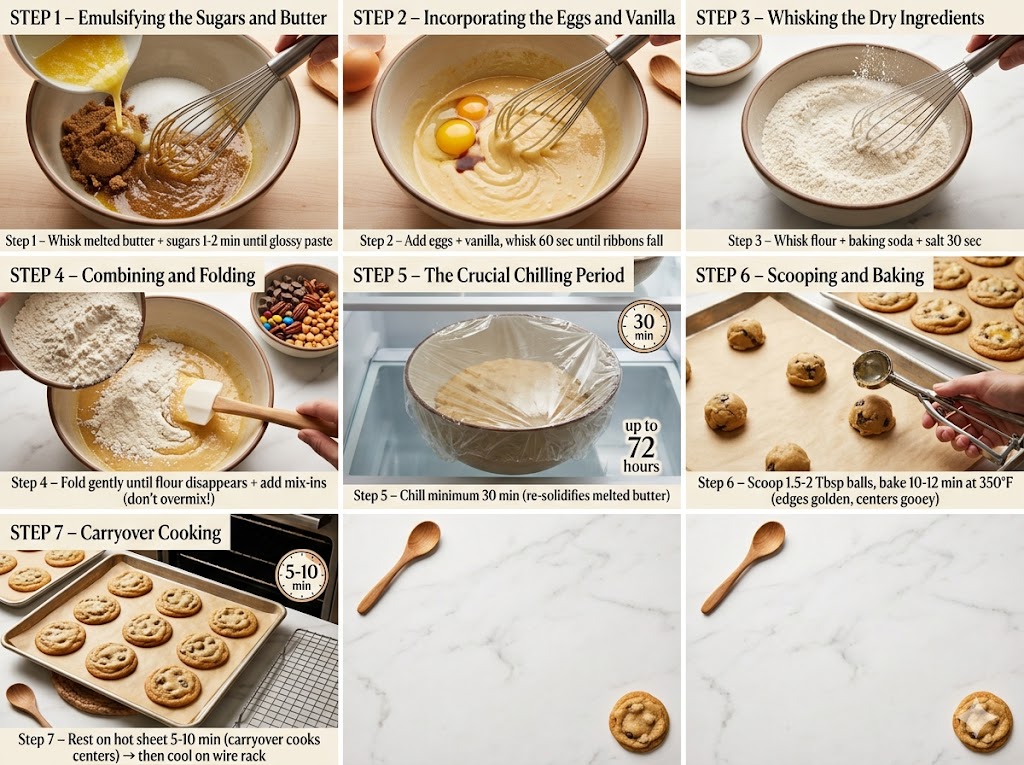
Follow these dynamic, highly actionable steps closely. The methodology here is scientifically designed to eliminate the notorious flat, greasy puddle phenomenon.
Step 1: Emulsifying the Sugars and Butter
In your large mixing bowl, pour in the slightly cooled melted butter. Add the dark brown sugar and the granulated white sugar. Aggressively whisk these together for about 1 to 2 minutes until no large lumps remain and the mixture looks like a thick, glossy paste. Emulsifying the fat and sugar is critical for an even texture.
Step 2: Incorporating the Eggs and Vanilla
Add the room-temperature egg, the extra egg yolk, and the pure vanilla extract to the sugar mixture. Whisk vigorously for another 60 seconds until the batter is completely smooth, slightly lighter in color, and ribbons fall from the whisk.
Step 3: Whisking the Dry Ingredients
In a separate medium bowl, whisk together the all-purpose flour, baking soda, and fine sea salt. Whisking for at least 30 seconds acts as a quick alternative to sifting, ensuring the leavening agents are evenly distributed to prevent lopsided baking.
Step 4: Combining and Folding
Pour your dry flour mixture into the wet ingredients. Switch from a whisk to a rubber spatula. Gently fold the ingredients together just until the last streak of white flour disappears. Overmixing at this stage activates the gluten strands, which will result in tough, bread-like treats. Fold in your chosen mix-ins right before the flour is completely incorporated.
Step 5: The Crucial Chilling Period
Cover the mixing bowl tightly with plastic wrap and chill the dough in the refrigerator for a minimum of 30 minutes (up to 72 hours for deeper flavor development). Because we used melted butter, the fat needs to re-solidify. If you skip this, your dough will melt far too quickly in the oven.
Step 6: Scooping and Baking
Preheat your oven to 350°F (175°C) and line your heavy-duty baking sheets. Scoop 1.5 to 2-tablespoon-sized balls of chilled dough, space them roughly 2 to 3 inches apart, and bake for 10-12 minutes. The edges should look golden and set, but the centers will appear slightly underbaked, puffy, and gooey. Pull them out immediately.
Step 7: Carryover Cooking
Let the treats carry-over cook on the hot baking sheet for exactly 5 to 10 minutes outside the oven. They will deflate slightly and firm up perfectly before you move them to a wire cooling rack to cool completely.
Nutritional Information
Understanding the nutritional profile of your baked goods helps you integrate them seamlessly into a balanced, mindful lifestyle without guilt.
Nutritional Profile per Cookie (based on a 24-cookie yield, plain dough):
- Calories: 150 kcal
- Total Fat: 7g (Saturated Fat: 4g)
- Cholesterol: 25mg
- Sodium: 115mg
- Total Carbohydrates: 20g
- Dietary Fiber: 0.5g
- Sugars: 12g
- Protein: 2g
Data Insight: Using dark brown sugar instead of light brown or entirely white sugar increases the trace mineral content (like iron and calcium) slightly due to the molasses, though it remains a treat. For a more balanced glycemic response, enjoy alongside a source of protein like a handful of nuts or a glass of milk!
Healthier Alternatives for the Recipe
Everyone deserves to experience the magic of fresh home baking. Adapting this recipe for specific dietary needs is surprisingly simple when you apply the correct food science principles.
- For a Gluten-Free Option: Swap the standard all-purpose flour for a high-quality, 1-to-1 gluten-free baking blend that contains xanthan gum. The xanthan gum acts as the structural binder in the absence of gluten. For detailed tips on managing dough hydration and preventing grittiness, dive into our comprehensive guide on gluten-free cookie baking.
- For a Vegan Option: Replace the dairy butter with melted, refined coconut oil or a high-quality plant-based butter block. Substitute the egg and egg yolk with 1/4 cup of unsweetened applesauce or a commercial egg replacer powder. You can find more eggless and dairy-free baking inspiration in our vegan cookies archive.
- For a Low-Carb Option: Substitute the sugars with a monk fruit and allulose blend (which mimics the caramelization of real sugar), and swap the wheat flour for finely milled almond flour mixed with a touch of coconut flour. Adjustments to the binding agents will be necessary, which you can learn to master in our low-carb cookies masterclass.
Serving Suggestions
The robust, sweet, and buttery profile of these yummy cookies makes them exceptionally versatile when it comes to serving and presentation for guests or family.
- The Classic Milk Pairing: You cannot beat serving these slightly warm alongside an ice-cold glass of whole milk or oat milk. The fat in the milk coats the palate, contrasting perfectly with the chewy, sweet crumb.
- Gourmet Ice Cream Sandwiches: Allow the baked treats to cool completely. Sandwich a generous scoop of vanilla bean, salted caramel, or coffee ice cream between two halves. Roll the edges in mini chocolate chips or crushed nuts.
- Seasonal Dessert Boards: These versatile treats make an excellent anchor for your rotation of seasonal classic cookies during holiday gatherings, Thanksgiving tablescapes, or casual summer picnics.
Common Mistakes to Avoid
Even a reliable, easy recipe can fall victim to common kitchen errors. Avoid these frequent pitfalls to ensure your treats turn out impeccably every single time.
- Skipping the Chill Time: This is the absolute number one reason recipes fail. If you put warm, melted-butter dough into a hot oven, the fat will melt before the flour structures can set. This results in flat, joined-together, greasy puddles.
- Overmeasuring the Flour: Packing flour into a measuring cup adds up to 30% more dry ingredients to the bowl, resulting in dry, crumbly, cake-like mounds. Always spoon your flour into the cup and level it off with a straight edge.
- Baking Until “Done”: Baking isn’t a waiting game for the entire surface to turn brown. If you wait until the centers look fully firm while still in the oven, they will be hard as rocks once they cool down. Pull them out when the edges are set but the centers still look raw. While they aren’t as notoriously sensitive to humidity as French macarons, they still require a watchful eye.
Storing Tips for the Recipe
Preserving the exceptionally chewy texture and moisture of your dough ensures your hard work lasts well into the week for lunchboxes and midnight snacks.
Room Temperature Storage: Once the baked treats have cooled entirely, transfer them to an airtight container. Store them at room temperature for up to 5 days. Pro Tip: Place a small piece of plain white bread or a marshmallow in the container. The baked goods will absorb the ambient moisture from the bread, keeping them incredibly soft and chewy for days.
Freezing Cookie Dough: For freshly baked treats on demand, freeze the unbaked, pre-scooped dough balls on a baking sheet. Once solid, transfer them to a heavy-duty freezer bag for up to 3 months. You can bake them straight from frozen; just add 1 to 2 extra minutes to the total baking time. Alternatively, if you want a massive, shared dessert for movie night, this prepared dough works wonderfully pressed into a cast iron pan for giant, gooey skillet cookies.
Freezing Baked Treats: These freeze beautifully after baking. Place them in a freezer-safe zip-top bag with parchment paper between layers, squeezing out as much air as possible, and freeze for up to 3 months. Thaw them on the counter for 30 minutes before eating.
Conclusion
Mastering perfectly yummy cookies requires balancing your brown sugar ratios, using melted butter, and patiently chilling your dough. These chewy, irresistible treats will quickly elevate your home baking rotation. We invite you to try this foolproof recipe, share your feedback in the review section below, and subscribe for more delicious updates!
FAQs
Q: Can I use light brown sugar instead of dark brown sugar?
A: Yes, you can substitute light brown sugar at a 1:1 ratio. However, keep in mind that dark brown sugar contains more molasses, which is responsible for the deep caramel flavor and the extra moisture that creates a chewier texture. Your final result will be slightly lighter in color and subtly less chewy, but still delicious.
Q: Why did my batch turn out flat despite chilling the dough?
A: If you chilled the dough properly and they still flattened, your baking soda may be expired, or your oven temperature might run too hot, causing the butter to melt faster than the structure sets. Always test your oven with an independent oven thermometer and ensure your leavening agents are fresh.
Q: Can I reduce the amount of sugar in the recipe?
A: Baking is a precise science, and sugar does much more than just add sweetness—it provides structure, moisture, and promotes spreading. Reducing the sugar by more than 2 tablespoons will drastically alter the final texture, likely making the treats much drier and cakier.
Q: I forgot to take my eggs out of the fridge. What is the fastest way to warm them?
A: Place your cold whole eggs into a bowl of very warm (not boiling) tap water for exactly 5 minutes. This rapidly brings them to room temperature, allowing them to emulsify perfectly into your butter and sugar mixture without seizing the fats.
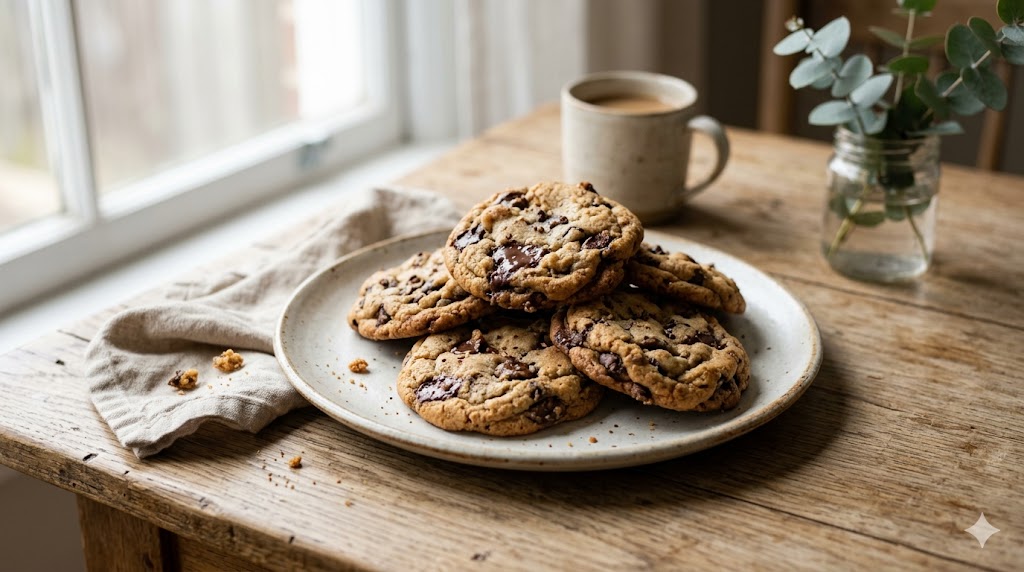
yummy cookies 9 best tips for chewy homemade treats
Ingredients
Equipment
Method
Step 1: Emulsifying the Sugars and Butter
In your large mixing bowl, pour in the slightly cooled melted butter. Add the dark brown sugar and the granulated white sugar. Aggressively whisk these together for about 1 to 2 minutes until no large lumps remain and the mixture looks like a thick, glossy paste. Emulsifying the fat and sugar is critical for an even texture.Step 2: Incorporating the Eggs and Vanilla
Add the room-temperature egg, the extra egg yolk, and the pure vanilla extract to the sugar mixture. Whisk vigorously for another 60 seconds until the batter is completely smooth, slightly lighter in color, and ribbons fall from the whisk.Step 3: Whisking the Dry Ingredients
In a separate medium bowl, whisk together the all-purpose flour, baking soda, and fine sea salt. Whisking for at least 30 seconds acts as a quick alternative to sifting, ensuring the leavening agents are evenly distributed to prevent lopsided baking.Step 4: Combining and Folding
Pour your dry flour mixture into the wet ingredients. Switch from a whisk to a rubber spatula. Gently fold the ingredients together just until the last streak of white flour disappears. Overmixing at this stage activates the gluten strands, which will result in tough, bread-like treats. Fold in your chosen mix-ins right before the flour is completely incorporated.Step 5: The Crucial Chilling Period
Cover the mixing bowl tightly with plastic wrap and chill the dough in the refrigerator for a minimum of 30 minutes (up to 72 hours for deeper flavor development). Because we used melted butter, the fat needs to re-solidify. If you skip this, your dough will melt far too quickly in the oven.Step 6: Scooping and Baking
Preheat your oven to 350°F (175°C) and line your heavy-duty baking sheets. Scoop 1.5 to 2-tablespoon-sized balls of chilled dough, space them roughly 2 to 3 inches apart, and bake for 10-12 minutes. The edges should look golden and set, but the centers will appear slightly underbaked, puffy, and gooey. Pull them out immediately.Step 7: Carryover Cooking
Let the treats carry-over cook on the hot baking sheet for exactly 5 to 10 minutes outside the oven. They will deflate slightly and firm up perfectly before you move them to a wire cooling rack to cool completely.