Go Back
yummy cookies 9 best tips for chewy homemade treats

yummy cookies 9 best tips for chewy homemade treats

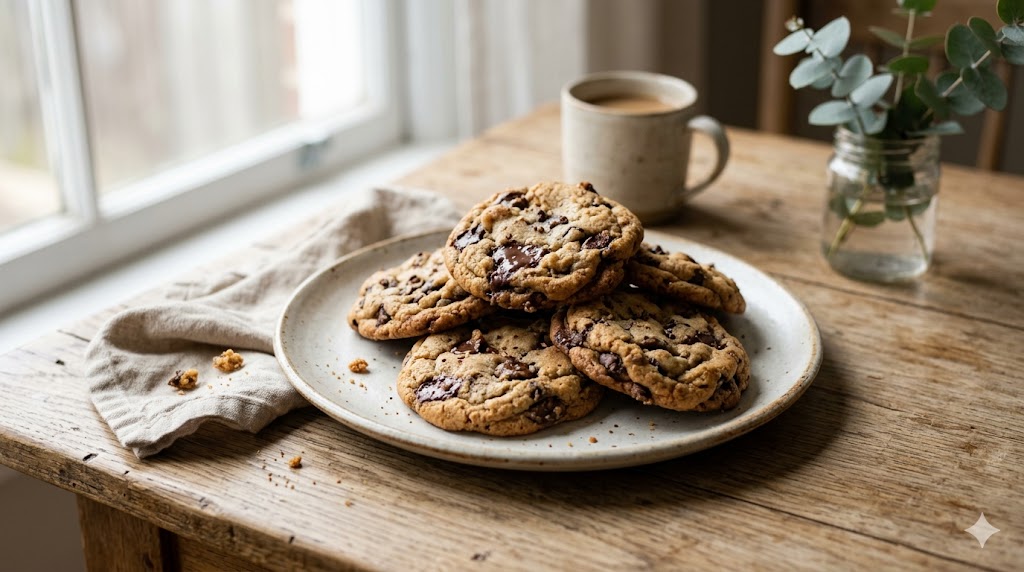
Struggling with flat, crispy desserts? Bake these yummy cookies using our easy, foolproof recipe. Get pro tips for soft, chewy treats your family will love. Try it today!
Prep Time 15 minutes
Cook Time 14 minutes
Total Time 30 minutes
Servings: 1 people
Course: Dessert
Cuisine: American
Calories: 250

Ingredients
  

Unsalted Butter: ¾ cup (1 ½ sticks), melted and slightly cooled. Using melted butter instead of creamed butter is the scientifically proven secret to creating a denser, chewier texture rather than a cakey one.Dark Brown Sugar: 1 cup, firmly packed. The molasses content in dark brown sugar provides vital moisture, a deep caramel flavor, and promotes a softer chew that lasts for days.Granulated White Sugar: ½ cup. A necessary addition to help the dough spread perfectly and create those desirable caramelized, crispy edges.Eggs: 1 large egg plus 1 additional egg yolk, at room temperature. The extra egg yolk adds rich fat without the excess water found in egg whites, preventing a muffin-like texture.Pure Vanilla Extract: 1 tablespoon. Vanilla acts as a crucial flavor enhancer, bridging the sweetness of the sugars with the richness of the butter.

Equipment

  • Large and Medium Mixing Bowls: For separating your wet and dry ingredients before combining. If you prefer to minimize your dishwashing later, check out our one bowl cookie mixing techniques.
  • Wire Whisk & Sturdy Silicone Spatula: A whisk for thoroughly emulsifying the sugars and butter, and a spatula for folding the heavy dough without overworking the gluten.
  • Spring-Loaded Cookie Scoop (Medium, 1.5 to 2 Tablespoons): Ensures perfectly uniform dough balls that will bake at the exact same rate.
  • Light-Colored, Heavy-Duty Baking Sheets: Dark pans absorb too much heat and will burn the bottoms of your treats before the centers are cooked.
  • Parchment Paper or Silicone Baking Mats: To prevent sticking, reduce spread, and ensure even heat distribution.
  • Wire Cooling Rack: Essential for stopping the baking process and allowing air to circulate beneath the treats to prevent soggy bottoms.

Method
 

  1. Step 1: Emulsifying the Sugars and Butter

    In your large mixing bowl, pour in the slightly cooled melted butter. Add the dark brown sugar and the granulated white sugar. Aggressively whisk these together for about 1 to 2 minutes until no large lumps remain and the mixture looks like a thick, glossy paste. Emulsifying the fat and sugar is critical for an even texture.
  2. Step 2: Incorporating the Eggs and Vanilla

    Add the room-temperature egg, the extra egg yolk, and the pure vanilla extract to the sugar mixture. Whisk vigorously for another 60 seconds until the batter is completely smooth, slightly lighter in color, and ribbons fall from the whisk.
  3. Step 3: Whisking the Dry Ingredients

    In a separate medium bowl, whisk together the all-purpose flour, baking soda, and fine sea salt. Whisking for at least 30 seconds acts as a quick alternative to sifting, ensuring the leavening agents are evenly distributed to prevent lopsided baking.
  4. Step 4: Combining and Folding

    Pour your dry flour mixture into the wet ingredients. Switch from a whisk to a rubber spatula. Gently fold the ingredients together just until the last streak of white flour disappears. Overmixing at this stage activates the gluten strands, which will result in tough, bread-like treats. Fold in your chosen mix-ins right before the flour is completely incorporated.
  5. Step 5: The Crucial Chilling Period

    Cover the mixing bowl tightly with plastic wrap and chill the dough in the refrigerator for a minimum of 30 minutes (up to 72 hours for deeper flavor development). Because we used melted butter, the fat needs to re-solidify. If you skip this, your dough will melt far too quickly in the oven.
  6. Step 6: Scooping and Baking

    Preheat your oven to 350°F (175°C) and line your heavy-duty baking sheets. Scoop 1.5 to 2-tablespoon-sized balls of chilled dough, space them roughly 2 to 3 inches apart, and bake for 10-12 minutes. The edges should look golden and set, but the centers will appear slightly underbaked, puffy, and gooey. Pull them out immediately.
  7. Step 7: Carryover Cooking

    Let the treats carry-over cook on the hot baking sheet for exactly 5 to 10 minutes outside the oven. They will deflate slightly and firm up perfectly before you move them to a wire cooling rack to cool completely.