
Did you know that the average American consumes over 300 cookies a year, with the vast majority of those being some variation of the classic toll house recipe? Yet, despite their immense popularity, achieving the truly perfect batch remains a culinary white whale for many home bakers. Are yours spreading too thin? Turning out too cakey? Lacking that deep, butterscotch flavor characteristic of a high-end bakery?
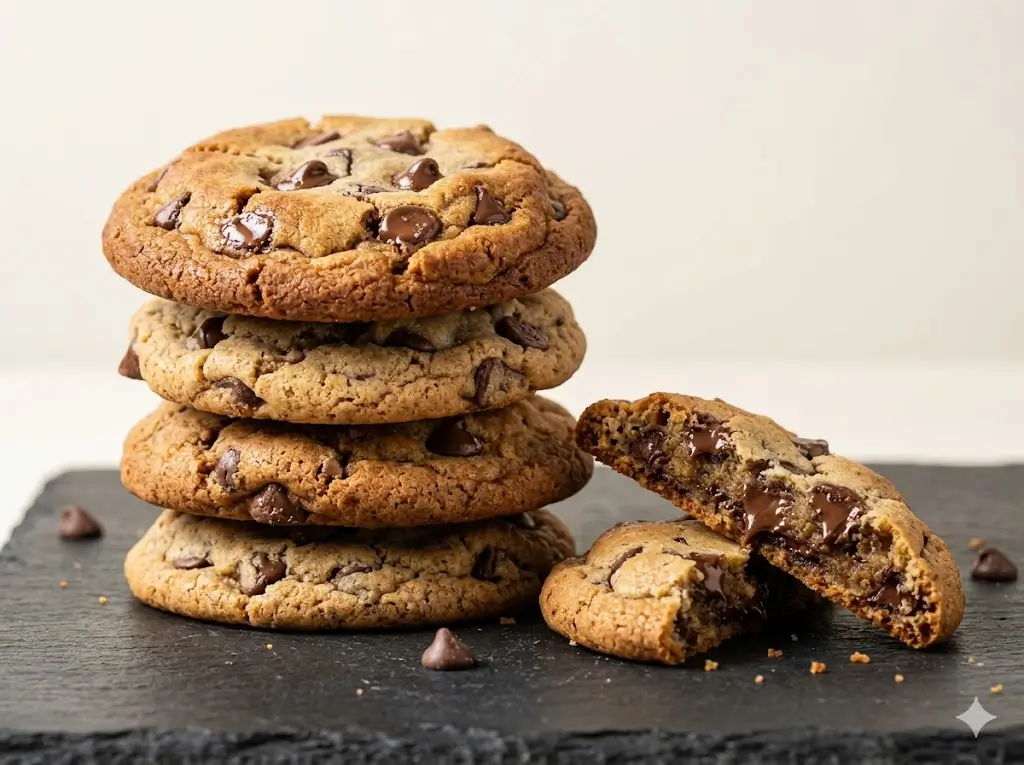
Welcome to the definitive masterclass. If you want to bake the absolute best -chocolate-chip-cookies/ of your life, you are in the right place. This is not just another recipe; this is a comprehensive, data-driven deep dive into the science, techniques, and secrets of cookie baking. We will decode the molecular magic that happens inside your oven, transforming basic pantry staples into chewy, crispy, caramelized perfection.
What You Will Learn in This Guide:
- The precise chemical reactions that dictate texture, spread, and flavor.
- How manipulating fat, sugar, and flour ratios can completely alter your cookie.
- Pro-level techniques for creaming, folding, and resting dough.
- A massive troubleshooting matrix to fix any baking disaster.
- Advanced storage secrets to keep your cookies tasting fresh-baked for days.
- Links to our specialized cluster recipes, allowing you to choose your ideal cookie style.
The Science & Fundamentals of Chocolate Chip Cookies
To master baking, one must realize that the kitchen is a laboratory. Baking is applied chemistry. Every ingredient you add to your mixing bowl serves a specific, scientific purpose. Understanding the fundamentals—specifically hydration, gluten development, and the Maillard reaction—is what separates an amateur from a master baker.
The Maillard Reaction & Caramelization
When your cookie dough hits an oven heated to 350°F (177°C), a cascade of chemical reactions begins. The most crucial is the Maillard reaction. This is a non-enzymatic browning process where amino acids (proteins from the flour and eggs) react with reducing sugars when exposed to heat. This reaction creates hundreds of new flavor compounds, giving the cookie its complex, roasted, and savory-sweet depth. Concurrently, caramelization occurs when sucrose breaks down at around 340°F (170°C), introducing nutty, butterscotch notes. If your oven is too cool, these reactions won’t happen, resulting in pale, flavorless dough.
The Role of Fat: Butter vs. Shortening
Fat acts as a tenderizer by coating the flour proteins, thereby inhibiting excessive gluten formation. The type of fat you use fundamentally changes the cookie’s architecture.
- Butter: Contains about 80-82% butterfat and 16-18% water (European butters lean closer to 84% fat). When butter melts in the oven, the water turns to steam, creating a slight lift. Furthermore, milk solids in the butter undergo the Maillard reaction, contributing unparalleled flavor. Butter melts at body temperature (98.6°F / 37°C), meaning cookies baked with pure butter literally melt in your mouth.
- Shortening: Is 100% fat with zero water content. Because its melting point is much higher than butter (around 115°F / 46°C), cookies made with shortening spread much less and bake up taller and softer. However, shortening completely lacks the rich flavor of butter.
- Brown Butter (Beurre Noisette): By melting butter and cooking off the water content until the milk solids toast, you create a deeply nutty, complex fat. Using brown butter significantly reduces the moisture in your dough, requiring adjustments in liquid, but the flavor payoff is immense.
Sugar Variations: Sucrose, Fructose, and pH Levels
The ratio of white granulated sugar to brown sugar is the master dial for controlling a cookie’s texture.
- White Sugar (Sucrose): Highly hygroscopic (water-attracting). It melts and recrystallizes as the cookie cools, creating the crispy edges. White sugar promotes spreading because it requires more heat to dissolve fully.
- Brown Sugar: Is essentially white sugar with molasses added back in. Molasses contains fructose and glucose, which are slightly acidic. This acidity reacts with baking soda to create lift. More importantly, the extra moisture from the molasses creates a softer, denser, and distinctly chewier cookie.
Flour Types and Gluten Development
Flour provides the structural scaffolding. The protein content of your flour dictates how much gluten (a network of elastic proteins) will form when hydrated by the eggs and butter.
- All-Purpose Flour (10-12% protein): The gold standard. It provides a perfect balance—enough protein to hold the cookie together, but not so much that it becomes tough.
- Bread Flour (12-14% protein): Higher protein means higher gluten development. Swapping a portion of AP flour for bread flour results in a vastly chewier, more substantial cookie (a secret used by many famous NYC bakeries).
- Cake Flour (7-9% protein): Produces an incredibly tender, almost delicate crumb. It is rarely used alone in chocolate chip cookies but is sometimes blended with bread flour to mimic a specialized pastry flour.
Leavening Agents: The Lift and Spread
- Baking Soda (Sodium Bicarbonate): An alkaline base that requires an acid (like brown sugar) to activate. It promotes browning (by raising the pH of the dough) and encourages outward spread.
- Baking Powder: Contains both an acid and a base. It puffs the cookie upward, creating a thicker, cakier texture.
Essential Equipment & Ingredients for Chocolate Chip Cookies
You can have the best recipe in the world, but using the wrong tools or sub-par ingredients will sabotage your efforts. Precision is paramount.
The Non-Negotiable Tools
- Digital Kitchen Scale: This is the most critical tool in a baker’s arsenal. Volumetric measurements (cups) are wildly inaccurate. One cup of loosely spooned flour weighs 120 grams; a heavily scooped cup can weigh up to 150 grams. That 30-gram difference will turn a perfect chewy cookie into a dry hockey puck.
- Oven Thermometer: Home ovens are notorious liars. An oven set to 350°F may actually be hovering at 325°F or spiking to 375°F. An independent oven thermometer ensures you are baking at the exact temperature required for optimal Maillard browning.
- Heavy-Gauge Aluminum Baking Sheets: Avoid dark, non-stick baking pans. Dark surfaces absorb more radiant heat, causing the bottoms of your cookies to burn before the centers are fully baked. Thick, light-colored aluminum pans conduct heat evenly.
- Silicone Baking Mats vs. Parchment Paper: Parchment paper is generally preferred for chocolate chip cookies, as silicone mats can sometimes insulate the bottom of the cookie too much, preventing a crispy bottom edge, and can cause the dough to spread slightly more due to the slippery surface.
Why Ingredient Quality Matters
- The Chocolate: Ditch the waxy supermarket chips. Standard chocolate chips contain stabilizers (like soy lecithin) specifically designed to help them hold their shape in the oven. For pools of melty, luxurious chocolate, use high-quality couverture chocolate fêves (discs), baking wafers, or hand-chop a high-quality chocolate bar (look for Valrhona, Guittard, or Callebaut). A mix of 60% bittersweet and 40% milk chocolate provides incredible balance.
- Vanilla Extract: Never use artificial vanilla essence. Pure vanilla extract contains hundreds of flavor compounds derived from the vanilla orchid. It acts as a flavor enhancer, amplifying the notes of the butter and chocolate.
- Salt: Standard table salt is too fine and metallic. Use Kosher salt (like Diamond Crystal) in the dough, and always finish your baked cookies with a sprinkle of flaky sea salt (like Maldon). The flakes hit your tongue first, contrasting beautifully with the sweetness.
The Recipe Cluster Highlights
Because there is no single “correct” way to enjoy a cookie, we have developed four highly specialized master recipes. Whether you prefer them thick and doughy or thin and crispy, choose your path below.
The Ultimate Chewy Brown Butter Chocolate Chip Cookies
For those who believe texture is everything. By heavily leaning into a high ratio of dark brown sugar to white sugar, and utilizing bread flour for robust gluten development, these cookies are dense, chewy, and bend without breaking. The star of the show is the brown butter, which infuses the dough with deep notes of toasted hazelnut and toffee. We employ a mandatory 48-hour chill period, allowing the starches to fully hydrate and the flavors to mature intensely. [Link to Full Recipe: The Ultimate Chewy Brown Butter Chocolate Chip Cookies]
Crispy, Thin, and Buttery Chocolate Chip Cookies
Not everyone loves a doughy center. If you crave the satisfying snap of a crunchy edge and a deeply caramelized, wafer-like center, this is your recipe. We achieve this by reversing the sugar ratio—using predominantly white granulated sugar—and incorporating a splash of milk to increase spread. Baked slightly longer at a lower temperature to gently dehydrate the dough, these cookies are reminiscent of the beloved Tate’s Bake Shop style. They are perfect for dunking in cold milk or sandwiching around vanilla bean ice cream. [Link to Full Recipe: Crispy Thin Chocolate Chip Cookies]
Bakery-Style Jumbo Chocolate Chip Cookies
These are the massive, six-ounce behemoths made famous by Levain Bakery in New York City. They feature a rugged, deeply browned, almost rocky exterior that protects an impossibly gooey, half-baked center. The secret lies in a mountain of chocolate chunks, a combination of cake and bread flours, and baking them at a scorching 410°F (210°C). This high heat shocks the exterior into setting immediately while leaving the dense interior molten. You will need a food scale to weigh these gargantuan dough balls accurately. [Link to Full Recipe: Bakery-Style Jumbo Chocolate Chip Cookies]
Flawless Gluten-Free Chocolate Chip Cookies
Removing gluten usually spells disaster for cookie structure, leading to a gritty, crumbly mess. Our master gluten-free recipe solves this through a precise blend of superfine almond flour (for moisture and fat), oat flour (for chew), and a high-quality 1-to-1 tapioca/rice flour base. We utilize a specific resting technique that allows the gluten-free starches to absorb the liquids, eliminating the dreaded grainy mouthfeel. You will not be able to tell these are gluten-free. [Link to Full Recipe: Flawless Gluten-Free Chocolate Chip Cookies]
Step-by-Step Master Techniques for Chocolate Chip Cookies
Regardless of which recipe variation you choose, the techniques used to combine the ingredients dictate the final outcome. Master these steps, and you master the cookie.
1. The Perfect Creaming Method
When a recipe tells you to “cream butter and sugar,” it is not just asking you to mix them. You are engaged in mechanical leavening.
- Ambient Temperature is Key: Your butter must be exactly 65°F to 68°F (18°C – 20°C). It should yield slightly to a firm press of your finger but not be greasy or melting. If your butter is too warm, the emulsion will break, and your cookies will be flat and greasy.
- The Process: Using a stand mixer with a paddle attachment, beat the butter and sugars on medium-high speed for a full 3 to 5 minutes. The sharp crystals of the sugar physically slice into the butter, creating thousands of microscopic air pockets. The mixture will turn noticeably pale, fluffy, and double in volume. These air pockets will later expand in the oven, giving your cookie lift.
2. Emulsifying the Eggs
Eggs provide hydration and structure, but water (in the eggs) and fat (in the butter) do not want to mix.
- Room Temperature Only: Cold eggs added to creamed butter will instantly seize the fat, breaking your emulsion and resulting in a curdled, soupy mess. Submerge cold eggs in warm water for 10 minutes before using.
- Patience: Add eggs one at a time, mixing thoroughly for 30 seconds after each addition. Scrape down the bottom and sides of the bowl to ensure a homogenous mixture.
Pro Baker Secret: At this stage, beat the mixture vigorously. You cannot over-mix right now because the flour (and thus the gluten) hasn’t been added yet. Get as much air and emulsion into the wet ingredients as possible.
3. Folding the Dry Ingredients
This is where you must exercise extreme caution. As soon as flour meets liquid, gluten strands begin to form.
- Sift the Dry: Always whisk or sift your flour, baking soda, and salt together first to ensure the leavening agents are evenly distributed.
- The Fold: Turn your mixer to the absolute lowest “stir” setting. Add the dry ingredients and mix only until you see the last streak of white flour disappear. Over-mixing at this stage creates tough, bread-like cookies rather than tender ones.
- Adding Mix-Ins: Fold in your chocolate chunks and nuts by hand using a sturdy silicone spatula. This guarantees you won’t accidentally overwork the gluten.
4. The Mandatory Chilling Phase (The Aging Process)
Do not skip this step. Chilling the dough is arguably the most important technique in this entire guide.
- Hydration: Flour takes time to absorb the moisture from the eggs and butter. Chilling the dough for 24 to 72 hours allows complete hydration. This leads to a thicker, chewier cookie that browns evenly.
- Flavor Maturation: As the dough rests, enzymes break down complex carbohydrates into simple sugars, enhancing caramelization and creating deeper, toffee-like flavors.
- Controlling Spread: Cold dough enters the oven firm. The edges have time to set and bake before the cold center has a chance to fully melt and spread outward, resulting in a perfectly domed cookie.
The Ultimate Troubleshooting Guide
Even with perfect techniques, anomalies happen. Keep this matrix handy to diagnose and cure your baking woes.
| The Symptom | The Scientific Cause | The Expert Fix |
|---|---|---|
| Cookies spread into flat puddles. | Butter was too warm/melted during creaming, or the dough was not chilled before baking. | Ensure butter is exactly 65°F (18°C). Chill the scooped dough balls in the fridge for at least 2 hours, ideally overnight. |
| Cookies are tough and bread-like. | Over-mixing the dough after the flour was added, causing excessive gluten development. | Mix dry ingredients on the lowest possible speed and stop the moment the flour streaks disappear. Fold chips in by hand. |
| Cookies are too thick and cakey. | Too much flour (usually from using cups instead of a scale), or too much baking powder. | Weigh your flour with a digital scale (1 cup = ~125g). Ensure you are using baking soda, not powder, unless the recipe specifies. |
| Bottoms are burnt, but centers are raw. | The baking sheet is too thin/dark, or the oven rack is too low. | Use heavy, light-colored aluminum half-sheet pans. Bake strictly on the middle rack. Use an oven thermometer to verify temperature. |
| Cookies lack flavor and depth. | Insufficient salt, cheap vanilla, or skipping the dough chilling phase. | Increase salt by a pinch. Use high-quality pure vanilla extract. Most importantly, age the dough in the fridge for 48 hours to develop complex flavors. |
| Chocolate doesn’t melt into gooey pools. | Supermarket chips contain stabilizers that prevent melting. | Swap standard chips for chopped high-quality chocolate bars or couverture baking discs/fêves. |
Dietary Adaptations & Substitutions
Baking is an exact science, which makes substitutions tricky, but not impossible. Here is how to modify the master concepts for various dietary needs without sacrificing the integrity of the bake.
Making it Gluten-Free
Do not simply swap wheat flour for almond flour; the fat and absorption rates are entirely different. Use a high-quality “1-to-1” or “Measure for Measure” gluten-free flour blend that contains Xanthan Gum. Xanthan gum mimics the elasticity of gluten, preventing the cookies from crumbling into dust. Crucial Step: Gluten-free starches take longer to hydrate. You must rest GF dough in the fridge for a minimum of 24 hours to eliminate the gritty, sandy texture common in GF baking.
Making it Dairy-Free / Vegan
- The Butter Substitute: Margarine contains too much water. Use a high-fat vegan “block” butter (not the spreadable tub variety). Brands like Miyoko’s or Violife work beautifully because their fat-to-water ratios mimic real dairy butter.
- The Egg Substitute: For chewy cookies, the best binder is a “flax egg” (1 tablespoon ground flaxseed meal whisked with 3 tablespoons warm water, left to gel for 5 minutes). For a lighter, airier cookie, use 3 tablespoons of Aquafaba (the liquid from a can of chickpeas) whipped until frothy.
Advanced Storage & Make-Ahead Strategies
A perfect cookie should not be ruined by improper storage. Knowing how to preserve the crumb structure and moisture content is vital.
Freezing Cookie Dough (The Best Method)
The absolute best way to ensure you always have incredible cookies on hand is to freeze the dough, not the baked cookies.
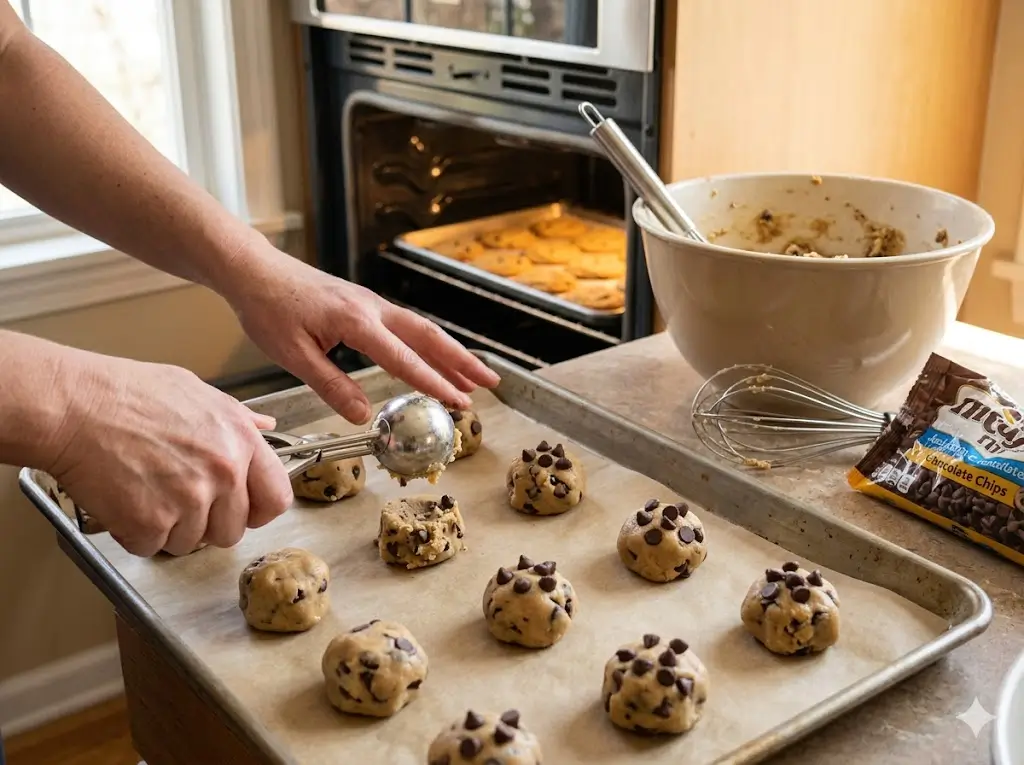
- Scoop the freshly made dough into balls.
- Place them closely together on a baking sheet and freeze for 2 hours until rock solid.
- Transfer the frozen balls to an airtight zip-top bag, squeezing out all the air.
- Shelf Life: Up to 3 months.
- Baking from Frozen: Do not thaw! Place the frozen balls directly onto a baking sheet. Lower your oven temperature by 15°F and add 2 to 4 minutes to the total baking time.
Storing Baked Cookies
To keep baked cookies soft and chewy for up to 5 days, store them in an airtight container at room temperature.
- The Bread Trick: Place a small piece of plain white bread in the container with the cookies. The cookies are highly hygroscopic and will absorb the moisture from the bread, remaining incredibly soft while the bread turns hard.
- Avoid the Fridge: Never store baked cookies in the refrigerator. The cold temperature accelerates the crystallization of the starches, causing the cookies to go stale much faster.
Reviving Stale Cookies
If your cookies have gone hard, wrap them in a slightly damp paper towel and microwave them for 8 to 10 seconds. The steam will re-gelatinize the starches, returning the cookie to a warm, gooey, straight-out-of-the-oven state.
Conclusion
Mastering the perfect chocolate chip cookies is a journey of precision, science, and a little bit of patience. By understanding the role of your ingredients, respecting the creaming method, and allowing your dough the time it needs to hydrate and mature in the fridge, you elevate a simple childhood treat into a gourmet, bakery-quality masterpiece.
Now it is your turn to preheat the oven. We invite you to explore our specialized cluster recipes linked above, choose your favorite style, and put these techniques to the test. Did you achieve the perfect spread? Did the brown butter change your life? Leave a comment below, share your photos with our community, and don’t forget to subscribe to our newsletter for more weekly baking masterclasses!
Comprehensive FAQs about Chocolate Chip Cookies
1. Why do I have to chill my chocolate chip cookie dough?
Chilling the dough serves three main purposes: It allows the flour to fully hydrate by absorbing the moisture from the eggs, resulting in a chewier texture. It allows enzymes to break down carbohydrates, drastically improving flavor and caramelization. Finally, it solidifies the butter, preventing the cookies from spreading into flat, greasy puddles in the oven.
2. Should I use light brown or dark brown sugar?
It depends on your preference. Light brown sugar has less molasses, resulting in a milder flavor and a slightly crisper cookie. Dark brown sugar contains more molasses, which adds deeper notes of toffee and caramel, and produces a softer, chewier cookie due to the increased moisture and acidity.
3. What is the difference between baking soda and baking powder in cookies?
Baking soda (sodium bicarbonate) needs an acid (like brown sugar) to react. It encourages browning and causes the dough to spread outward. Baking powder contains its own acid and reacts twice (once when wet, once when heated). It causes the dough to puff upward, creating a thicker, more cake-like texture.
4. Why did my chocolate chip cookies come out flat?
Flat cookies are usually the result of butter that was too warm when creamed, or dough that was not chilled before baking. It can also happen if you used too little flour, or if your baking sheet was hot when you placed the raw dough on it.
5. Can I use melted butter instead of softened creamed butter?
Yes, but it fundamentally changes the cookie. Melted butter cannot hold air pockets like creamed butter. Recipes that use melted butter (like our Chewy Brown Butter recipe) rely on heavy dough hydration and different leavening techniques, resulting in a denser, fudgier, and chewier cookie rather than a light and fluffy one.
6. Should I bake cookies on the convection or conventional oven setting?
For most chocolate chip cookies, conventional (standard bake, no fan) is preferred. The fan in a convection oven blows hot air rapidly over the dough, which can dry out the exterior too quickly, preventing the cookie from spreading properly and sometimes blowing the dough out of a perfectly round shape.
7. Does it matter if I use salted or unsalted butter?
Yes. Master bakers always use unsalted butter because the salt content in commercial salted butter varies wildly between brands. By using unsalted butter, you control the exact sodium level in your recipe. If you must use salted butter, omit the added salt in the recipe.
8. Can I substitute liquid oil (like canola or olive oil) for butter?
Not directly in a standard recipe. Butter is roughly 80% fat and 20% water, and it becomes solid at room temperature. Liquid oil is 100% fat and remains liquid. Swapping them will drastically alter the hydration and structure, usually resulting in a greasy cookie that spreads too much or a crumbly texture. You must seek out a recipe specifically developed for oil.