Step 1: The Foundation and Preparation
Begin by lining an 8x8-inch baking pan with parchment paper, ensuring an inch of overhang on the sides. This "sling" method is vital for removing the fudge without breaking it. Next, place about 15 of your sandwich cookies into a large zip-top bag and crush them into a variety of sizes—some dust, some pea-sized chunks.Step 2: The Emulsification Process
In a heavy-bottomed saucepan over low heat, combine the white chocolate and the sweetened condensed milk. Stir constantly with a silicone spatula. The goal is to reach a state of perfect emulsion where the fat from the chocolate and the moisture from the milk merge into a glossy, uniform liquid.Step 3: Integrating the Flavor Profile
Once the mixture is smooth, remove it from the heat immediately. Stir in the vanilla extract and salt. Now, gently fold in the crushed cookies. You want to move quickly but gently to prevent the chocolate filling of the cookies from melting and turning your white fudge grey.Step 4: The Setting and Slicing Phase
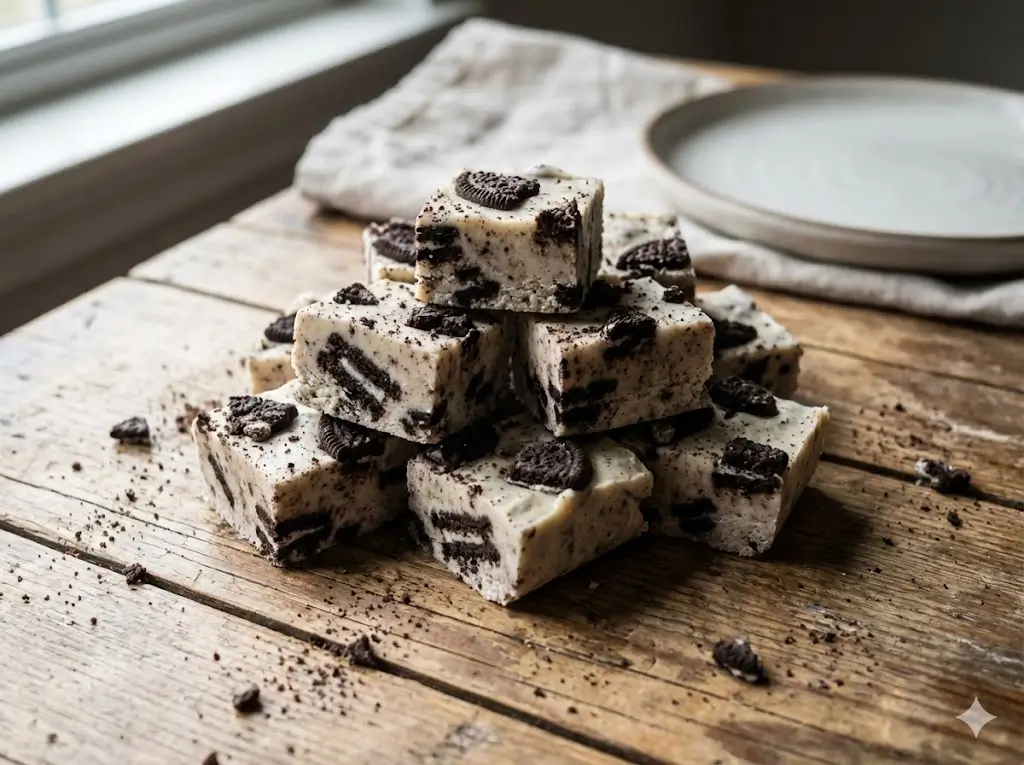
Pour the mixture into your prepared pan and smooth the top. Press your reserved cookie chunks into the surface. Place the pan in the refrigerator for at least two hours. Once firm, use the parchment handles to lift the fudge out and slice it into 1-inch squares using a warm, sharp knife.Pro Tip: Do not use a food processor. Hand-crushing ensures a rustic, artisanal look that is characteristic of the best Cookies And Cream treats.Critical Insight: Temperature control is everything here. If the mixture exceeds 110°F (43°C), the chocolate may "seize" or separate. Keep the heat at the lowest setting possible.Aesthetic Secret: Save the remaining 5-7 cookies for the very top of the fudge to create that iconic "Cookies And Cream" visual pop.Cleanup Hack: Wipe the knife between every single cut to ensure perfectly clean, professional edges.