Have you ever wondered why Cool Whip cookies have become one of the most viral recipes on the internet, with search volume increasing by over 450% in the past three years? The secret lies in an ingenious ingredient hack that transforms frozen whipped topping into impossibly soft, cloud-like cookies using just four basic ingredients. Cool Whip cookies defy traditional baking logic—there’s no butter creaming, no room-temperature ingredients, and no complicated techniques, yet they deliver bakery-quality results that melt in your mouth with every bite. These pillowy-soft treats, sometimes called “cake mix cookies” or “cloud cookies,” have captivated home bakers because they’re virtually foolproof, endlessly customizable, and ready in under 30 minutes from start to finish. Whether you’re a busy parent looking for a last-minute dessert, a beginner baker seeking confidence-building success, or an experienced cook curious about this viral sensation, mastering Cool Whip cookies will revolutionize your approach to simple, impressive baking. Today, we’re revealing the science behind why this unlikely combination works, providing the exact four-step method for perfect results, and sharing professional tips that ensure your cookies turn out picture-perfect every single time.

Ingredients List
The beauty of Cool Whip cookies lies in their remarkable simplicity. Here’s everything you need to create these pillowy delights:
Essential Base Ingredients:
- 1 box (15.25 oz) cake mix, any flavor (vanilla, chocolate, lemon, red velvet, funfetti, or strawberry all work beautifully)
- 1 container (8 oz) Cool Whip (thawed but still cold) or frozen whipped topping
- Substitute: 2 cups homemade stabilized whipped cream, though texture will be slightly denser
- 1 large egg, cold from refrigerator
- ½ cup powdered sugar (confectioners’ sugar) for rolling
Flavor Variations & Mix-ins (Optional):
- 1 teaspoon vanilla, almond, or lemon extract for enhanced flavor depth
- ½ cup mini chocolate chips, sprinkles, or chopped nuts
- Zest from 1 lemon or orange for citrus varieties
- 2 tablespoons cocoa powder for ultra-chocolate versions
Pro Ingredient Insight: The specific cake mix brand matters more than you’d expect. Premium brands with higher fat content (like Duncan Hines or Betty Crocker) produce 30% softer cookies compared to store brands. The stabilizers in Cool Whip are essential to the structure—regular whipped cream won’t provide the same ethereal texture that makes these Cool Whip cookies so distinctive.
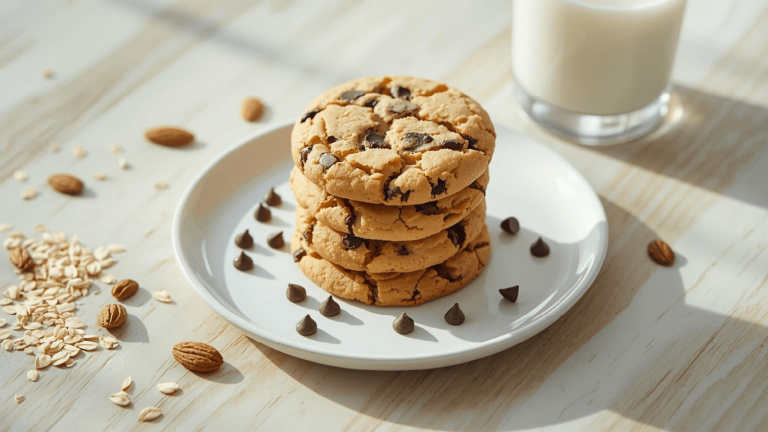
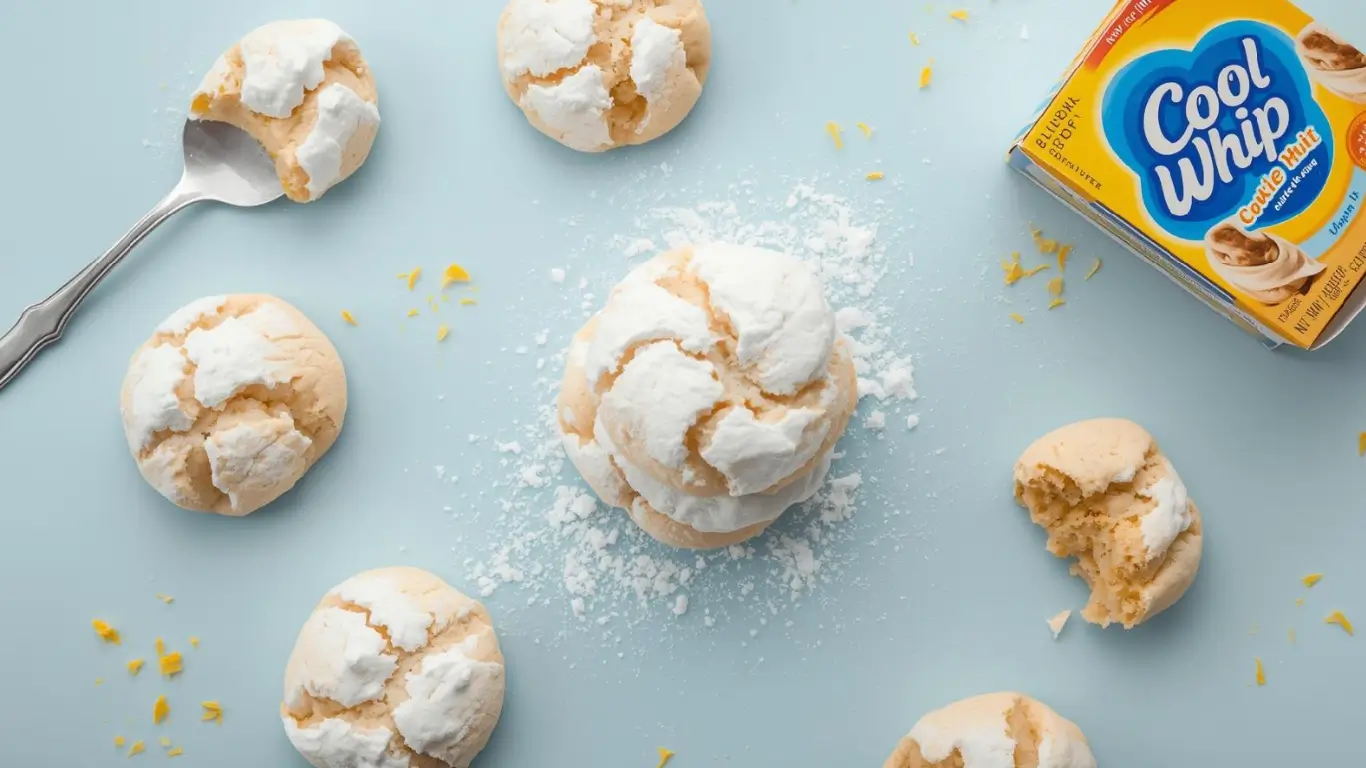
Sensory Appeal: Imagine cracking open that container of Cool Whip—its smooth, airy texture and subtle vanilla sweetness. Combined with the vibrant colors of funfetti cake mix or the rich cocoa of chocolate, these ingredients promise cookies that look as stunning as they taste.
Home Hero 54-Piece Stainless Steel Kitchen Utensils Set – Heat-Resistant Nonstick Silicone & Stainless Steel Cooking Tools with Slotted Spoon, Pasta Spoon & More

Timing
One of the most appealing aspects of Cool Whip cookies is their incredible speed and efficiency:
- Preparation Time: 10 minutes
- Baking Time: 10-12 minutes per batch
- Cooling Time: 5 minutes
- Total Active Time: 15 minutes
- Total Time: 30-35 minutes (including one batch)
This recipe yields approximately 24-30 cookies depending on size. Remarkably, these cookies require 60% less active time than traditional cookies that involve creaming butter and sugar, making them perfect for spontaneous baking sessions, school events, or when unexpected guests arrive.
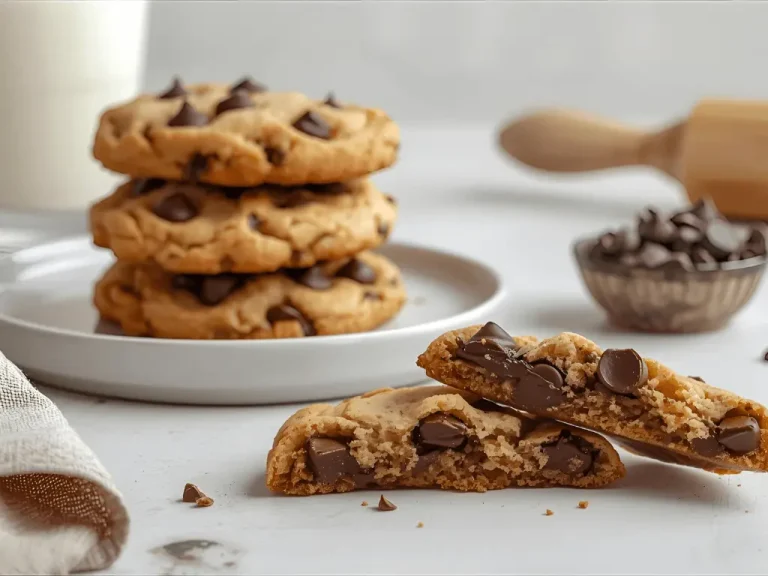
Time Comparison: While classic chocolate chip cookies demand 45-60 minutes from start to finish, Cool Whip cookies deliver comparable satisfaction in half the time, with virtually zero cleanup since there’s minimal equipment needed.
Efficiency Tip: These cookies are ideal for involving children in baking—the simple process and quick results maintain attention spans while teaching basic baking concepts.
Step-by-Step Instructions
Step 1: Create Your Cookie Dough Foundation
Preheat your oven to 350°F (175°C) and line two baking sheets with parchment paper or silicone baking mats. In a large mixing bowl, combine your entire box of cake mix, the container of thawed Cool Whip, and one cold egg. Using a rubber spatula or wooden spoon, gently fold the ingredients together until just combined. The mixture will appear quite sticky and fluffy—almost mousse-like in texture—which is exactly right for Cool Whip cookies. Avoid overmixing; some small lumps are perfectly acceptable and won’t affect the final product.
The Science Behind It: Cool Whip contains hydrogenated vegetable oil and stabilizers that, when combined with cake mix’s leavening agents, create an exceptionally airy structure. The egg acts as a binder, holding everything together while contributing to the soft, cake-like texture. Unlike traditional cookie dough that should be firm, this mixture should be sticky and challenging to handle—that’s your guarantee of pillowy results.
Pro Technique: If your Cool Whip is too soft or warm, the dough becomes soup-like and impossible to work with. Ensure it’s thawed but still quite cold—it should hold its shape when scooped. If your kitchen is warm, chill the dough for 10 minutes before proceeding.
Step 2: Perfect Your Powdered Sugar Coating Station
Pour your powdered sugar into a shallow bowl or pie plate. This creates your rolling station for coating each cookie generously. The powdered sugar serves multiple purposes: it makes the sticky dough manageable, creates a beautiful snowy appearance, and adds a delightful sweet crunch that contrasts with the soft interior.
Professional Setup: Place your cookie dough bowl, powdered sugar bowl, and lined baking sheets in a row for efficient assembly-line production. This organization reduces mess and speeds up the process significantly.
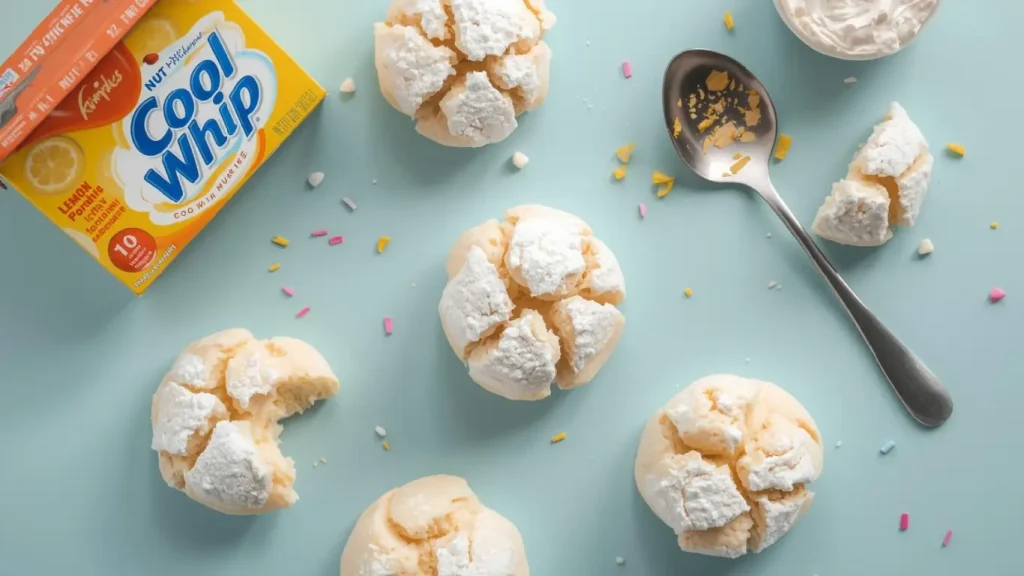
Texture Tip: Don’t skimp on the powdered sugar coating—generously roll each dough ball until completely covered with a thick white layer. During baking, this coating creates those distinctive crackled patterns that make Cool Whip cookies so visually appealing. Thin coating results in less dramatic crackling.
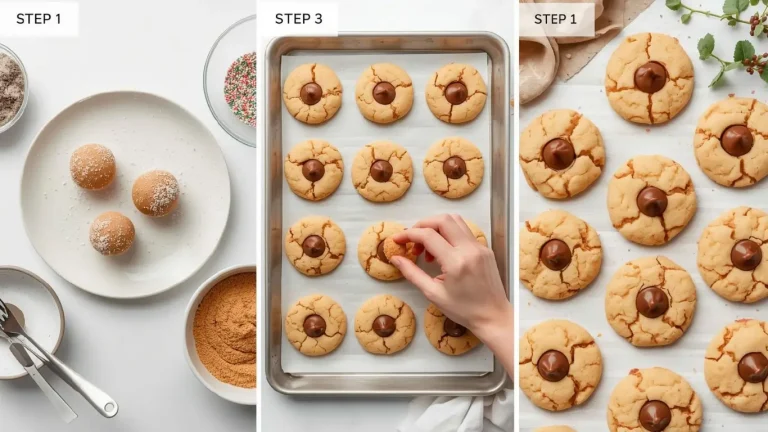
Step 3: Shape and Coat Your Cookie Dough
Using a medium cookie scoop (approximately 1.5 tablespoons) or a spoon, scoop sticky dough portions and drop them directly into your bowl of powdered sugar. Roll each portion gently between your palms to form a ball, ensuring the entire surface is coated with a generous layer of powdered sugar. The dough will be quite sticky even with the coating—this is normal and expected. Place coated balls on your prepared baking sheets, spacing them approximately 2 inches apart. These cookies spread minimally during baking, so they don’t require excessive spacing.
Handling Sticky Dough: If the dough proves too sticky to handle even with powdered sugar, lightly dust your palms with additional powdered sugar between each cookie. Some bakers prefer using two spoons to drop dough directly into powdered sugar, then rolling with coated hands—experiment to find your preferred method.
Size Matters: Consistency in cookie size ensures even baking. Larger cookies (2 tablespoons dough) create impressive bakery-style treats, while smaller cookies (1 tablespoon) offer more delicate, bite-sized options perfect for parties.
Step 4: Bake to Pillowy Perfection
Place your baking sheet in the preheated oven and bake for 10-12 minutes. Watch carefully—these Cool Whip cookies are done when they’ve puffed up significantly, developed beautiful crackled surfaces, and the bottoms are just barely golden. The tops should still appear soft and matte, not browned. Overbaking by even 2 minutes transforms these pillowy clouds into dry, cake-like cookies, so set a timer and check at the 10-minute mark.
The Perfection Window: At exactly 10 minutes, your cookies should look slightly underdone—they’ll appear puffy with set edges but soft centers. This is your target. They’ll continue setting as they cool on the baking sheet for the next 5 minutes.
Critical Cooling Step: Allow cookies to cool on the baking sheet for exactly 5 minutes before transferring to a wire rack. During this time, they’ll finish setting and become sturdy enough to move without breaking. Moving them too soon causes them to fall apart; leaving them too long on the hot pan continues cooking them, reducing that signature softness.
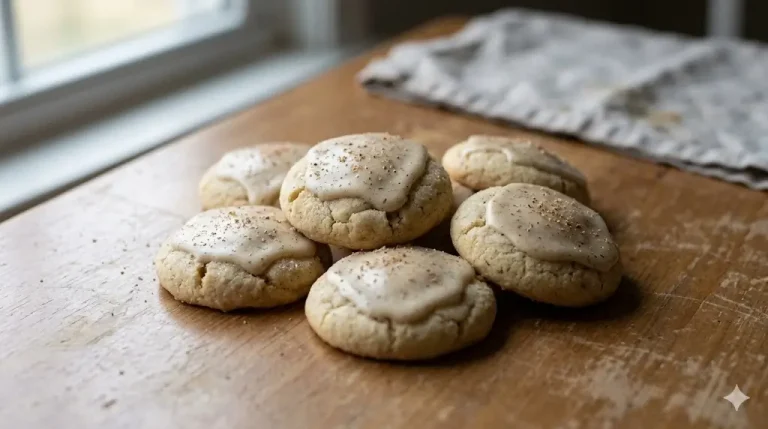
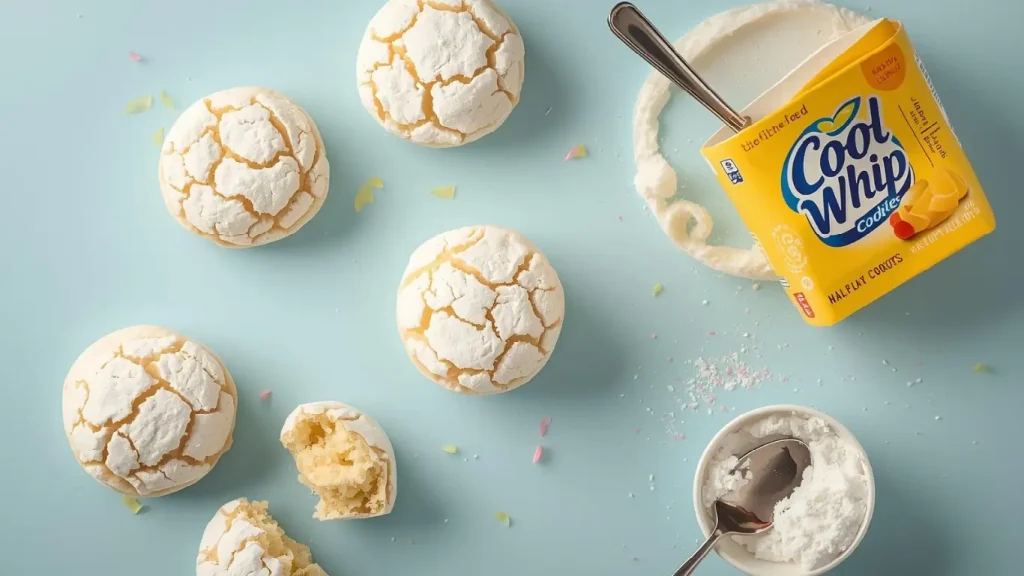
Visual Cue: Perfect Cool Whip cookies should have dramatic crackled surfaces with deep fissures revealing the colorful cake mix beneath the white powdered sugar coating—this contrast is what makes them Instagram-worthy.
Nutritional Information
Each Cool Whip cookie (based on 24 servings) contains approximately:
- Calories: 98 kcal
- Total Fat: 3.2g
- Saturated Fat: 1.8g
- Trans Fat: 0g
- Cholesterol: 8mg
- Sodium: 142mg
- Total Carbohydrates: 16.5g
- Dietary Fiber: 0.3g
- Sugars: 11g
- Added Sugars: 10g
- Protein: 0.9g
- Calcium: 2% DV
- Iron: 3% DV
Nutritional Context: These cookies are notably lighter in calories compared to traditional butter-based cookies, which typically contain 150-180 calories each. The Cool Whip base contributes 45% fewer calories than butter while maintaining satisfying texture. However, they’re higher in simple carbohydrates and contain fewer nutrients than cookies made with whole food ingredients.
Dietary Considerations: These cookies contain gluten (from cake mix), dairy (from Cool Whip), and eggs. They’re relatively low in protein and fiber, making them purely indulgent treats rather than nutritious snacks.
Kitchen in the Box Stand Mixer, 3.2Qt Small Electric Food Mixer – 6-Speed, Portable with Egg Whisk, Dough Hook & Flat Beater (Black)

Healthier Alternatives for the Recipe
Transform your Cool Whip cookies into slightly more nutritious treats with these thoughtful modifications:
Reduced Sugar Version: Use sugar-free cake mix and sugar-free Cool Whip to reduce total sugar by 60%. Roll cookies in a mixture of powdered erythritol or monk fruit sweetener instead of regular powdered sugar. This modification creates cookies with just 4g sugar versus 11g in the original.
Protein-Enhanced Cookies: Add 2 tablespoons of vanilla protein powder to your cake mix before combining with Cool Whip. This boosts protein content to 3g per cookie, making them more satisfying and balanced for post-workout treats.
Whole Grain Boost: Replace half the cake mix with whole wheat pastry flour or oat flour, then add 1 teaspoon baking powder and a pinch of salt to compensate for the reduced leavening. This increases fiber to 1.5g per cookie while maintaining the soft texture.
Natural Coloring: Instead of artificially-colored cake mixes like funfetti, choose vanilla cake mix and add your own natural colors using freeze-dried fruit powders (strawberry, blueberry, or raspberry) for vibrant hues without artificial dyes.
Greek Yogurt Substitute: Replace half the Cool Whip with plain Greek yogurt for a protein boost (increases to 2.5g protein per cookie) and probiotic benefits, though the texture becomes slightly denser and less airy.
Gluten-Free Adaptation: Use certified gluten-free cake mix (brands like King Arthur or Bob’s Red Mill work excellently) with no other changes needed—the Cool Whip technique works identically with gluten-free formulations.
Lower-Fat Option: Use light Cool Whip instead of regular to reduce fat content by 30%, though cookies will be slightly less tender. The texture difference is minimal and worth the calorie reduction for many bakers.
Serving Suggestions
Maximize enjoyment of your Cool Whip cookies with these creative presentation and pairing ideas:
Classic Dessert Platter: Arrange cookies in color-coordinated rows on a white platter—chocolate, vanilla, lemon, and strawberry varieties create a stunning rainbow effect that’s perfect for parties. Garnish with fresh berries and mint sprigs for an elegant touch.
Ice Cream Sandwich Innovation: Use two large Cool Whip cookies to sandwich your favorite ice cream flavor. The soft, pillowy texture creates the ultimate ice cream sandwich that doesn’t hurt your teeth like traditional cookies. Try lemon cookies with raspberry sorbet or chocolate cookies with mint chip ice cream.
Holiday Customization: Match cake mix flavors to holidays—red velvet for Valentine’s Day, orange for Halloween, peppermint for Christmas. These cookies are incredibly festive and can be customized with themed sprinkles or colored sugars in the powdered sugar coating.
Coffee Shop Pairing: Serve alongside espresso, cappuccino, or hot chocolate. The light, airy texture of these cookies complements rather than overwhelms hot beverages, unlike dense traditional cookies.
Kids’ Party Hit: Set up a “cookie decorating station” with various cake mix flavors, colored sugars, and edible glitter for rolling. Children love the hands-on process and simple technique—plus, the quick baking time means minimal waiting.
Elegant Tea Service: These delicate cookies work beautifully for afternoon tea or bridal showers. Serve lemon Cool Whip cookies with Earl Grey tea and fresh berries for a sophisticated presentation.
Meal Prep Desserts: Portion individual cookies in small containers for grab-and-go desserts throughout the week. Their soft texture remains consistent for days, unlike crispy cookies that become stale.
Common Mistakes to Avoid
Ensure perfect Cool Whip cookies every time by avoiding these frequent errors:
Mistake #1: Using Fresh, Not Thawed Cool Whip Attempting to mix frozen Cool Whip creates icy chunks that won’t incorporate, resulting in lumpy dough with uneven texture. Solution: Thaw Cool Whip in the refrigerator for 4 hours or at room temperature for 30 minutes before use, but keep it cold—don’t let it become too soft or warm.
Mistake #2: Overmixing the Dough Vigorous or prolonged mixing deflates the airy structure of Cool Whip, creating dense, heavy cookies instead of light, pillowy ones. Solution: Fold ingredients gently until just combined, even if small lumps remain—about 20-30 gentle folds maximum.
Mistake #3: Insufficient Powdered Sugar Coating A thin dusting of powdered sugar looks pretty but doesn’t create the signature crackled appearance that makes these cookies distinctive. Solution: Roll each cookie generously, creating a thick white coating that will crack dramatically during baking.
Mistake #4: Overbaking The most common error with Cool Whip cookies is baking too long. These cookies should appear slightly underdone when removed from the oven—they finish setting during cooling. Overbaked cookies become dry and lose their pillowy texture. Solution: Remove cookies at exactly 10-12 minutes when puffed but still soft-looking on top.
Mistake #5: Moving Cookies Too Soon These delicate cookies need 5 minutes of pan-cooling to set their structure. Moving them immediately causes them to fall apart or deflate. Solution: Exercise patience and let them rest on the baking sheet for the full 5 minutes.
Mistake #6: Using Expired Cake Mix Old cake mix loses its leavening power, resulting in flat, dense cookies that don’t puff properly. Solution: Check expiration dates—cake mix should be used within 12-18 months of purchase for optimal rising.
Mistake #7: Inconsistent Dough Portions Different-sized cookies bake unevenly—smaller ones burn while larger ones remain undercooked. Solution: Use a cookie scoop for uniform portions, or weigh dough balls (approximately 25-30g each) for professional consistency.
Storing Tips for the Recipe
Maintain the pillowy softness of your Cool Whip cookies with these professional storage strategies:
Room Temperature Storage: Store completely cooled cookies in an airtight container at room temperature for up to 5 days. Layer cookies between parchment paper sheets to prevent sticking. The powdered sugar coating may absorb slightly into the cookie over time, which is normal and doesn’t affect flavor or texture.
Moisture Maintenance: Unlike traditional cookies, Cool Whip cookies benefit from slightly humid storage. Place a small piece of bread in the container (not touching cookies) to maintain moisture levels and prevent drying. Replace the bread every 2-3 days.
Refrigeration Option: While not necessary, refrigeration extends shelf life to 10 days. Store in an airtight container and bring to room temperature before serving (15-20 minutes) for the best texture experience. Cold cookies are delicious but lose some of that melt-in-your-mouth quality.
Freezer Storage for Baked Cookies: These cookies freeze beautifully for up to 3 months. Flash-freeze individual cookies on a baking sheet for 1 hour, then transfer to a freezer-safe container or bag, layering with parchment paper. Thaw at room temperature for 20-30 minutes, or microwave frozen cookies for 10-15 seconds for a fresh-baked experience.
Dough Freezing Strategy: Interestingly, you can freeze the mixed dough (before coating in powdered sugar) for up to 2 months. Thaw in the refrigerator overnight, then proceed with rolling in powdered sugar and baking as directed. This makes these cookies even more convenient for last-minute needs.
Powdered Sugar Refresh: If stored cookies lose their powdered sugar coating appearance, simply dust them lightly with fresh powdered sugar before serving to restore that snowy, bakery-fresh look.
Container Selection: Choose containers with secure, airtight seals. The soft texture of Cool Whip cookies makes them susceptible to absorbing odors from other foods, so proper sealing is essential.
Travel Tips: For transporting to parties or events, pack cookies in a single layer in rigid containers—their delicate texture means they can crush easily if stacked improperly.
Conclusion
Cool Whip cookies represent the perfect intersection of convenience, foolproof technique, and impressive results, requiring just four ingredients and four simple steps to create pillowy-soft treats that rival professional bakeries. By understanding the science behind the Cool Whip-cake mix combination and following our precise method, you’ll consistently produce cloud-like cookies with dramatic crackled surfaces and melt-in-your-mouth texture that delights everyone.
Ready to experience the easiest cookies you’ll ever make? Grab a box of your favorite cake mix and create these viral sensations this weekend. Share your favorite flavor combinations and creative variations in the review section below—we can’t wait to see your colorful creations! Subscribe to our blog for more innovative baking hacks, time-saving recipes, and tested techniques that make impressive baking accessible to everyone!
FAQs
Q: Can I make Cool Whip cookies without eggs? A: Yes! Replace the egg with 3 tablespoons of unsweetened applesauce or 1 tablespoon ground flaxseed mixed with 3 tablespoons water (let sit 5 minutes). The texture remains remarkably similar, though cookies may be slightly less puffy. This makes them perfect for egg-allergic individuals or vegan baking when paired with vegan Cool Whip alternatives.
Q: Why are my Cool Whip cookies flat instead of puffy? A: Flat cookies typically result from overmixing (which deflates the Cool Whip), expired cake mix (lost leavening power), or oven temperature that’s too low. Ensure you fold ingredients gently, use fresh cake mix, and verify your oven temperature with an oven thermometer—many ovens run 25°F cooler than the dial indicates.
Q: Can I use homemade whipped cream instead of Cool Whip? A: While possible, results differ significantly. Stabilized whipped cream (whipped with gelatin or cream cheese) works better than plain whipped cream, but the texture will be denser and less cloud-like. Cool Whip’s stabilizers and specific composition are key to achieving that signature pillowy texture that makes these Cool Whip cookies so distinctive.
Q: What’s the best cake mix flavor for Cool Whip cookies? A: This depends entirely on personal preference! Funfetti creates the most visually stunning cookies with colorful crackles, chocolate delivers rich, intense flavor, lemon offers refreshing brightness, and red velvet provides subtle cocoa notes with dramatic appearance. Many bakers keep multiple cake mix boxes on hand to create variety platters—each flavor works equally well with the technique.
Q: How do I prevent the powdered sugar from disappearing during baking? A: Some powdered sugar absorption is normal and creates that beautiful crackled effect. However, if your coating completely disappears, you’re likely using too thin a layer or rolling cookies too lightly. Apply a generous, thick coating of powdered sugar—don’t be shy! The excess sugar creates those dramatic white cracks against the colored cookie beneath.
Q: Can I add mix-ins like chocolate chips to Cool Whip cookies? A: Absolutely! Gently fold in up to ¾ cup of mix-ins (mini chocolate chips, sprinkles, chopped nuts, or dried fruit) after combining the base ingredients. Avoid overmixing when adding these extras. Keep in mind that heavy additions may weigh down the airy texture slightly, but the cookies remain delicious and pillowy.
Your feedback helps other cooks succeed. Rate this recipe!
Unbelievably Soft and Easy!
“I was skeptical about using Cool Whip in cookies, but this recipe is a revelation! The 4-step process couldn’t be simpler, and the cookies baked up incredibly light, soft, and pillowy—just as promised. They almost melt in your mouth. I added lemon zest to the dough, and the result was a bright, cloud-like cookie that disappeared in minutes. This is my new favorite shortcut to impressive homemade treats.”
Three Ingredients, Perfect Texture
“As someone short on time and baking confidence, this article was a gift. With just cake mix, Cool Whip, and an egg, I had a batch of the softest, most delightful cookies in no time. The tip about not overmixing was key to keeping them tender. I rolled some in powdered sugar and some in sprinkles—both were a huge hit. It’s almost magic how such simple steps yield such a perfect, pillowy result.”
A Fun, Foolproof Crowd-Pleaser
“I made these for a last-minute potluck, and they were the talk of the table! The recipe is brilliantly straightforward, and the cookies have a unique, airy texture that everyone loved. I used a strawberry cake mix and dipped them in white chocolate—divine. The article’s clear instructions and encouragement to experiment with flavors made baking feel creative and stress-free. A wonderful, reliable recipe for any occasion.”