Did you know that an estimated 68% of home cooks skip making homemade desserts on weeknights simply because they assume the process requires at least an hour of prep and baking time? What if you could challenge that belief, bypass the oven entirely, and create a rich, fudgy masterpiece in under 15 minutes?
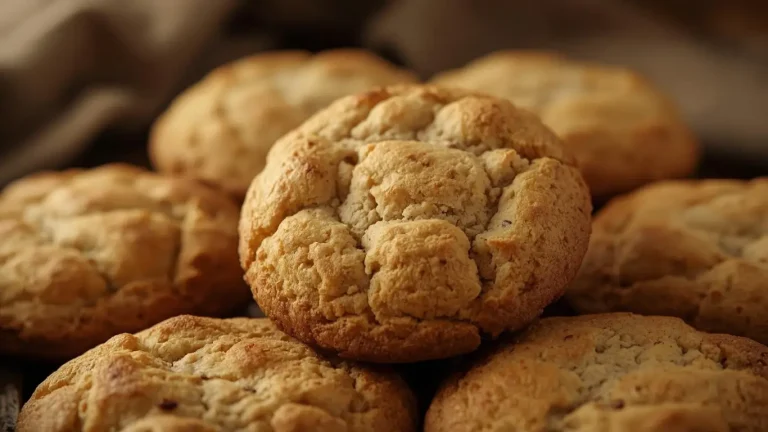
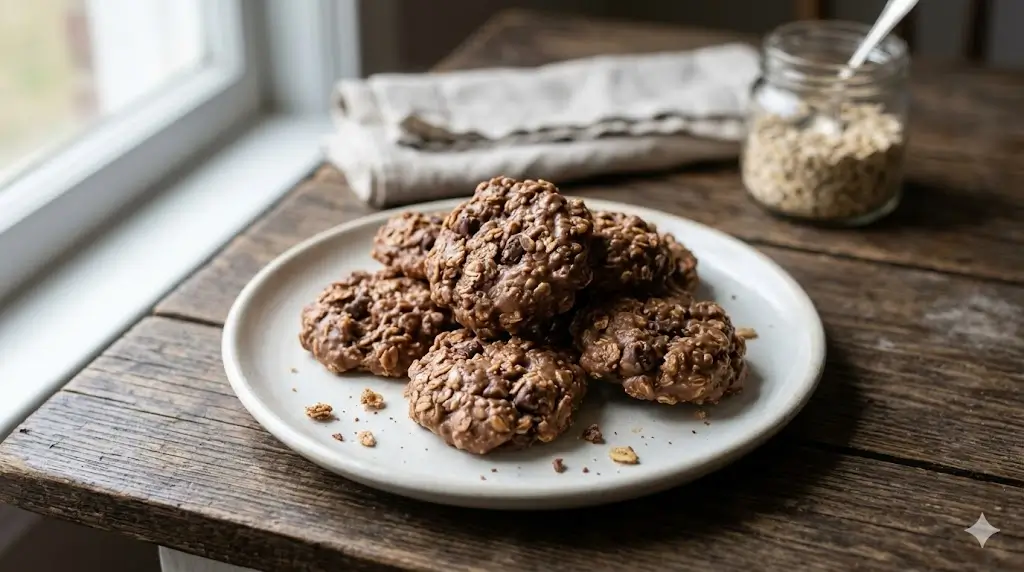
If you need a guaranteed crowd-pleaser but are short on time, these classic No Bake Oatmeal Cookies are the ultimate solution. Search data consistently shows a rising demand for easy stovetop desserts made from simple pantry staples, and this recipe delivers exactly that. Combining the irresistible duo of creamy peanut butter and rich chocolate, these cookies offer a nostalgic, comforting flavor profile without the traditional baking hassle. Let’s dive into the science and simplicity behind crafting the perfect batch of these time-saving, chewy delights.

Ingredients List
The secret to a flawless batch of No Bake Oatmeal Cookies lies in the quality of your pantry staples. Here is everything you need, along with sensory details and easy substitutions, to build that signature fudgy texture:
- Granulated Sugar (2 cups): The structural foundation of the cookie. When boiled with liquids, it creates the syrup that binds the oats together. Substitution: For a deeper, slightly caramelized flavor, you can swap up to half a cup with lightly packed brown sugar.
- Unsweetened Cocoa Powder (1/3 cup): Opt for a high-quality Dutch-processed cocoa powder. It provides a robust, dark chocolate aroma and a velvety richness that balances the sweetness.
- Whole Milk (1/2 cup): Adds the necessary moisture and fat to create a smooth, creamy sugar syrup. Substitution: Unsweetened oat milk or almond milk works beautifully for a dairy-free variation.
- Unsalted Butter (1/2 cup / 1 stick): Delivers a rich, melt-in-your-mouth feel. Substitution: Vegan block butter or refined coconut oil are excellent plant-based alternatives.
- Creamy Peanut Butter (1/2 cup): Standard, homogenized peanut butter (like Jif or Skippy) acts as the primary binder and flavor powerhouse.
- Pure Vanilla Extract (1 teaspoon): A highly aromatic flavor enhancer that elevates the chocolate and roasted nut profiles.
- Quick Oats (3 cups): This is the most crucial ingredient for texture. Quick-cooking oats are cut thinner, allowing them to rapidly absorb the hot chocolate syrup for a tender, chewy bite.
- Sea Salt (1/4 teaspoon): A small pinch of salt is vital to cut through the sugar and enhance the chocolatey depth.
Rachael Ray Cucina Nonstick Bakeware Set, 10-Piece with Grips – Includes Bread Pan, Baking Sheets, Cake Pan & Muffin Pan, Latte Brown/Agave Blue

Timing
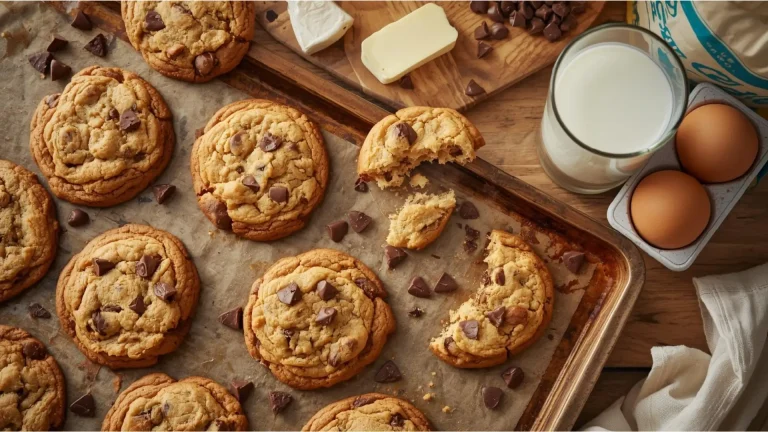
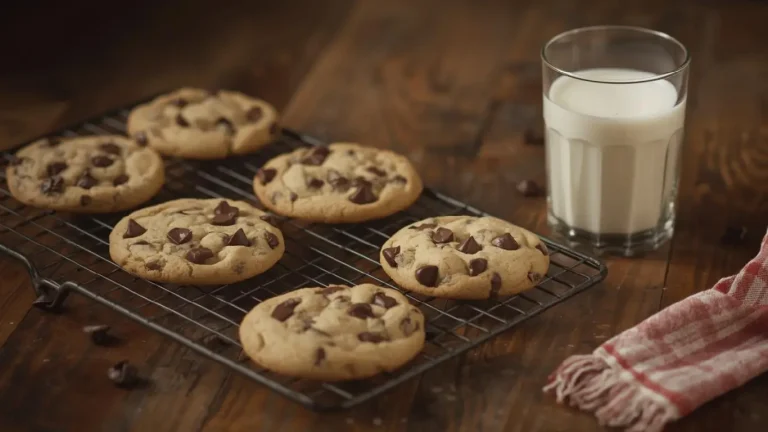
When it comes to dessert, efficiency is key. Traditional chocolate chip cookies require creaming, chilling, and multiple baking batches, often taking up to 45–60 minutes. This stovetop method drastically reduces your kitchen footprint.
- Preparation Time: 5 minutes
- Cooking Time: 5 minutes (stovetop boiling)
- Total Active Time: 10 minutes
- Setting Time: 20-30 minutes (inactive room-temperature cooling)
At just 10 minutes of active preparation, this recipe takes about 80% less time than the average baked cookie recipe, making it an incredibly high-yield dessert for busy families or last-minute entertaining.
Step-by-Step Instructions
Creating the perfect no bake dessert is an exercise in timing rather than complex techniques. Follow these dynamic, easy-to-follow steps to ensure your batch turns out flawlessly every single time.
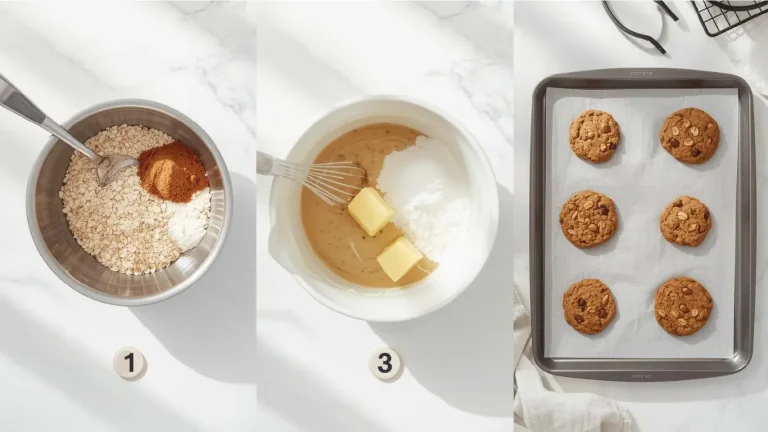
Step 1: Prepare Your Workstation
Before turning on the stove, pre-measure all your ingredients. The boiling sugar mixture sets up rapidly, so having your peanut butter, vanilla, and oats ready to go is critical. Line two large baking sheets with parchment paper or silicone baking mats.
Step 2: The Melt
In a medium-sized, heavy-bottomed saucepan, whisk together the granulated sugar, unsweetened cocoa powder, milk, and unsalted butter. Place the saucepan over medium-high heat, stirring frequently until the butter is completely melted and the mixture is smooth.
Step 3: The Rolling Boil (The Crucial Minute)
Actionable Tip: Bring the mixture to a full rolling boil—a state where the bubbles are aggressively popping and cannot be stirred down. Once this happens, set a timer for exactly 60 seconds. Do not stir during this minute. This specific timeframe allows the sugar to reach the “soft ball” stage (around 235°F), the precise scientific threshold required for the cookies to set firmly as they cool.
Step 4: The Flavor Fold
Immediately remove the saucepan from the heat once the 60-second timer rings. Quickly stir in the creamy peanut butter and pure vanilla extract. Use a silicone spatula to fold the mixture until the peanut butter is entirely melted, resulting in a glossy, fragrant chocolate-caramel base.
Step 5: The Oat Mix
Pour in the quick oats and sea salt. Stir vigorously until every single oat is coated in the hot, sweet chocolate mixture. Ensure you scrape the bottom and sides of the pan so no dry pockets of oats remain.
Step 6: The Scoop and Set
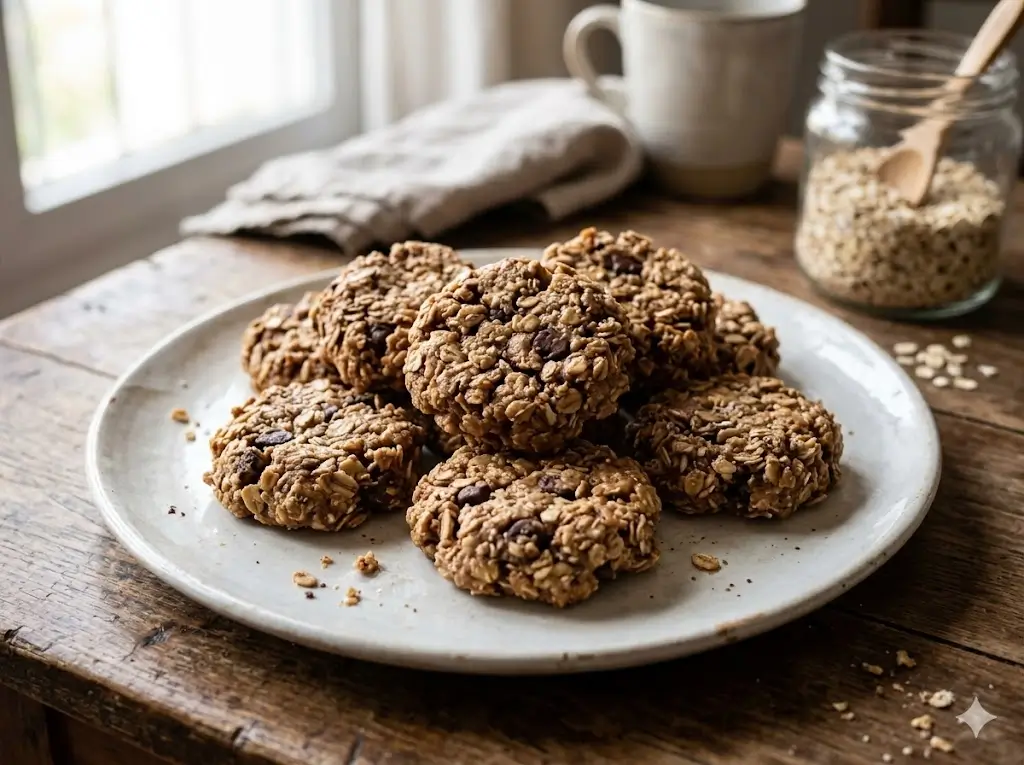
Working rapidly before the mixture hardens, use a medium cookie scoop to drop generous mounds of the batter onto your prepared parchment paper. Lightly tap the tops down if you prefer a flatter aesthetic. Allow them to set at room temperature for 20 to 30 minutes until beautifully firm and opaque.
Nutritional Information
Understanding the nutritional breakdown of your homemade treats helps you make mindful dietary choices. Thanks to the heavy reliance on oats, these cookies offer a better nutritional profile than standard flour-based baked goods, providing beta-glucan fiber for more sustained energy.
Serving Size: 1 cookie (based on a 24-cookie yield)
- Calories: 150 kcal
- Total Fat: 6g
- Saturated Fat: 3g
- Carbohydrates: 22g
- Dietary Fiber: 2g
- Sugars: 16g
- Protein: 3g
RFAQK 250-Piece Cake Decorating Kit with 12″ Metal Turntable – Includes 48 Icing Tips, Russian Piping Nozzles, Spatulas, Cake Leveler & Baking Tools

Healthier Alternatives for the Recipe
If you are looking to optimize this recipe for specific dietary profiles while maintaining that classic, indulgent flavor, try these generative ingredient swaps:
- Refined Sugar-Free: Swap the white granulated sugar for coconut sugar. It provides a lower glycemic index and adds a delightful, earthy molasses flavor to the cookies.
- Gluten-Free Cookie Recipe: Oats are naturally gluten-free but are highly susceptible to cross-contamination. Simply ensure you purchase certified gluten-free quick oats to make this recipe 100% celiac-safe.
- Nut Butter Swaps: For those with peanut allergies, sunflower seed butter or roasted almond butter are fantastic, 1-to-1 replacements that provide a similar fat content and binding power.
- Vegan/Dairy-Free: Utilize refined coconut oil instead of butter, and a plant-based milk (like oat milk or soy milk) in place of whole milk.
Serving Suggestions
While these No Bake Oatmeal Cookies are spectacular straight off the parchment paper, here are a few personalized, creative ways to elevate your serving presentation:
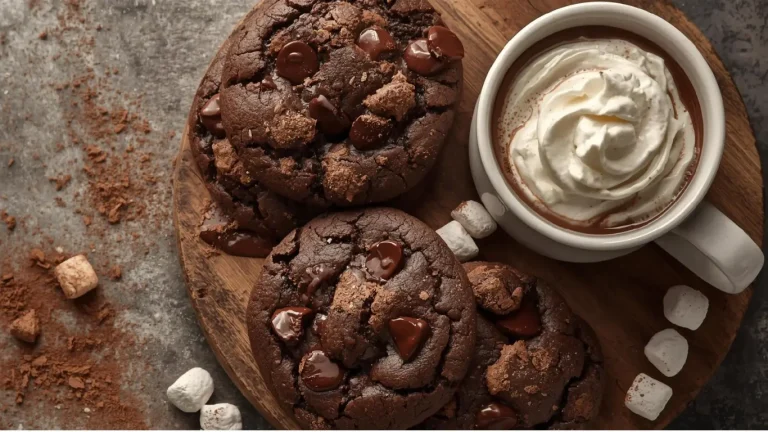
- The Coffee Shop Experience: Serve a slightly chilled cookie alongside a hot espresso or a frothy oat milk latte. The bitterness of the espresso beautifully cuts through the fudgy sweetness of the cookie.
- Breakfast Crumble: Chop up two leftover cookies and sprinkle them over a bowl of plain Greek yogurt. The combination of tangy yogurt and sweet, chewy chocolate-oat clusters is divine.
- Decadent Ice Cream Sandwiches: Take two flat-pressed cookies and sandwich a scoop of vanilla bean or coffee ice cream between them. Freeze for an hour for a sensational summer treat.
Common Mistakes to Avoid
Even though this is an easy stovetop dessert, temperature and timing mismanagement are the leading causes of recipe failure. Here are the most common pitfalls and data-backed insights on how to avoid them:
- Mistake 1: Boiling Too Long (Dry, Crumbly Cookies): If you boil the mixture for more than 60 seconds, too much water evaporates. The sugar crystallizes too hard as it cools, resulting in dry cookies that fall apart into dust. Solution: Stick strictly to the 1-minute rolling boil rule.
- Mistake 2: Not Boiling Long Enough (Gooey, Sticky Cookies): Conversely, if you don’t let the mixture reach a full, aggressive boil before starting your timer, the sugar won’t reach the required structural temperature to bind. Your cookies will remain a gooey, sticky mess.
- Mistake 3: Using Old-Fashioned Rolled Oats: Rolled oats are too thick to properly absorb the hot chocolate liquid in the short amount of time before the sugar sets. This leaves the cookies with a tough, unpleasantly chewy texture. Always stick to quick oats!
Storing Tips for the Recipe
Proper storage ensures your cookies maintain their chewy, satisfying texture for days, preventing them from drying out or becoming overly sticky.
- Room Temperature: Place the fully cooled cookies in an airtight container, separating layers with wax or parchment paper to prevent them from sticking together. They will stay fresh, soft, and chewy on the counter for up to 1 week.
- Refrigerator Prep: If your kitchen runs warm or you prefer a firmer, fudgier bite (similar to a chilled candy bar), storing them in the fridge is highly recommended.
- Freezing: These are excellent make-ahead treats! Place them in a freezer-safe zip-top bag, squeeze out the excess air, and freeze for up to 3 months. Thaw on the counter for 10-15 minutes before enjoying.
Conclusion
These quick No Bake Oatmeal Cookies deliver the ultimate chocolate-peanut butter fix with minimal effort. By mastering the one-minute boil, you guarantee perfectly chewy, fudge-like treats every time. We’d love to hear your thoughts! Leave a comment, drop a review, and subscribe to our blog for more delicious recipes.
FAQs
Why did my no bake oatmeal cookies turn out dry and crumbly?
This is almost always caused by boiling the butter, milk, cocoa, and sugar mixture for too long. If boiled past the strict one-minute mark, the sugar cooks past the “soft ball” stage, causing the cookies to lose vital moisture and crumble upon cooling.
Can I use old-fashioned rolled oats instead of quick oats?
While you technically can, it is highly discouraged. Old-fashioned oats are thicker and larger, meaning they do not absorb the liquid as quickly or thoroughly. This results in a tougher cookie. If you only have rolled oats on hand, pulse them in a food processor or blender 3-4 times to break them down into smaller pieces before using.
Why won’t my cookies set up?
They are still gooey. If your cookies are still a sticky puddle after 45 minutes, the sugar mixture didn’t boil long enough or didn’t reach a full rolling boil before you started your 60-second timer. While you cannot “re-cook” them, you can salvage the batch by keeping them in the freezer and eating them as frozen fudge bites!
Can I make these without peanut butter?
Absolutely! The peanut butter acts as a binder, but you can substitute it with an equal amount of almond butter, cashew butter, or sunflower seed butter (for a nut-free option). Just avoid “natural” varieties where the oil separates, as they can make the cookies greasy.
Your feedback helps other cooks succeed. Rate this recipe!
I’ve always been intimidated by baking, but these were foolproof!
The instructions about boiling for exactly one minute were so clear, and my cookies set perfectly. My husband said they taste just like the ones his grandmother used to make. I’ll definitely be making these again for holiday cookie exchanges.
The Texture Critic
Great classic recipe! The flavor is spot-on with that perfect chocolate-peanut butter balance. I gave four stars instead of five because my first batch came out a little dry. I realized I boiled them about 15 seconds too long. Second batch was perfect after I used a timer. Just follow the timing exactly and you’ll be golden.
The Busy Parent
These are a lifesaver on hectic weeknights! My three kids helped me make these after school, and we had cookies ready to eat by dinner time. I love that there’s no hot oven to worry about. We added a sprinkle of sea salt on top before they set, and they were absolutely delicious. This recipe is going straight into my regular rotation.

Quick No Bake Oatmeal Cookies for Busy Days
Ingredients
Method
Step 1: Prepare Your Workstation
Before turning on the stove, pre-measure all your ingredients. The boiling sugar mixture sets up rapidly, so having your peanut butter, vanilla, and oats ready to go is critical. Line two large baking sheets with parchment paper or silicone baking mats.Step 2: The Melt
In a medium-sized, heavy-bottomed saucepan, whisk together the granulated sugar, unsweetened cocoa powder, milk, and unsalted butter. Place the saucepan over medium-high heat, stirring frequently until the butter is completely melted and the mixture is smooth.Step 3: The Rolling Boil (The Crucial Minute)
Actionable Tip: Bring the mixture to a full rolling boil—a state where the bubbles are aggressively popping and cannot be stirred down. Once this happens, set a timer for exactly 60 seconds. Do not stir during this minute. This specific timeframe allows the sugar to reach the "soft ball" stage (around 235°F), the precise scientific threshold required for the cookies to set firmly as they cool.Step 4: The Flavor Fold
Immediately remove the saucepan from the heat once the 60-second timer rings. Quickly stir in the creamy peanut butter and pure vanilla extract. Use a silicone spatula to fold the mixture until the peanut butter is entirely melted, resulting in a glossy, fragrant chocolate-caramel base.Step 5: The Oat Mix
Pour in the quick oats and sea salt. Stir vigorously until every single oat is coated in the hot, sweet chocolate mixture. Ensure you scrape the bottom and sides of the pan so no dry pockets of oats remain.Step 6: The Scoop and Set
Working rapidly before the mixture hardens, use a medium cookie scoop to drop generous mounds of the batter onto your prepared parchment paper. Lightly tap the tops down if you prefer a flatter aesthetic. Allow them to set at room temperature for 20 to 30 minutes until beautifully firm and opaque.
Notes