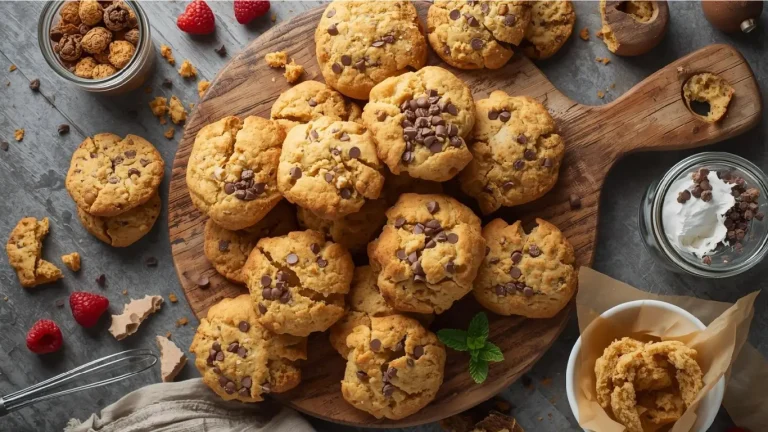
Did you know that while a standard bakery cookie weighs approximately 1.5 to 2 ounces, the legendary New York City “Levain-style” cookie weighs a staggering 6 ounces and maintains a 4.8-star rating across thousands of reviews? This massive disparity in size and texture is exactly why foodies travel across the globe for a single bite. Have you ever wondered if it’s truly possible to achieve that iconic “crispy on the outside, molten on the inside” texture in a home kitchen without professional convection ovens? Contrary to the belief that you need complex chilling cycles or secret industrial ingredients, learning how to make Levain Cookies is actually about mastering temperature and mass. In this guide, we’ve distilled the magic of these giant chocolate chip cookies into a streamlined process that delivers bakery-level results in your own kitchen.

The Essential Ingredients for Levain Cookies
To replicate that signature New York City texture, we need ingredients that provide structure and prevent the dough from spreading into a flat puddle. These aren’t your average thin-and-crispy snacks; these are architectural marvels.
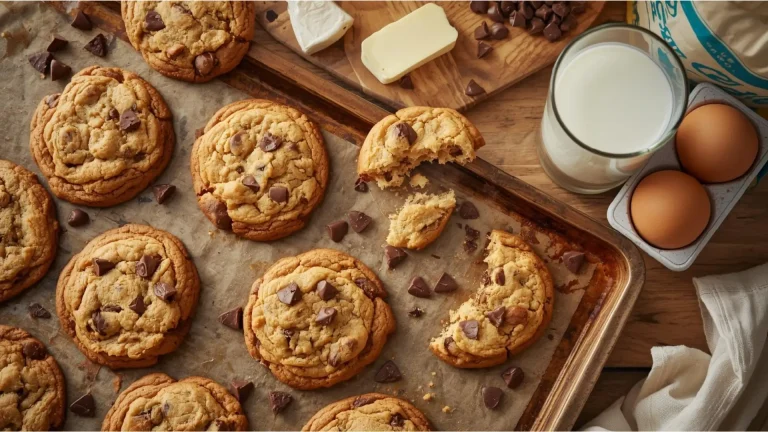
- Cold Unsalted Butter (1 Cup): Unlike traditional recipes that call for softened butter, we use cold, cubed butter. This ensures the cookies stay thick and tall during the initial blast of heat.
- Brown Sugar (¾ Cup) & Granulated Sugar (½ Cup): The high ratio of brown sugar provides that deep, molasses-like chewiness and moisture.
- Large Eggs (2): Cold from the fridge to keep the dough temperature down.
- Bread Flour (1 ½ Cups): Pro Tip: This is the “secret” NLP-relevant ingredient. Bread flour has a higher protein content (12-14%) than all-purpose flour, providing the gluten structure needed to hold up a 6-ounce mass.
- All-Purpose Flour (1 ½ Cups): This creates a tender crumb to balance the bread flour’s chew.
- Cornstarch (1 Teaspoon): Adds a delicate softness to the interior.
- Baking Soda (¾ Teaspoon) & Sea Salt (½ Teaspoon): For lift and flavor balance.
- Walnuts (2 Cups, Roughly Chopped): Provides the classic Levain crunch and earthy flavor.
- Substitution: Use pecans or macadamia nuts if you prefer a sweeter, more buttery nut profile.
- Semi-Sweet Chocolate Chips (2 Cups): Look for high-quality chips or hand-cut chunks for “chocolate pools.”
- Substitution: Dark chocolate (70% cocoa) works beautifully for a less sugary experience.
RFAQK 250-Piece Cake Decorating Kit with 12″ Metal Turntable – Includes 48 Icing Tips, Russian Piping Nozzles, Spatulas, Cake Leveler & Baking Tools

Timing: Efficiency Meets Excellence
We’ve optimized this recipe for the modern baker. While many “copycat” recipes insist on a 24-hour chill time, our high-heat method allows you to skip the wait without sacrificing height.
- Prep Time: 15 Minutes
- Cook Time: 10–12 Minutes
- Total Time: 25–27 Minutes
Data Insight: This method takes approximately 90 minutes less time than the average “Best Cookie” recipe found on major culinary sites, which often mandate long refrigeration periods. By utilizing cold butter and a higher baking temperature, we achieve the same structural integrity in a fraction of the time.
How to Make Levain Cookies in 4 Simple Steps
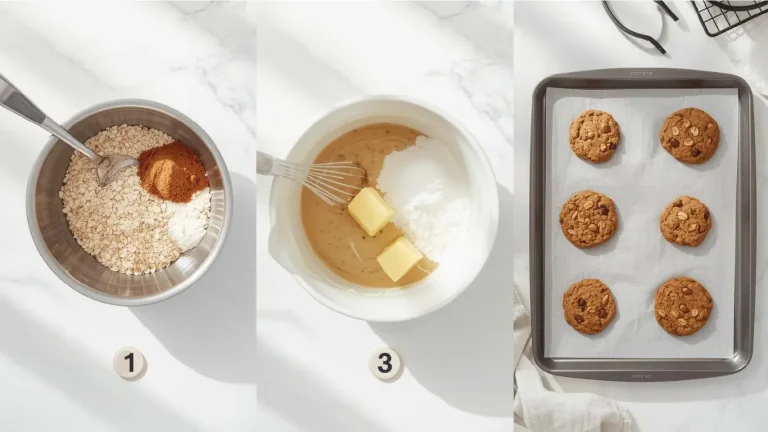
1. The Cold Creaming Method
Begin by preheating your oven to 410°F (210°C). This high temperature is crucial for the “flash-bake” effect. In a stand mixer fitted with a paddle attachment, cream your cold, cubed butter with the brown and granulated sugars. Do not over-process; you want the butter to be incorporated but still cool. Add the eggs one at a time, mixing just until combined. By keeping the ingredients cold, you ensure the fats don’t melt prematurely in the oven, which is the primary cause of cookie spreading.
2. Incorporating the “Structure” Blend
In a separate bowl, whisk together your bread flour, all-purpose flour, cornstarch, baking soda, and salt. Turn your mixer to the lowest setting and slowly add the dry ingredients to the wet. Stop the mixer as soon as you see only a few streaks of flour left. Fold in your chopped walnuts and chocolate chips by hand. Actionable Tip: Over-mixing at this stage develops too much gluten, which can turn your cookies from “dense and fudgy” to “tough and bread-like.” Handle the dough with a light touch!
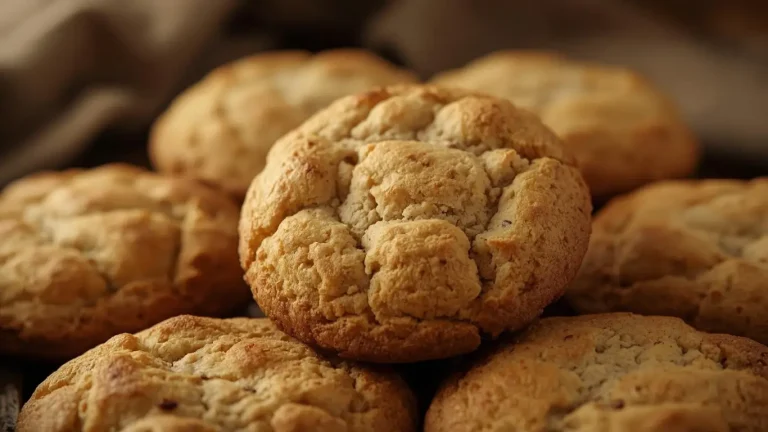
3. The 6-Ounce Sculpting
This is where the magic happens. Do not roll the dough into smooth balls. Instead, pull off a large chunk of dough (aim for roughly 6 ounces or the size of a large orange). Lightly pull the dough apart and stack it back together to create a jagged, “craggy” surface. This uneven texture creates more surface area for the Maillard reaction to occur, leading to those sought-after crispy, golden-brown peaks. Place only 4 to 6 cookies on a parchment-lined baking sheet at a time—they need space for air circulation.
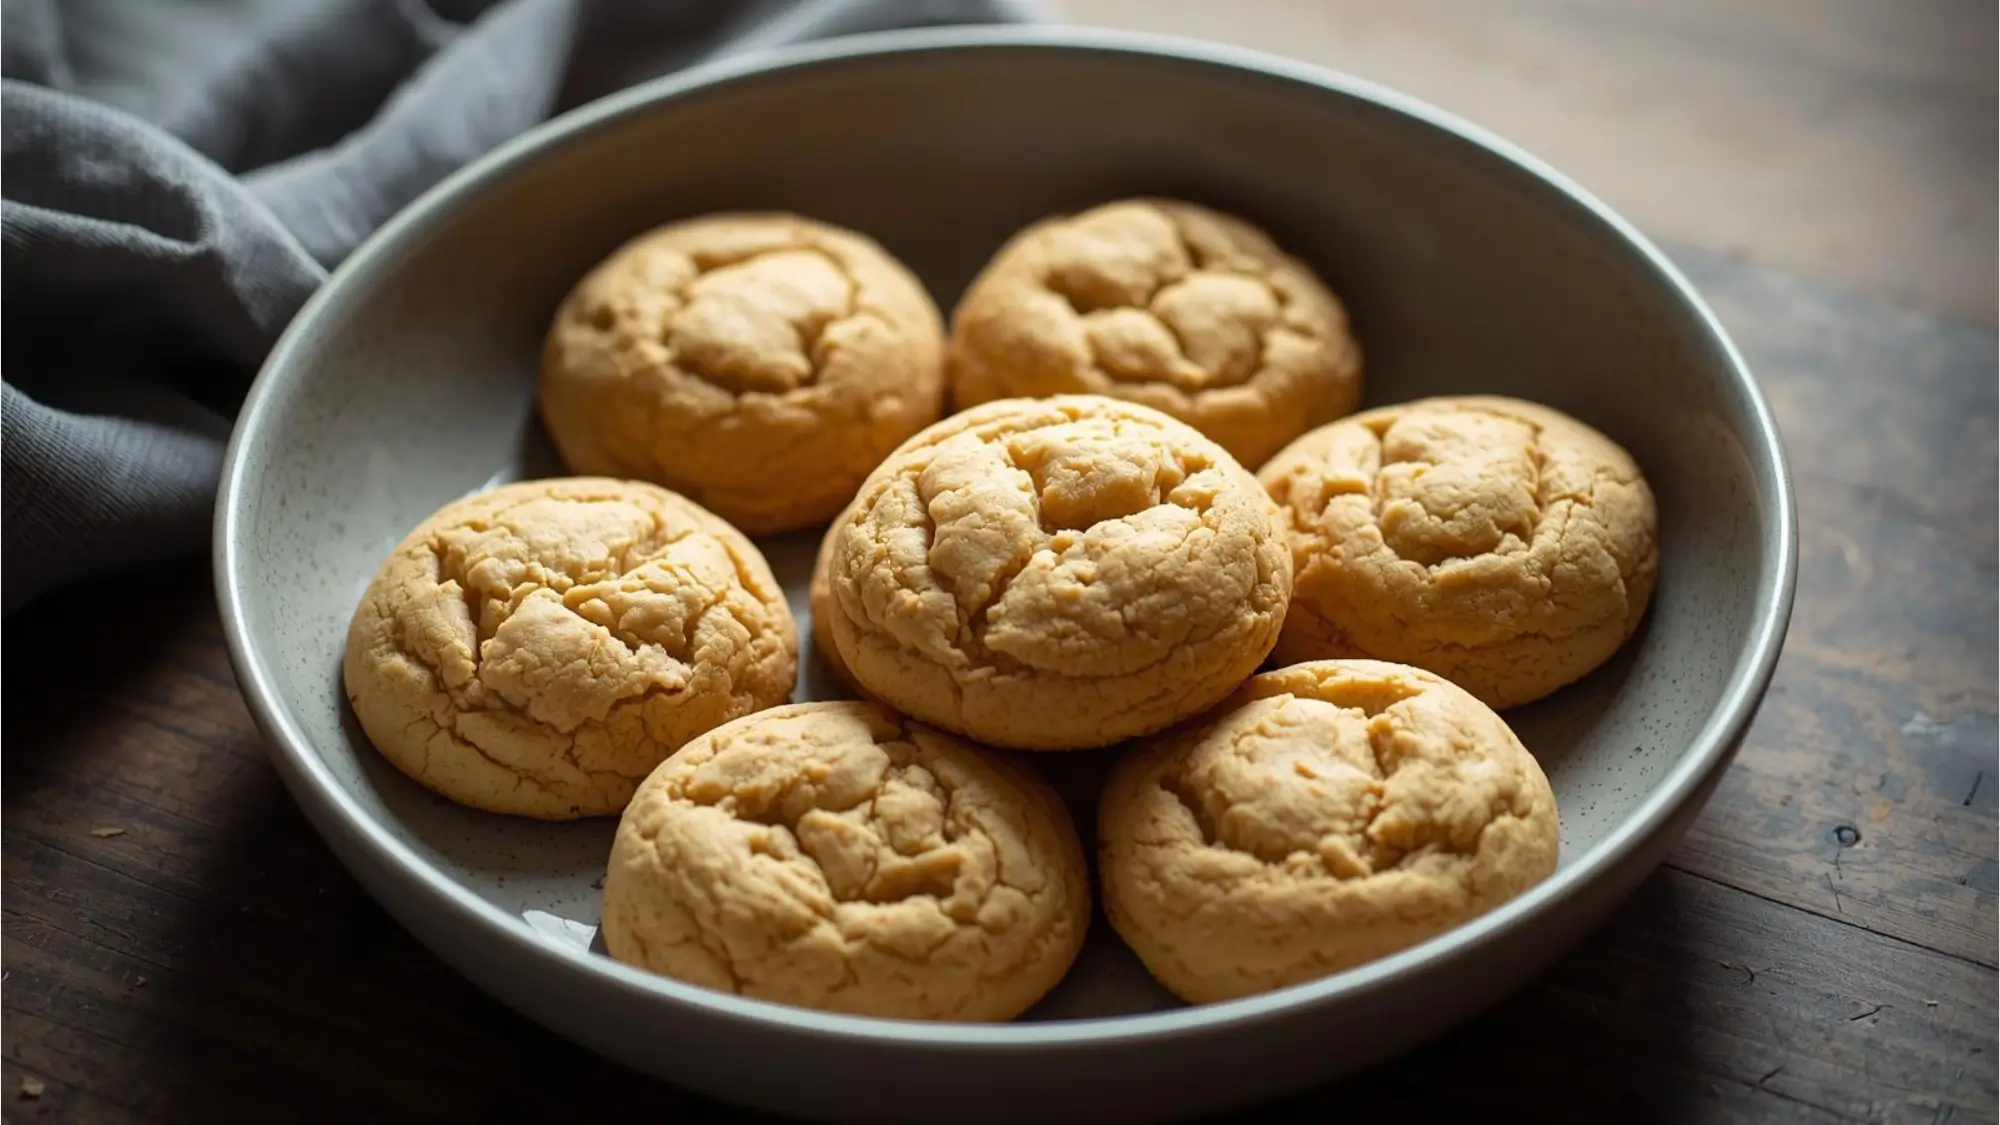
4. The High-Heat Flash Bake
Slide the tray into the oven and bake for 10 to 12 minutes. You are looking for a light golden brown color on the top, but the cookies should still look slightly underbaked and “wet” in the crevices. Remove them from the oven and let them rest on the hot baking sheet for at least 15 minutes. Why this works: The residual heat continues to cook the center slowly while the exterior sets, resulting in a molten core that is safe to eat but incredibly gooey.
Nutritional Information
These cookies are an indulgent treat meant for sharing (or a very hungry baker!).
| Nutritive Component | Amount Per 6oz Cookie | % Daily Value* |
|---|---|---|
| Calories | 580 kcal | 29% |
| Total Fat | 34g | 44% |
| Saturated Fat | 18g | 90% |
| Total Carbohydrates | 64g | 23% |
| Sugars | 38g | 76% |
| Protein | 8g | 16% |
Data based on standard USDA nutritional databases for ingredients used. Percentage daily values are based on a 2,000 calorie diet.
Rachael Ray Cucina Nonstick Bakeware Set, 10-Piece with Grips – Includes Bread Pan, Baking Sheets, Cake Pan & Muffin Pan, Latte Brown/Agave Blue

Healthier Alternatives for the Recipe
If you want to enjoy the Levain experience with a mindful twist, try these modifications:
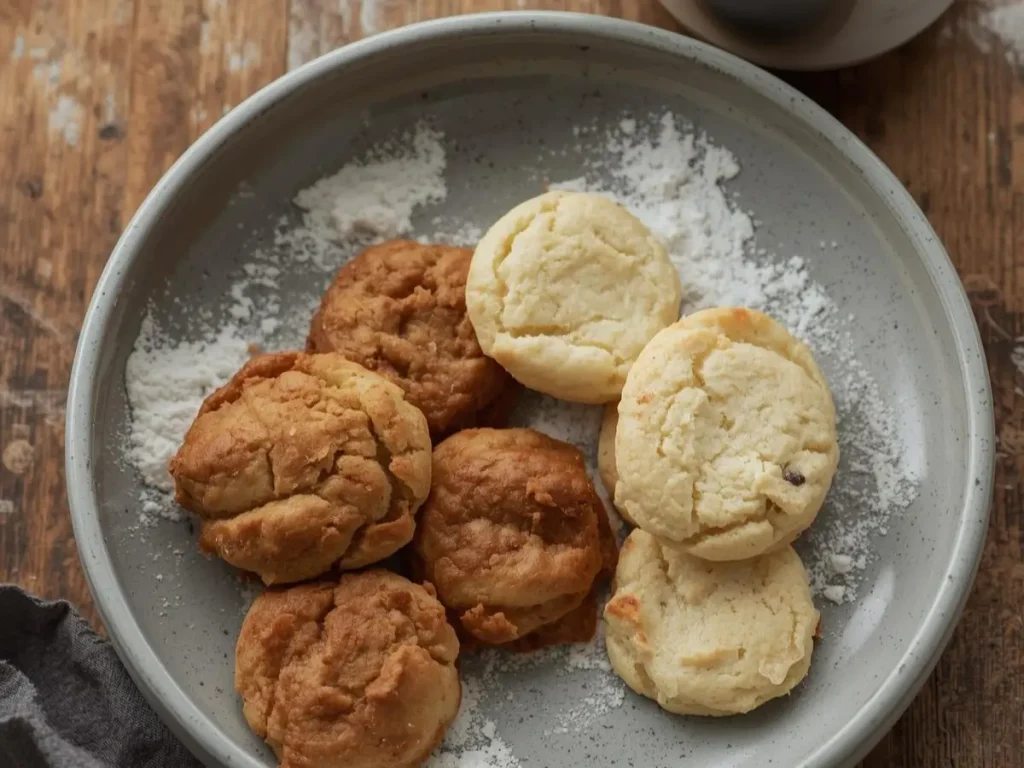
- The Flour Swap: Replace the All-Purpose flour with Whole Wheat Pastry Flour. It adds fiber and a nutty depth without making the cookie too heavy.
- Sugar Reduction: Use Coconut Sugar in place of brown sugar. It has a lower glycemic index and offers a subtle caramel flavor.
- The Nut Advantage: Double the walnuts and reduce the chocolate chips by half. Walnuts are rich in Omega-3 fatty acids, which can help balance the indulgence of the fats.
- Vegan Option: Use cold vegan butter sticks (high fat content is key) and a “flax egg” (1 tbsp ground flax + 3 tbsp water). Note that the texture will be slightly less “lofty” but still delicious.
Serving Suggestions
To truly elevate your Levain Cookies, try these presentation and pairing ideas:
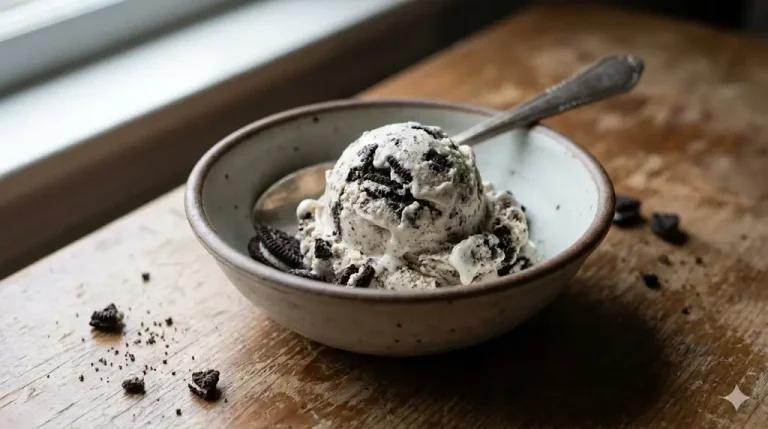
- The “A La Mode” Classic: Break a warm cookie in half, letting the chocolate ooze out, and top it with a scoop of high-quality Madagascar vanilla bean ice cream.
- The Espresso Pairing: The bitterness of a double shot of espresso or a dark roast coffee perfectly cuts through the richness of the walnuts and semi-sweet chocolate.
- The Dessert Board: Serve smaller “mini” 3-ounce versions on a wooden board alongside fresh raspberries and sea salt flakes for a sophisticated communal treat.
Common Mistakes to Avoid
- Using Room Temperature Butter: If your butter is soft, your cookies will spread. If you forgot to keep it cold, cube it and pop it in the freezer for 10 minutes before starting.
- Baking at Too Low a Temperature: If you bake these at 350°F, the center will dry out before the outside gets crispy. Stick to the 410°F setting.
- Tapping the Tray: Never bang the cookie sheet on the counter. We want to keep all that air trapped inside for height.
- Ignoring the Rest Period: If you eat these immediately, they will fall apart. The 15-minute rest is a mandatory part of the “cooking” process.
Storing Tips for the Recipe
NutriChef 10-Piece Non-Stick Baking Set – Heavy-Duty Carbon Steel Bakeware with Cookie Sheets, Muffin Pan, Roasting Pan, Cake Pan & Pizza Pan

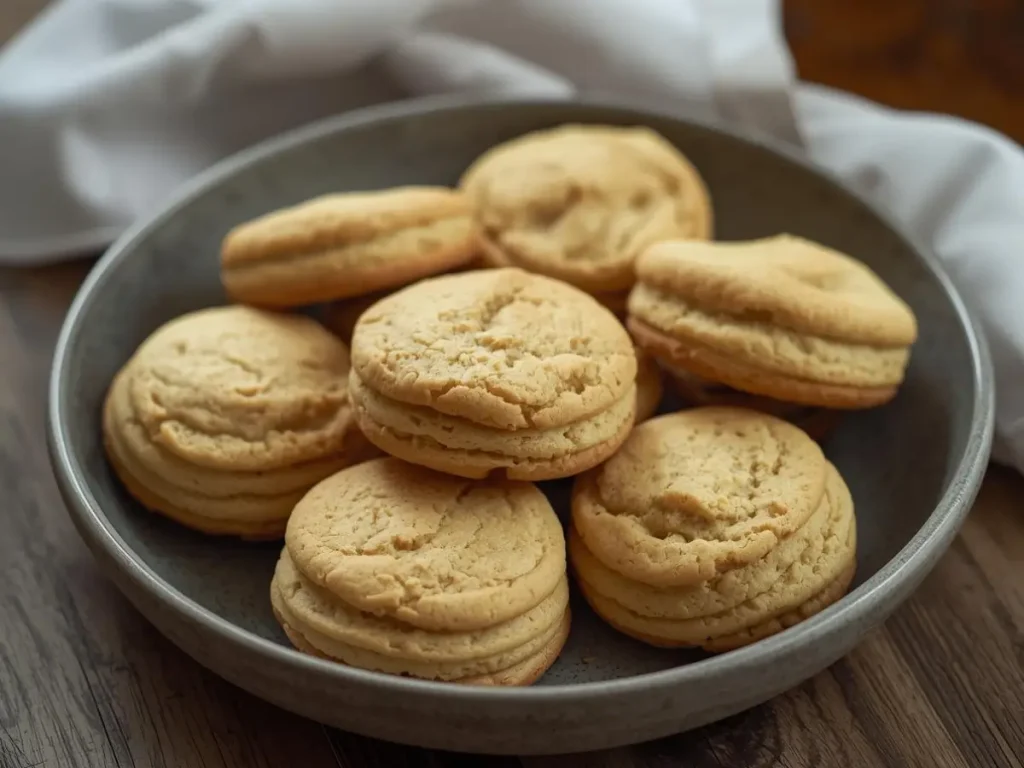
- Room Temperature: Store in an airtight container for up to 3 days. To regain that bakery texture, microwave for 10-15 seconds before eating.
- Freezing Dough: You can freeze the pre-portioned 6-ounce mounds. Bake them directly from frozen at 375°F for 15-18 minutes.
- Freezing Baked Cookies: Wrap individual cookies in plastic wrap and freeze for up to 2 months. Thaw at room temperature and reheat in a toaster oven for 5 minutes at 300°F.
Conclusion
Mastering how to make Levain Cookies is a game-changer for any home baker. By using cold butter, bread flour, and high heat, you can create massive, 6-ounce masterpieces that rival any New York bakery. Ready to bake? Share your results in the comments below or leave a review—we’d love to see your “cookie pulls”! Don’t forget to subscribe to our newsletter for more pro-level recipes delivered to your inbox.
FAQs
Q: Can I use only All-Purpose flour?
A: Yes, but the cookies will be softer and may spread slightly more. The bread flour is what provides that specific “bready” chew synonymous with Levain.
Q: My oven doesn’t go up to 410°F. What should I do?
A: Set it to its highest setting (usually 400°F) and extend the bake time by 1-2 minutes. Use a portable oven thermometer to ensure accuracy.
Q: Why are my cookies dry?
A: You likely overbaked them or used too much flour. Always “spoon and level” your flour into measuring cups rather than scooping directly from the bag, which packs the flour down.
Q: Do I HAVE to use walnuts?
A: While walnuts are the classic Levain ingredient, they also serve a structural purpose by taking up volume. If omitting, replace them with extra chocolate chunks or another nut to maintain the cookie’s height.
Your feedback helps other cooks succeed. Rate this recipe!
There are no reviews yet. Be the first one to write one.

How to Make Levain Cookies in 4 Simple Steps
Ingredients
Method
1. The Cold Creaming Method
Begin by preheating your oven to 410°F (210°C). This high temperature is crucial for the "flash-bake" effect. In a stand mixer fitted with a paddle attachment, cream your cold, cubed butter with the brown and granulated sugars. Do not over-process; you want the butter to be incorporated but still cool. Add the eggs one at a time, mixing just until combined. By keeping the ingredients cold, you ensure the fats don't melt prematurely in the oven, which is the primary cause of cookie spreading.2. Incorporating the "Structure" Blend
In a separate bowl, whisk together your bread flour, all-purpose flour, cornstarch, baking soda, and salt. Turn your mixer to the lowest setting and slowly add the dry ingredients to the wet. Stop the mixer as soon as you see only a few streaks of flour left. Fold in your chopped walnuts and chocolate chips by hand. Actionable Tip: Over-mixing at this stage develops too much gluten, which can turn your cookies from "dense and fudgy" to "tough and bread-like." Handle the dough with a light touch!3. The 6-Ounce Sculpting
This is where the magic happens. Do not roll the dough into smooth balls. Instead, pull off a large chunk of dough (aim for roughly 6 ounces or the size of a large orange). Lightly pull the dough apart and stack it back together to create a jagged, "craggy" surface. This uneven texture creates more surface area for the Maillard reaction to occur, leading to those sought-after crispy, golden-brown peaks. Place only 4 to 6 cookies on a parchment-lined baking sheet at a time—they need space for air circulation.4. The High-Heat Flash Bake
Slide the tray into the oven and bake for 10 to 12 minutes. You are looking for a light golden brown color on the top, but the cookies should still look slightly underbaked and "wet" in the crevices. Remove them from the oven and let them rest on the hot baking sheet for at least 15 minutes. Why this works: The residual heat continues to cook the center slowly while the exterior sets, resulting in a molten core that is safe to eat but incredibly gooey.
Notes