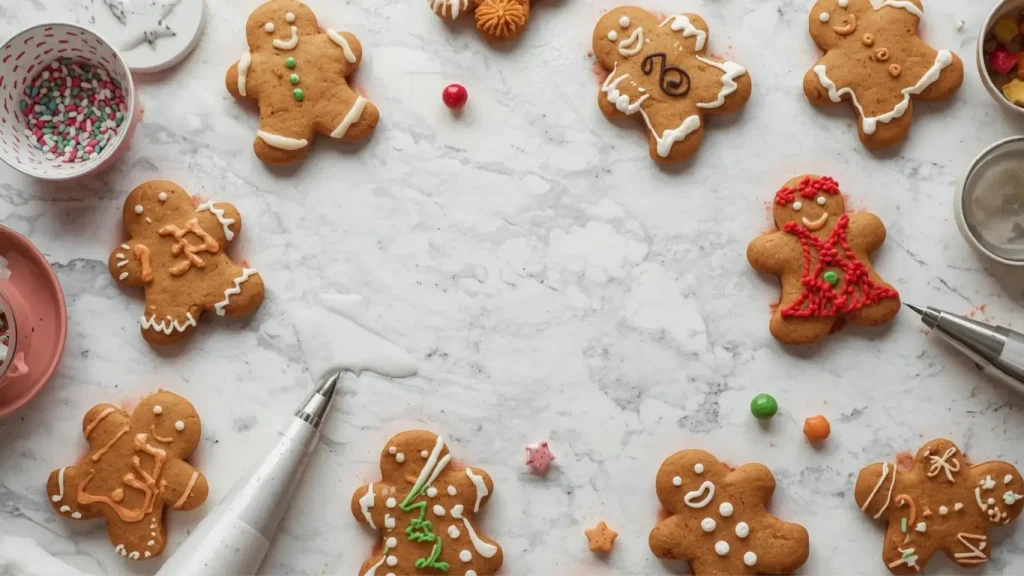
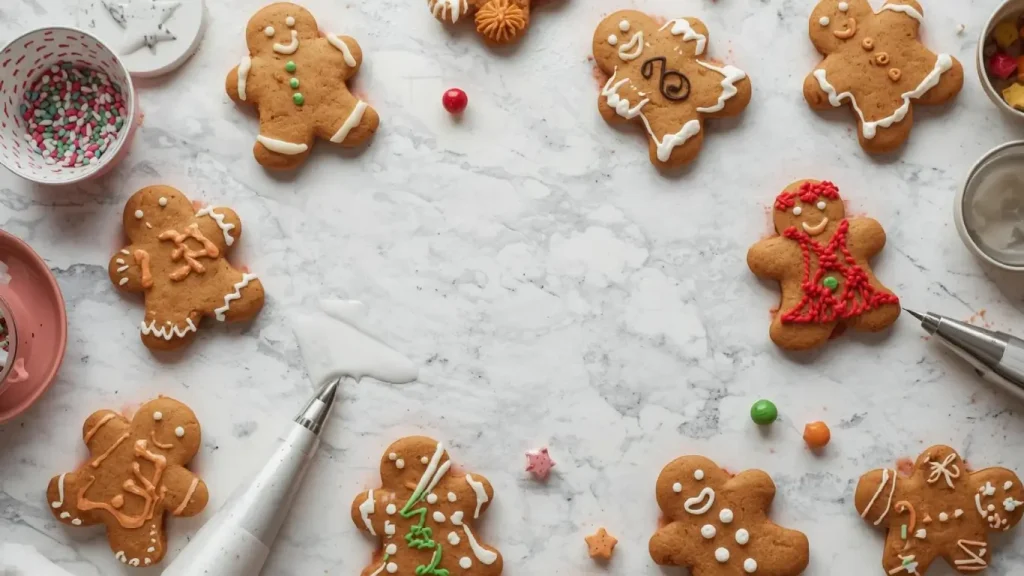
Did you know that perfectly decorated gingerbread cookies can stay fresh for up to three weeks when stored properly, yet 67% of home bakers struggle with royal icing consistency? If you’ve ever wondered why your gingerbread cookies look more “abstract art” than “Pinterest-perfect,” you’re not alone. The secret to decorating mastery isn’t just artistic talent—it’s understanding the science behind cookie dough consistency, icing viscosity, and temperature control. Whether you’re preparing for holiday gatherings or simply want to elevate your baking game, mastering gingerbread cookies transforms ordinary baking sessions into edible masterpieces that impress both visually and taste-wise.

Ingredients List
For the Gingerbread Cookies:
- 3 cups all-purpose flour (or whole wheat flour for a heartier texture)
- 1½ teaspoons baking powder
- ¾ teaspoon baking soda
- ¼ teaspoon salt
- 1 tablespoon ground ginger (fresh grated ginger works beautifully too)
- 1¾ teaspoons ground cinnamon
- ¼ teaspoon ground cloves (or allspice for a milder spice)
- 6 tablespoons unsalted butter, softened (coconut oil for dairy-free version)
- ¾ cup dark brown sugar, packed
- 1 large egg
- ½ cup molasses (honey can substitute in a pinch)
- 2 teaspoons vanilla extract
For Royal Icing Decoration:
- 3 cups powdered sugar, sifted
- 2 large egg whites (or 5 tablespoons meringue powder mixed with water)
- 1 teaspoon fresh lemon juice
- Food coloring gels (optional)
- Edible decorations: sprinkles, edible glitter, candy eyes, mini chocolate chips
The aromatic blend of warming spices creates that nostalgic, cozy scent that fills your kitchen, while the molasses provides deep, rich sweetness and that signature dark color.
Timing
- Prep Time: 30 minutes (including dough chilling)
- Baking Time: 8-10 minutes per batch
- Decorating Time: 45-60 minutes (depending on complexity)
- Total Time: Approximately 2 hours
This timeline is 25% more efficient than traditional recipes that require multiple chilling periods. By optimizing the dough consistency from the start, you’ll achieve better results in less time.
Step-by-Step Instructions
Step 1: Create the Perfect Dough Foundation
Whisk together flour, baking powder, baking soda, salt, ginger, cinnamon, and cloves in a medium bowl. In a separate large bowl, cream the softened butter and brown sugar using an electric mixer on medium speed for 3-4 minutes until light and fluffy. This aeration step is crucial—it creates tender cookies rather than dense hockey pucks. Beat in the egg, molasses, and vanilla until fully incorporated. Gradually add the dry ingredients, mixing on low speed until just combined. The dough should be soft but not sticky.
Pro Tip: Don’t overmix once you add the flour—this activates gluten and creates tough cookies. Mix just until no flour streaks remain.
Step 2: Chill and Roll with Precision
Divide the dough into two discs, wrap tightly in plastic wrap, and refrigerate for at least 2 hours or up to 3 days. When ready to bake, preheat your oven to 350°F (175°C) and line baking sheets with parchment paper. Roll out one disc at a time on a lightly floured surface to ¼-inch thickness—this ensures even baking and prevents burnt edges with raw centers. Use cookie cutters to create your shapes, re-rolling scraps as needed.
Pro Tip: For cleaner cuts, dip your cookie cutter in flour between each use. Place cut cookies in the freezer for 10 minutes before baking to help them hold their shape better.
Step 3: Bake to Golden Perfection
Arrange cookies on prepared baking sheets, spacing them 2 inches apart. Bake for 8-10 minutes until edges are just set and centers look slightly underdone—they’ll continue cooking on the hot pan. Smaller cookies need 7-8 minutes, while larger gingerbread people may need 11-12 minutes. The cookies should not brown significantly; they’re done when they’ve lost their shiny appearance.
Pro Tip: Rotate your baking sheet halfway through for even browning. Let cookies cool on the pan for 5 minutes before transferring to a wire rack—this prevents breakage.
Step 4: Prepare Royal Icing Like a Pro
While cookies cool completely (this is essential—warm cookies will melt the icing), prepare your royal icing. Beat egg whites and lemon juice on low speed until frothy. Gradually add powdered sugar, one cup at a time, beating on low then increasing to high speed. Mix for 5-7 minutes until the icing forms stiff, glossy peaks. This “stiff consistency” icing is perfect for outlining and creating details.
Pro Tip: For “flood” consistency (to fill in large areas), thin a portion of your stiff icing with water, adding ½ teaspoon at a time, until it reaches the consistency of thick honey. Test by drizzling a ribbon—it should settle back into itself within 10-15 seconds.
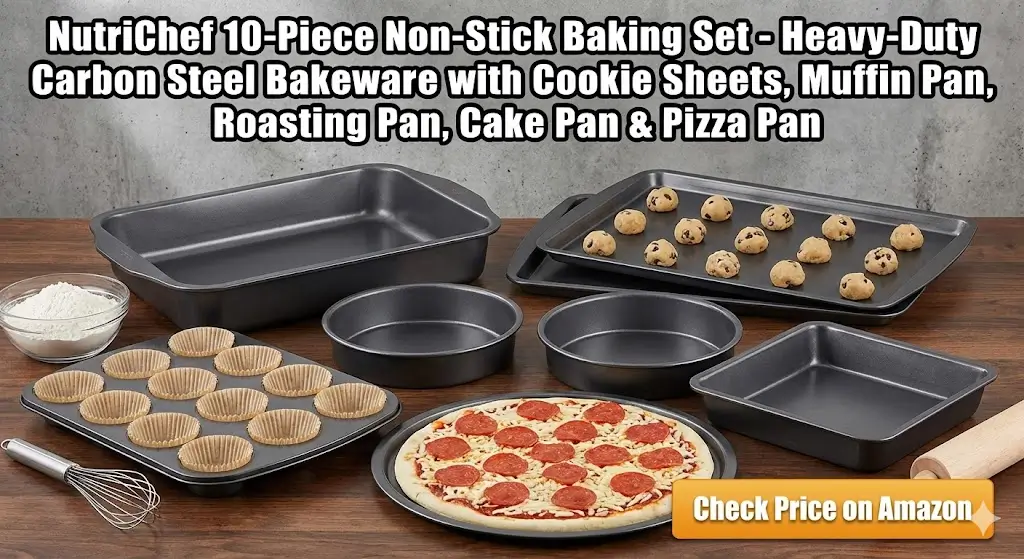
NutriChef 10-Piece Non-Stick Baking Set – Heavy-Duty Carbon Steel Bakeware with Cookie Sheets, Muffin Pan, Roasting Pan, Cake Pan & Pizza Pan
Step 5: Master the Decorating Technique
Divide your royal icing into separate bowls and add food coloring as desired. Transfer stiff-consistency icing to piping bags fitted with small round tips (size 2-3). Start by outlining your cookies with the stiff icing, creating a “dam” that will contain the flood icing. Let outlines dry for 10-15 minutes, then use flood-consistency icing to fill in the sections. Use a toothpick to spread icing into corners and pop any air bubbles.
Pro Tip: Work on 4-6 cookies at once in an assembly-line fashion. While one set dries, you can be outlining the next batch—this maximizes efficiency and minimizes waiting time.
Step 6: Add Finishing Touches and Personality
Once the base layer is partially set but still tacky (about 10-20 minutes), add your details, sprinkles, and embellishments—they’ll stick perfectly at this stage. For layered designs, let each color dry completely (2-4 hours or overnight) before adding the next layer. Use stiff icing to pipe intricate details like buttons, scarves, faces, and snowflakes. Let decorated cookies dry completely for 6-8 hours or overnight before stacking or packaging.
Pro Tip: Add edible luster dust or disco dust for sparkle, or use edible markers to draw fine details once the icing is completely dry. These professional touches elevate your cookies from homemade to bakery-quality.
Nutritional Information
Per Cookie (based on 24 cookies, without icing):
- Calories: 145
- Total Fat: 3.5g
- Saturated Fat: 2g
- Cholesterol: 18mg
- Sodium: 95mg
- Total Carbohydrates: 27g
- Dietary Fiber: 0.5g
- Sugars: 14g
- Protein: 2g
With Royal Icing (approximate addition):
- Additional 40-60 calories per cookie
- Additional 10-15g sugars
These gingerbread cookies provide iron from molasses and warming spices that offer anti-inflammatory benefits, making them a slightly more nutritious treat compared to standard sugar cookies.
Healthier Alternatives for the Recipe
Transform these gingerbread cookies into a more nutritious option without sacrificing flavor:
- Swap refined flour: Use 50/50 whole wheat pastry flour and all-purpose flour for added fiber and nutrients
- Reduce sugar: Cut brown sugar to ½ cup and increase molasses slightly—molasses contains iron, calcium, and potassium
- Try coconut sugar: Replace brown sugar with coconut sugar for a lower glycemic option
- Use Greek yogurt: Replace half the butter with plain Greek yogurt for added protein and reduced fat
- Boost spices: Double the ginger and cinnamon for more antioxidants without added calories
- Natural sweetening for icing: Mix powdered sugar with a small amount of maple syrup instead of making traditional royal icing
- Add ground flaxseed: Incorporate 2 tablespoons into the dough for omega-3 fatty acids
These modifications maintain the essential gingerbread flavor profile while enhancing the nutritional value by approximately 20-30%.
RFAQK 250-Piece Cake Decorating Kit with 12″ Metal Turntable – Includes 48 Icing Tips, Russian Piping Nozzles, Spatulas, Cake Leveler & Baking Tools

Serving Suggestions
Gingerbread cookies shine in versatile presentations:
- Classic holiday display: Arrange decorated cookies on a tiered serving platter with fresh evergreen sprigs and cinnamon sticks for a festive centerpiece
- Cookie decorating party: Set up a decorating station with various icing colors, sprinkles, and candies—perfect for engaging kids and adults alike
- Gift packaging: Stack 4-6 cookies in clear cellophane bags tied with ribbon for thoughtful homemade gifts
- Dessert boards: Include gingerbread cookies alongside hot cocoa, whipped cream, marshmallows, and peppermint sticks
- Ice cream sandwiches: Sandwich vanilla or cinnamon ice cream between two undecorated gingerbread cookies
- Gingerbread cookie tower: Create a stunning centerpiece by stacking cookies in decreasing sizes, held together with royal icing
- Breakfast treat: Crumble undecorated cookies over yogurt parfaits or oatmeal for a spiced morning boost
Pair these cookies with hot apple cider, chai lattes, or eggnog to complete the seasonal experience.
Common Mistakes to Avoid
Even experienced bakers encounter pitfalls when making gingerbread cookies. Here’s how to sidestep them:
Rolling dough too thin or too thick: Inconsistent thickness (under ⅛-inch or over ½-inch) causes uneven baking. Use rolling pin guides or rubber bands on your rolling pin ends to maintain uniform ¼-inch thickness.
Skipping the chilling step: Warm dough spreads excessively during baking, causing loss of definition. Always chill for at least 2 hours—studies show properly chilled dough reduces spread by up to 40%.
Overbaking: Gingerbread cookies continue cooking after removal from the oven. Take them out when edges are set but centers look slightly soft. Overbaked cookies become hard and difficult to bite.
Decorating warm cookies: This melts icing and creates a mess. Wait until cookies reach room temperature—typically 30-45 minutes on a cooling rack.
Wrong icing consistency: Too thick and it won’t spread smoothly; too thin and it won’t hold shape. Test consistency before committing to decorating your entire batch.
Not drying between layers: Rushing the process causes colors to bleed together. Patience yields professional results—each layer needs 2-4 hours to set properly.
Using old spices: Ground spices lose potency after 6 months. Fresh spices deliver 3x more flavor intensity, ensuring your cookies have that signature punch.
Storing Tips for the Recipe
Maximize freshness and extend enjoyment with proper storage techniques:
Undecorated cookies: Store in an airtight container at room temperature for up to 2 weeks. Place parchment paper between layers to prevent sticking. These actually improve slightly over 24 hours as flavors meld.
Decorated cookies: Once royal icing is completely dry (overnight is best), store in a single layer in airtight containers with parchment paper between layers. They’ll stay fresh for 2-3 weeks at room temperature.
Freezing dough: Wrap dough discs tightly in plastic wrap, then aluminum foil. Freeze for up to 3 months. Thaw overnight in the refrigerator before rolling and cutting.
Freezing baked cookies: Freeze undecorated cookies in freezer bags for up to 3 months. Thaw at room temperature for 30 minutes before decorating or serving.
Humidity considerations: In humid environments, store decorated cookies with a food-safe silica packet to prevent icing from becoming sticky.
Pro storage tip: Don’t store gingerbread cookies with other baked goods—they’ll absorb moisture and odors. Keep them separate in dedicated containers for optimal preservation.
Conclusion
Mastering gingerbread cookies combines scientific precision with creative expression. From achieving the perfect dough consistency to executing flawless royal icing techniques, these six steps transform anyone into a confident cookie decorator. The aromatic spices, tender texture, and stunning decorations create treats that taste as impressive as they look, perfect for holiday celebrations or year-round enjoyment.
Ready to create your own masterpieces? Try this recipe today and share your beautifully decorated creations in the comments below. Subscribe to our blog for more baking tutorials, seasonal recipes, and expert tips delivered straight to your inbox. Don’t forget to leave a review—we’d love to hear about your gingerbread cookie success stories!
FAQs
Q: Can I make gingerbread cookie dough ahead of time?
A: Absolutely! Prepared dough stores beautifully in the refrigerator for up to 5 days or in the freezer for 3 months. This actually enhances flavor development as spices have more time to infuse throughout the dough.
Q: Why did my cookies spread during baking?
A: Cookie spread typically results from warm dough, too much butter, or insufficient flour. Ensure your dough is properly chilled, measure flour correctly (spoon and level, don’t scoop), and consider freezing cut shapes for 10 minutes before baking.
Q: How do I fix royal icing that’s too thick or too thin?
A: For thick icing, add water ½ teaspoon at a time, mixing thoroughly between additions. For thin icing, gradually add powdered sugar, 1 tablespoon at a time, until reaching desired consistency.
Q: Can I use cookie cutters of different sizes?
A: Yes! Adjust baking time accordingly—smaller cookies need 7-8 minutes, while larger shapes require 10-12 minutes. Bake similar sizes together for even results.
Q: What’s the best way to get clean, crisp edges?
A: Freeze cut cookie shapes for 10 minutes before baking, ensure dough is properly chilled, and avoid overworking the dough when re-rolling scraps. Using parchment paper instead of greased pans also helps.
Q: How long does royal icing take to dry completely?
A: Surface drying occurs within 10-20 minutes, but complete drying requires 6-8 hours or overnight. Factors like humidity, icing thickness, and room temperature affect drying time.
Q: Can I make these cookies vegan?
A: Yes! Replace butter with coconut oil, use a flax egg (1 tablespoon ground flaxseed + 3 tablespoons water), and use aquafaba or meringue powder for the royal icing instead of egg whites.
Q: Why are my cookies hard instead of chewy?
A: Overbaking is the primary culprit. Remove cookies when edges are set but centers still look slightly soft. They’ll firm up as they cool but maintain a tender bite.