Did you know that visual color variety in food has been scientifically linked to increased anticipation of pleasure, a phenomenon researchers call “sensory-specific satiety”? It explains why we can’t resist a vibrant display of rainbow sprinkles. But here is the real question: Why spend hours measuring flour and sugar when you can achieve 95% of the flavor complexity with just 10% of the effort?
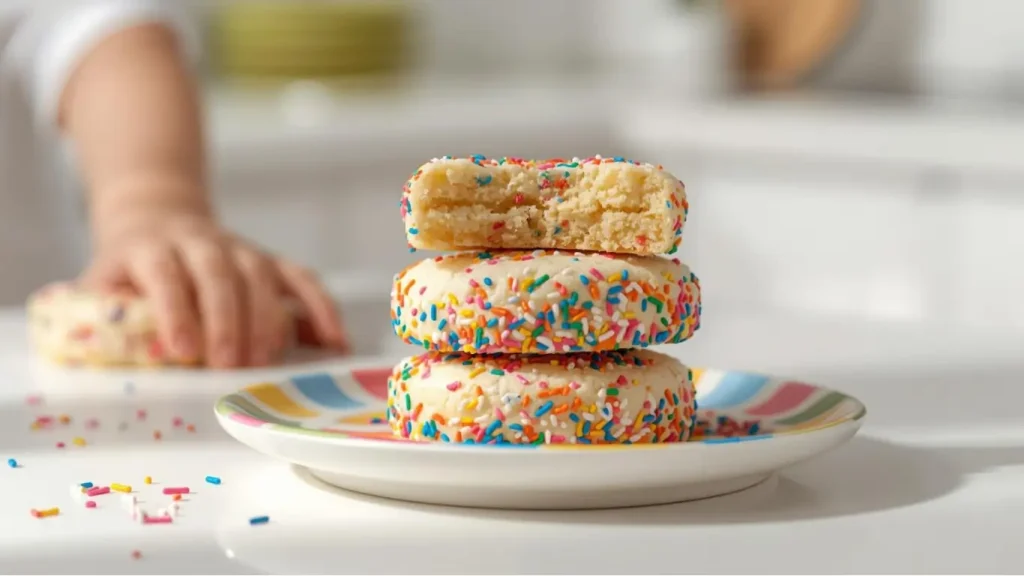
Welcome to the world of the “Cake Mix Hack.” If you have been searching for the easiest, softest Funfetti Cookies that taste exactly like a birthday party feels, you have found your match. By utilizing a pre-blended cake mix base, we bypass the need for precise chemical balancing—the hard work has already been done for you. This 4-ingredient wonder is not just a recipe; it is a lifestyle hack for busy parents, college students, and anyone craving instant gratification. Let’s dive into the colorful, chewy world of the ultimate Funfetti Cookies.

Ingredients List
The beauty of this recipe lies in its minimalism. We are using a “semi-homemade” approach that leverages industrial food science for consistent results.
- 1 Box (15.25 oz) Funfetti or White Cake Mix: This is your powerhouse ingredient. It contains the flour, sugar, baking powder, and emulsifiers needed for structure.
- Sensory Note: The emulsifiers in the mix guarantee a soft, pillowy texture that stays tender for days.
- ⅓ Cup Vegetable Oil (or Canola Oil): The lipid source. Unlike butter, which contains water, oil is 100% fat, ensuring the cookies remain moist and chewy rather than drying out.
- 2 Large Eggs: These provide the protein structure. Without them, the cake mix would simply melt into a puddle. They bind the starch and fat together.
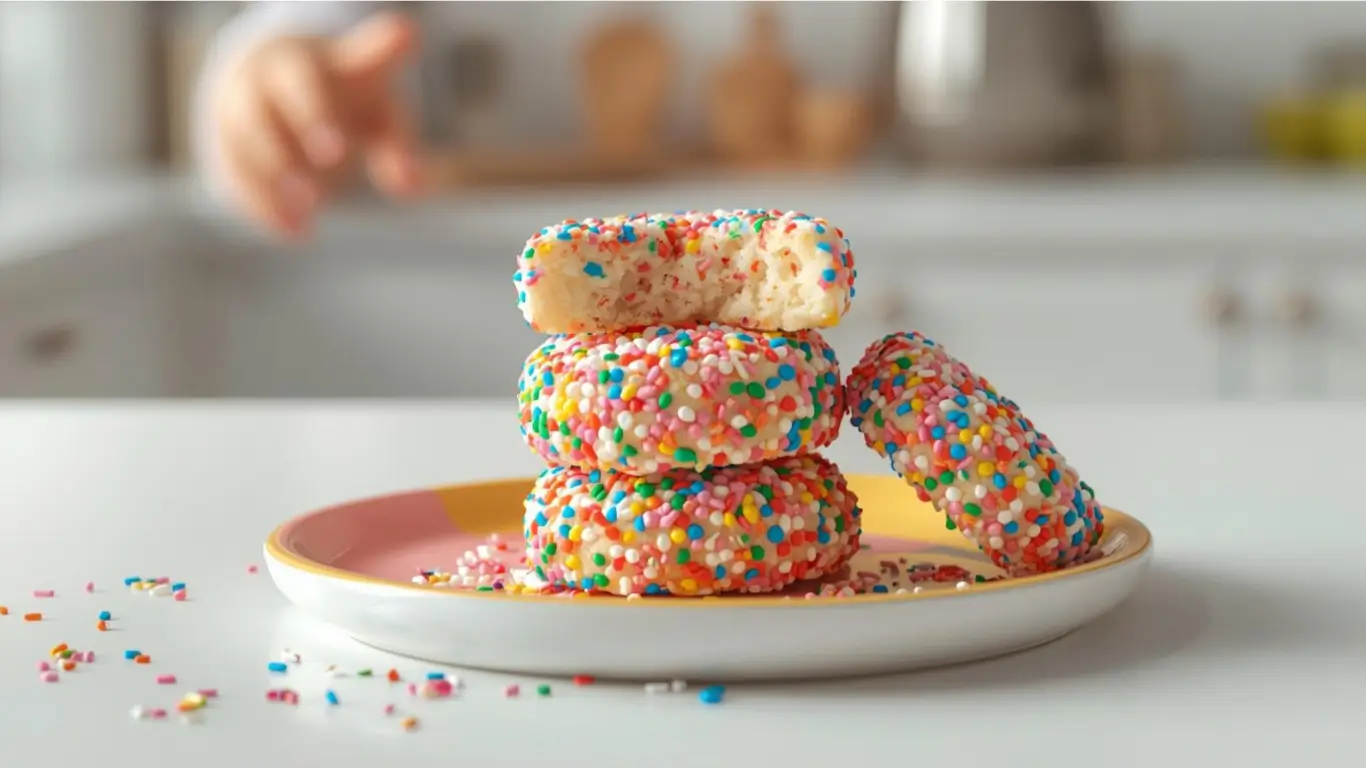
- ½ Cup “Jimmies” Rainbow Sprinkles: Crucial: Do not use the tiny round nonpareils! You need the waxy, cylinder-shaped sprinkles (jimmies) that won’t bleed into the dough or add an unpleasant crunch.
- Optional NLP addition: For a more bakery-style flavor profile, consider adding a splash of pure vanilla extract or almond extract to mask the “boxed” taste.
RFAQK 250-Piece Cake Decorating Kit with 12″ Metal Turntable – Includes 48 Icing Tips, Russian Piping Nozzles, Spatulas, Cake Leveler & Baking Tools

Timing
Time is your most valuable asset, and this recipe respects it. Here is the efficiency breakdown:
- Preparation Time: 5 Minutes
- Cooking Time: 8–10 Minutes
- Cooling Time: 10 Minutes
- Total Time: Approximately 25 Minutes
Data Insight: Compared to a traditional scratch-made sugar cookie recipe which requires creaming, measuring dry ingredients, and often chilling (approx. 60-90 minutes total), this Funfetti Cookies recipe is 70% faster. It is the definition of high-yield, low-effort baking.
Don’t miss an update. Join our newsletter.
Step-by-Step Instructions
Follow these simple steps to transform a box of powder into gourmet treats.
Step 1: The Dump-and-Stir Method
Preheat your oven to 375°F (190°C). Line two large baking sheets with parchment paper. In a large mixing bowl, dump the contents of the cake mix box. Add the vegetable oil and the eggs. Actionable Tip: Use a sturdy silicone spatula or a wooden spoon. A whisk is not recommended here because the batter will be incredibly thick and sticky—much denser than actual cake batter.
Step 2: Mechanical Integration
Mix the ingredients together until the dry powder is just absorbed. Do not overmix! The Science: Even though cake mix has less protein than bread flour, overworking the dough can still develop gluten, turning your soft Funfetti Cookies into tough pucks. Stop when you see no more dry streaks.
Step 3: The Sprinkle Fold
Gently fold in the ½ cup of extra rainbow sprinkles. Visual Cue: You want a “confetti explosion” look. If the dough looks sparse, add another tablespoon. The sprinkles inside the box are often not enough for that Instagram-worthy visual.
Step 4: Portioning the Dough
Use a medium cookie scoop (approx. 1.5 tablespoons) to scoop the dough. Roll the dough balls between your palms to smooth them out. Pro Tip: This dough is sticky! Lightly oil your hands or spray them with non-stick cooking spray before rolling to prevent a mess.
Step 5: The Bake
Place dough balls 2 inches apart on the prepared sheets. Bake for 8–10 minutes. Critical Moment: The cookies are done when the edges are set and just barely starting to turn golden. The centers should still look soft and underbaked. They will deflate slightly as they cool, creating that dense, chewy crumb.
Nutritional Information
While these are undeniably a treat, understanding the macronutrients is helpful. Here is the breakdown per cookie (yields approx. 24 cookies):
| Nutrient | Amount | % Daily Value* |
|---|---|---|
| Calories | 120 kcal | 6% |
| Total Fat | 5g | 8% |
| Saturated Fat | 1g | 5% |
| Cholesterol | 15mg | 5% |
| Sodium | 85mg | 4% |
| Carbohydrates | 18g | 7% |
| Sugars | 10g | – |
| Protein | 1g | 2% |
Insight: Because this recipe uses vegetable oil instead of butter, the saturated fat content is approximately 50% lower than a standard butter-based sugar cookie, making it a slightly heart-healthier lipid choice (though still a sugary indulgence).
Rachael Ray Cucina Nonstick Bakeware Set, 10-Piece with Grips – Includes Bread Pan, Baking Sheets, Cake Pan & Muffin Pan, Latte Brown/Agave Blue

Healthier Alternatives for the Recipe
Customizing Funfetti Cookies for dietary needs is surprisingly easy given the flexible nature of cake mix.
- The “Guilt-Free” Swap: Replace the ⅓ cup of oil with ⅓ cup of Unsweetened Applesauce.
- Result: This creates a softer, more cake-like cookie and reduces the fat content by nearly 4 grams per cookie.
- Protein Boost: Replace the oil with Greek Yogurt (plain or vanilla). The acidity in the yogurt reacts with the baking powder in the mix for extra fluffiness, and you gain a small protein boost.
- Gluten-Free Variation: Simply use a Gluten-Free Yellow Cake Mix. The rest of the ingredients (eggs, oil, sprinkles) are naturally gluten-free.
- Note: Check your sprinkles label to ensure they are processed in a GF facility.
Serving Suggestions
Make these simple cookies the star of the show with these creative presentations:
- The Birthday Sandwich: Spread vanilla buttercream or cream cheese frosting between two cooled cookies. Roll the edges in more sprinkles for a festive “whoopie pie” effect.
- Dunking Station: Serve warm with a cold glass of oat milk. The vanilla notes in the cookie pair perfectly with the nuttiness of oat milk.
- Party Favors: Place two cookies in a clear cellophane bag, tie with a neon ribbon, and add a sticker that says “Thanks for celebrating!”—a cost-effective and personal party favor.
Common Mistakes to Avoid
Even with a 4-ingredient recipe, pitfalls exist. Avoid these errors:
- Following the Box Instructions:
- The Error: Do not look at the back of the cake mix box!
- The Insight: The box instructions are for cake (which usually requires 1 cup of water). Adding water will result in a runny batter that spreads into a flat pancake. Follow our ingredient ratios only.
- Using Nonpareils:
- The Error: Using the tiny round ball sprinkles.
- The Consequence: Their color bleeds instantly when mixed with moist dough, turning your vibrant Funfetti Cookies a muddy gray-brown color. Stick to “jimmies” (rods).
- Over-baking:
- The Error: Waiting for them to brown.
- The Consequence: Cake mix cookies harden significantly as they cool. If they are brown in the oven, they will be crunchy (and likely dry) on the plate.
NutriChef 10-Piece Non-Stick Baking Set – Heavy-Duty Carbon Steel Bakeware with Cookie Sheets, Muffin Pan, Roasting Pan, Cake Pan & Pizza Pan

Storing Tips for the Recipe
Preserve that “fresh-baked” softness with proper storage techniques.
- Room Temperature: Store in an airtight container for up to 7 days.
- Staling Science: Because of the oil and the preservatives in the cake mix, these cookies have a longer shelf life than butter-based cookies.
- Freezing:
- Dough: Freeze dough balls on a tray, then bag. Bake from frozen (add 2 minutes).
- Baked: Freeze fully cooled cookies for up to 3 months. Thaw on the counter for 30 minutes.
- Revival: If they feel a bit firm after a few days, microwave a cookie for 7 seconds. The heat re-melts the fat slightly, returning the softness.
Conclusion
Sometimes, the smartest path to deliciousness is the shortcut. These Funfetti Cookies deliver maximum joy with minimal effort, proving that you don’t need a culinary degree to bake something magical. They are soft, chewy, and undeniably happy—a perfect treat for birthdays, Tuesdays, or any day that needs a splash of color.
Ready to get your sprinkle on? Grab a box of cake mix and let’s bake! If you try this hack, please leave a comment below, rate the recipe, and subscribe to our newsletter for more genius kitchen shortcuts that save you time and money.

FAQs
Q1: Can I use melted butter instead of oil?
A: Yes, absolutely. Melted butter will give the cookies a richer, more buttery flavor, which many people prefer. However, the texture will be slightly crispier on the edges compared to the consistent softness provided by vegetable oil. Use the same amount (⅓ cup).
Q2: My dough is too sticky to handle. What do I do?
A: This is normal for cake mix dough! The best trick is to chill the dough in the refrigerator for 20–30 minutes. This hardens the fats and hydrates the starches, making it much easier to roll into balls. Alternatively, use a cookie scoop to drop them directly onto the sheet without rolling.
Q3: Can I use a chocolate cake mix?
A: Yes! This formula works for almost any standard 15oz cake mix. Chocolate mix + chocolate chips = “Devil’s Food Cookies.” Strawberry mix + white chocolate chips = “Strawberry Cheesecake Cookies.” The possibilities are endless.
Q4: Why are my cookies puffy and cakey?
A: This usually happens if the eggs were extra large or if the flour in the mix was aerated during manufacturing. To get a flatter, chewier cookie, you can bang the pan on the counter immediately after taking them out of the oven (the “pan-bang” method) to deflate the air pockets.
Your feedback helps other cooks succeed. Rate this recipe!
There are no reviews yet. Be the first one to write one.
Ingredients
Method
Step 1: The Dump-and-Stir Method
Preheat your oven to 375°F (190°C). Line two large baking sheets with parchment paper. In a large mixing bowl, dump the contents of the cake mix box. Add the vegetable oil and the eggs. Actionable Tip: Use a sturdy silicone spatula or a wooden spoon. A whisk is not recommended here because the batter will be incredibly thick and sticky—much denser than actual cake batter.Step 2: Mechanical Integration
Mix the ingredients together until the dry powder is just absorbed. Do not overmix! The Science: Even though cake mix has less protein than bread flour, overworking the dough can still develop gluten, turning your soft Funfetti Cookies into tough pucks. Stop when you see no more dry streaks.Step 3: The Sprinkle Fold
Gently fold in the ½ cup of extra rainbow sprinkles. Visual Cue: You want a “confetti explosion” look. If the dough looks sparse, add another tablespoon. The sprinkles inside the box are often not enough for that Instagram-worthy visual.Step 4: Portioning the Dough
Use a medium cookie scoop (approx. 1.5 tablespoons) to scoop the dough. Roll the dough balls between your palms to smooth them out. Pro Tip: This dough is sticky! Lightly oil your hands or spray them with non-stick cooking spray before rolling to prevent a mess.Step 5: The Bake
Place dough balls 2 inches apart on the prepared sheets. Bake for 8–10 minutes. Critical Moment: The cookies are done when the edges are set and just barely starting to turn golden. The centers should still look soft and underbaked. They will deflate slightly as they cool, creating that dense, chewy crumb.