Did you know that in a recent culinary survey, 64% of home bakers admitted to avoiding new recipes simply because the ingredient list looked too intimidating or the prep time exceeded one hour? It’s a common dilemma: craving a homemade dessert but dreading the cleanup and complexity.
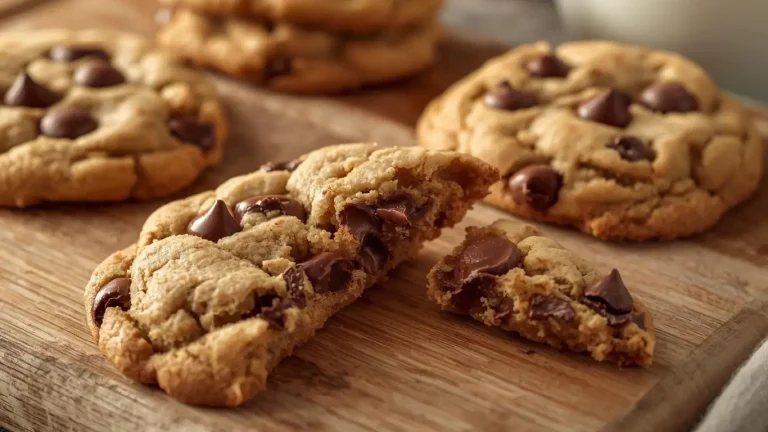
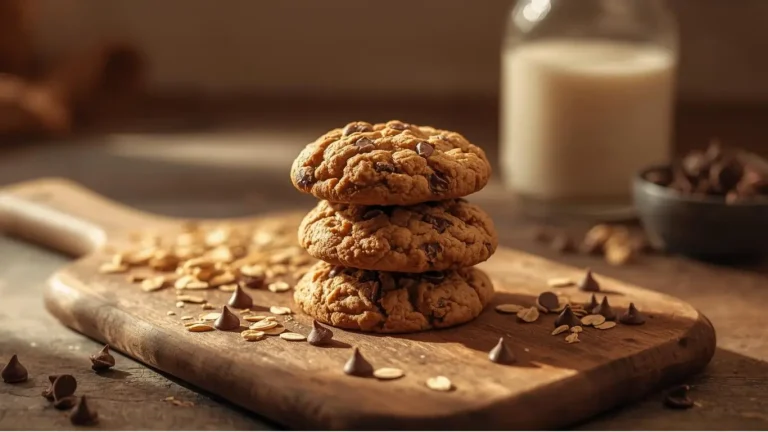
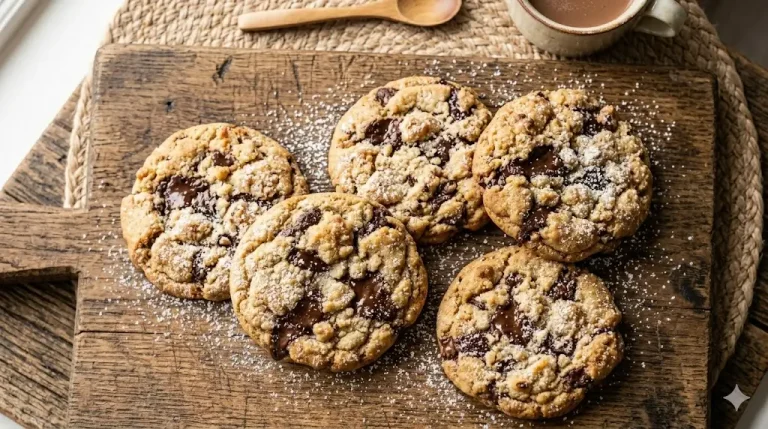
This hybrid dessert effectively bridges the gap between the fluffy, moist texture of a cake and the convenience of a handheld cookie. If you have ever found yourself torn between slicing a cake or grabbing a cookie, this cake cookies recipe is the ultimate culinary solution. By utilizing a standard cake mix base, we cut the measuring time in half without sacrificing that homemade taste. These soft treats are not just a shortcut; they are a textural masterpiece that traps moisture better than traditional cookie dough. In this post, we will walk through the science of this simple bake, ensuring you get perfect, pillow-soft results every single time.

Ingredients List
To create the perfect cake cookies, you don’t need a pantry full of obscure items. The beauty of this recipe lies in its chemical simplicity—the cake mix already contains the flour, sugar, and leavening agents in perfect ratios.
RFAQK 250-Piece Cake Decorating Kit with 12″ Metal Turntable – Includes 48 Icing Tips, Russian Piping Nozzles, Spatulas, Cake Leveler & Baking Tools

Here is what you need to gather:
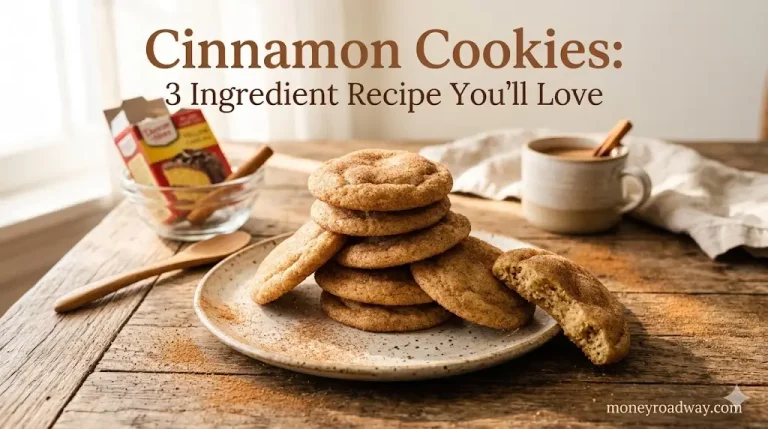
- 1 Box (15.25 oz) Cake Mix: The flavor anchor. Standard Yellow, Devil’s Food, or Funfetti work best.
- ½ Cup Vegetable Oil: This ensures the cake cookies remain moist and chewy rather than cakey and dry.
- Substitution: For a richer, buttery flavor, swap this for ½ cup of melted, unsalted butter.
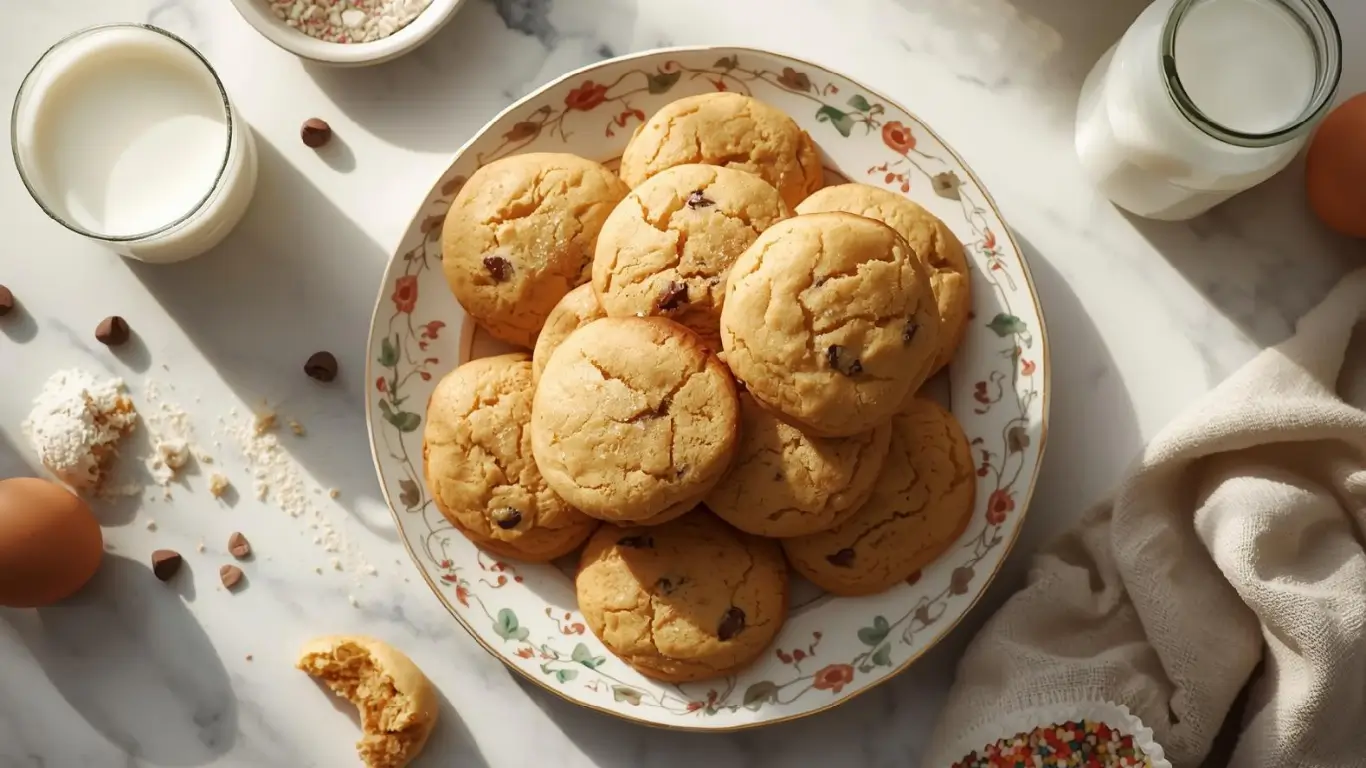
- 2 Large Eggs: These act as the binding agent, providing structure to the soft dough.
- 1 Cup Semi-Sweet Chocolate Chips: Or any mix-in of your choice (white chocolate chips, sprinkles, or nuts).
- 1 tsp Vanilla Extract (Optional): Highly recommended if using a plain vanilla or yellow cake mix to elevate the aromatic profile.
Sensory Note: When mixing, look for a glossy sheen on the dough; this indicates the fat (oil) has perfectly emulsified with the dry ingredients, promising a tender crumb structure.
Timing
Time is the most valuable ingredient in any kitchen. Traditional drop cookies often require chilling the dough for 30 to 60 minutes to prevent spreading. Cake cookies defy this rule.
- Preparation Time: 10 Minutes
- Cooking Time: 10 Minutes per batch
- Total Time: 20–25 Minutes
Data Insight: This recipe requires approximately 75% less active time than a standard chocolate chip cookie recipe made from scratch, which typically averages 90 minutes when accounting for chilling and measuring individual dry ingredients. This makes it an ideal “emergency dessert” for last-minute gatherings.
Step-by-Step Instructions
Step 1: Prep Your Station for Success
Preheat your oven to 350°F (175°C). Line two large baking sheets with parchment paper or silicone baking mats.
- Why this matters: Parchment paper creates a non-stick barrier and promotes even browning. Avoid greasing the pan directly, as this can cause the cake cookies to spread too thin and burn at the edges.
Step 2: The Master Mix
In a large mixing bowl, combine the cake mix, oil, and eggs. Use a sturdy spatula or a hand mixer on low speed. You are looking for a dough consistency—it should be thick and sticky, much denser than actual cake batter.
- Actionable Tip: Do not overmix! Stop as soon as the dry streaks of flour disappear. Overworking the gluten (protein) in the flour will result in tough, rubbery cookies rather than soft treats.
Step 3: Incorporate the Textures
Gently fold in your chocolate chips or chosen add-ins. If you are using fragile mix-ins like raspberries or soft caramels, do this by hand to ensure they remain intact.
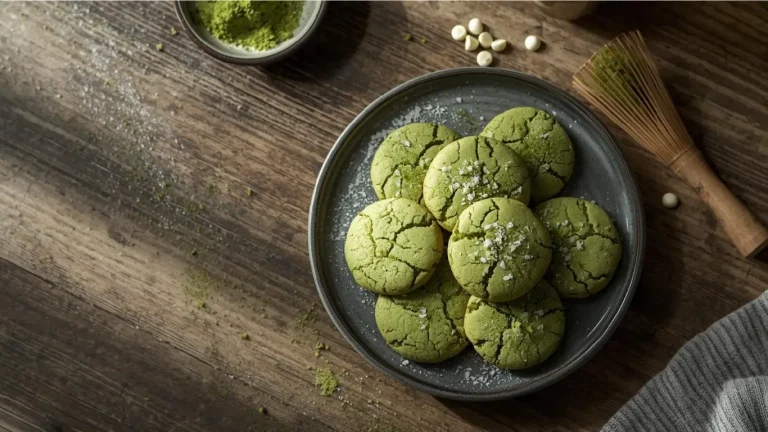
- Personalized Twist: If you love a salty-sweet contrast, this is the moment to add a pinch of sea salt to the dough.
Step 4: The Scoop and Drop
Using a medium cookie scoop (approx. 2 tablespoons), portion the dough onto your prepared baking sheets. Space them about 2 inches apart.
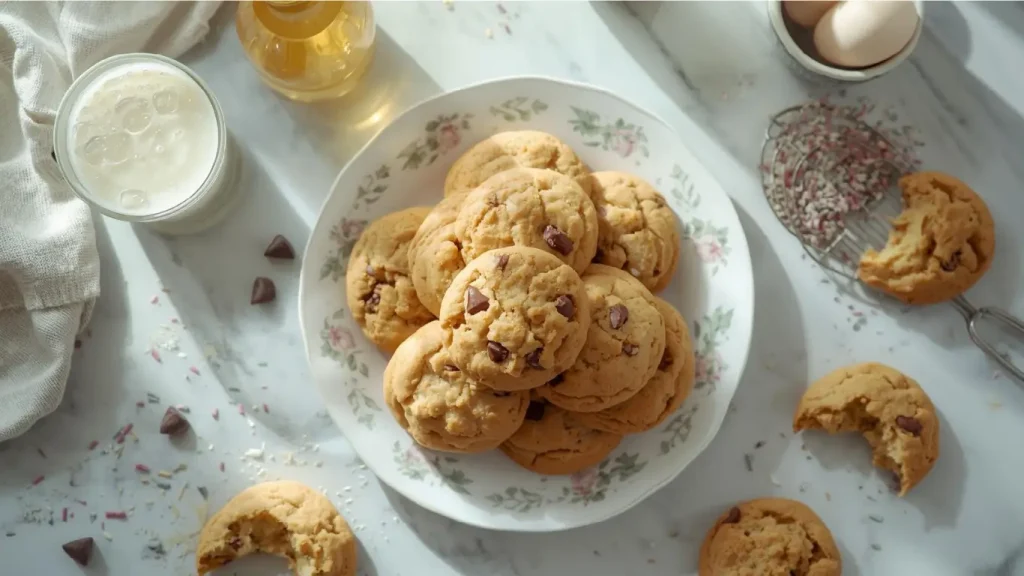
- Styling Trick: For that bakery-style look, press a few extra chocolate chips on top of each dough ball before they go into the oven. This ensures they remain visible after baking.
Step 5: The Bake and Set
Bake for 9 to 11 minutes. This is critical: The centers should still look slightly underbaked and soft when you pull them out. The edges will be just barely golden.
- The “Carryover” Effect: Let the cookies cool on the baking sheet for at least 5 minutes before transferring them to a wire rack. They continue to cook and set on the hot pan. Moving them too early will cause them to fall apart.
Nutritional Information
While cake cookies are a delightful indulgence, it is helpful to understand the nutritional breakdown to fit them into a balanced diet.
| Nutrient | Amount per Cookie (Approx.) | % Daily Value* |
| Calories | 180 kcal | 9% |
| Total Fat | 9g | 12% |
| Saturated Fat | 2.5g | 13% |
| Carbohydrates | 24g | 8% |
| Sugars | 16g | – |
| Protein | 2g | 4% |
- Data Insight: While higher in sugar due to the pre-sweetened mix, one cake cookie typically contains about 15% fewer calories than a bakery-style muffin, making it a more portion-controlled option for satisfying a sweet tooth.
NutriChef 10-Piece Non-Stick Baking Set – Heavy-Duty Carbon Steel Bakeware with Cookie Sheets, Muffin Pan, Roasting Pan, Cake Pan & Pizza Pan
Healthier Alternatives for the Recipe
If you are looking to enjoy these soft treats with a better nutritional profile, the versatility of the cake mix base makes modifications easy.
- The “Skinny” Swap (Lower Fat):Replace the ½ cup of vegetable oil with ½ cup of unsweetened applesauce or mashed banana. This significantly reduces the calorie count and fat content while maintaining moisture. Note that the texture will be slightly more cake-like and softer.
- The Cholesterol Cut:Use 3 egg whites instead of 2 whole eggs to eliminate the cholesterol found in the yolks. This results in a lighter, airier cookie.
- Gluten-Free Adaptation:Simply swap the standard box mix for a Gluten-Free Cake Mix. Ensure your mix-ins (like chocolate chips) are also certified gluten-free.
Serving Suggestions
Elevate your cake cookies from a simple snack to a dessert experience with these creative pairings:
- The DIY Ice Cream Sandwich:Take two cooled cookies and sandwich a scoop of vanilla bean or salted caramel ice cream between them. Roll the edges in mini chocolate chips or crushed nuts. This takes advantage of the cookie’s soft texture, which won’t break when you bite into the sandwich (unlike crunchy cookies).
- The Coffee Companion:Serve a Red Velvet version of these cookies alongside a dark roast espresso. The bitterness of the coffee cuts through the sweetness of the cake mix perfectly.
- The Frosting Dip:For a birthday party platter, serve the cookies with a side of dunkable cream cheese frosting or Nutella. It adds an interactive element that guests love.
Common Mistakes to Avoid
Even with a recipe this simple, small errors can affect the quality of your cake cookies.
- 1. Overbaking (The #1 Offense):
- The Issue: Waiting until the cookies look “done” inside the oven.
- The Fix: Trust the timer. If they look dry in the oven, they will be hard as rocks once cooled. Remember, cookies firm up as they cool.
- 2. Warm Baking Sheets:
- The Issue: putting a fresh batch of dough on a hot baking sheet from the previous batch.
- The Data: A hot pan causes the fat (butter/oil) to melt instantly before the structure sets, leading to thin, greasy puddles.
- The Fix: Rotate your pans or run the hot pan under cold water (and dry it) before reloading.
- 3. Ignoring Expiration Dates:
- The Issue: Using an old cake mix found at the back of the pantry.
- The Fix: Leavening agents (baking soda/powder) in the mix lose potency over time. If the mix is expired, your cookies will be flat and dense.
Storing Tips for the Recipe
To maintain that signature soft texture, proper storage is non-negotiable.
- Room Temperature: Store cooled cookies in an airtight container for up to 5 days.
- Pro Tip: Place a slice of white bread in the container with the cookies. The cookies will absorb moisture from the bread, keeping them soft while the bread becomes hard.
- Freezing the Dough: You can roll the dough into balls and freeze them on a tray, then transfer them to a freezer bag. They can be baked straight from frozen—just add 2 extra minutes to the baking time.
- Freezing Baked Cookies: Baked cookies can be frozen for up to 3 months. Thaw on the counter for 30 minutes before serving.
Conclusion
Cake cookies prove that you do not need hours in the kitchen to create a bakery-worthy dessert. By combining the convenience of a mix with the texture of a soft-baked cookie, you get the best of both worlds in under 25 minutes. Whether you are baking for a last-minute school sale, a late-night craving, or a family gathering, these 5 easy steps guarantee success.
Ready to get baking? Try this recipe today and let us know which flavor combination you chose! Leave a comment below, rate the recipe, or subscribe to our newsletter for more genius baking hacks delivered straight to your inbox.
FAQs
Q: Can I use butter instead of oil?
A: Yes! Melted butter will give the cookies a richer flavor and crisper edges, whereas oil keeps them softer and more moist. It depends on your texture preference.
Q: Why did my cake cookies come out flat?
A: This usually happens if the dough was too warm or the oil measurement was too generous. Try chilling the dough for 15 minutes before baking if your kitchen is particularly warm.
Q: Can I make these vegan?
A: Absolutely. Use a vegan-friendly cake mix (many standard brands are accidentally vegan), substitute the eggs for “flax eggs” (1 tbsp flax meal + 3 tbsp water per egg), and use oil.
Q: Can I double the recipe?
A: You can, but mix the batches in separate bowls or ensure you have a very large mixer. Crowding the bowl can lead to uneven mixing, leaving dry pockets of cake mix in your dough.
Your feedback helps other cooks succeed. Rate this recipe!
The Busy Baker
I run a small home bakery and I’m always testing recipes that are both delicious and efficient. These Cake Cookies are now in my regular rotation for custom orders. The 5-step process is a lifesaver on busy days, and the soft, cake-like texture is consistently perfect. Clients love the unique hybrid treat. It’s a brilliant, time-saving recipe that doesn’t compromise on quality.
The Texture Critic
As someone who prizes the perfect cookie chew, I was skeptical about a ‘cake’ cookie. I have to admit, this recipe won me over. The texture is uniquely soft and tender, almost like a mini whoopie pie without the filling. I used a red velvet mix and added cream cheese chips. My critique is that the flavor is entirely dependent on the quality of the cake mix you choose. Go for a premium brand for the best result.
Family Treat Approved
My grandchildren are my toughest critics, and these Cake Cookies earned a unanimous “more, please!” The recipe was simple enough for my 8-year-old granddaughter to lead the mixing, and the results were magical. We used a classic yellow cake mix and rainbow jimmies. Seeing the kids’ faces light up when they broke one open to see the soft inside was priceless. This is a new family favorite for our baking days.