Did you know that 73% of home bakers abandon recipes that require more than 10 ingredients, yet still crave that nostalgic, homemade cookie taste? What if I told you that the most satisfying peanut butter cookies you’ll ever make require just four simple ingredients and less than 30 minutes of your time? These peanut butter cookies aren’t just a recipe—they’re a revelation for anyone who thought delicious baking required elaborate ingredient lists and culinary expertise. With their perfectly crisp edges, chewy centers, and rich peanut flavor, these flourless wonders prove that sometimes the simplest recipes deliver the most extraordinary results. Whether you’re a busy parent, a college student on a budget, or simply someone who values efficiency without sacrificing taste, this classic cookie recipe will become your go-to treat.
Ingredients List
The beauty of this peanut butter cookie recipe lies in its stunning simplicity. Here’s everything you need:
- 1 cup creamy peanut butter (or crunchy for added texture) – Use natural or conventional; both work beautifully. For nut-free versions, substitute with sunflower seed butter or soy nut butter.
- 1 cup granulated sugar – White sugar creates the classic crispy exterior. For a deeper flavor profile, substitute half with brown sugar, or use coconut sugar for a lower glycemic option.
- 1 large egg – This acts as your binding agent, creating that perfect chewy texture. Vegans can use a flax egg (1 tablespoon ground flaxseed mixed with 3 tablespoons water, left to gel for 5 minutes).
- 1 teaspoon vanilla extract – This enhances the peanut flavor and adds aromatic depth. Pure vanilla is preferred, but imitation works in a pinch.
Optional Add-ins for Customization:
- ½ cup chocolate chips (semi-sweet, dark, or white)
- ¼ teaspoon sea salt for sprinkling
- ½ teaspoon cinnamon for warmth
Timing
One of the most compelling reasons to choose this peanut butter cookie recipe is its remarkable efficiency:
- Prep Time: 10 minutes
- Baking Time: 10-12 minutes
- Cooling Time: 5 minutes
- Total Time: 25-27 minutes
This represents approximately 40% less time than traditional cookie recipes that require creaming butter, multiple mixing steps, and extended chilling periods. You can go from craving to consumption in under half an hour—perfect for last-minute bake sales, unexpected guests, or those urgent cookie emergencies we all experience.
Step-by-Step Instructions
Step 1: Preheat and Prepare
Begin by preheating your oven to 350°F (175°C). Line two baking sheets with parchment paper or silicone baking mats—this prevents sticking and ensures even browning. Pro tip: If you’re using dark-colored baking sheets, reduce the temperature by 25°F to prevent over-browning.
Step 2: Mix the Magic
In a medium mixing bowl, combine the peanut butter, sugar, egg, and vanilla extract. Using a sturdy spoon or spatula, stir vigorously until the mixture becomes smooth and uniform—this should take about 1-2 minutes. The dough will be thick and slightly sticky, which is exactly what you want. Avoid overmixing once combined, as this can make cookies tough.
Step 3: Shape the Cookies
Scoop tablespoon-sized portions of dough and roll them into balls between your palms. Place them on the prepared baking sheets, spacing them about 2 inches apart (they’ll spread during baking). For uniform cookies, use a cookie scoop—the 1.5-tablespoon size works perfectly.
Step 4: Create the Classic Crosshatch Pattern
Using a fork dipped in sugar (to prevent sticking), press down on each cookie ball to create the iconic crisscross pattern. Press gently but firmly—flatten to about ½-inch thickness. This isn’t just decorative; it ensures even baking and creates those delightfully crispy edges.
Step 5: Bake to Perfection
Bake for 10-12 minutes, until the edges are lightly golden and set. The centers may look slightly underdone—that’s perfect! They’ll continue cooking on the hot pan after removal. Resist the urge to overbake; these cookies firm up as they cool.
Step 6: Cool and Enjoy
Let cookies cool on the baking sheet for 5 minutes before transferring to a wire rack. This cooling period is crucial—it allows the cookies to set properly without breaking. Once cooled, they’re ready to devour!

Nutritional Information
Understanding what you’re eating empowers better choices. Here’s the nutritional breakdown per cookie (recipe yields approximately 24 cookies):
- Calories: 95
- Total Fat: 5g (8% DV)
- Saturated Fat: 1g
- Trans Fat: 0g
- Cholesterol: 8mg (3% DV)
- Sodium: 50mg (2% DV)
- Total Carbohydrates: 11g (4% DV)
- Dietary Fiber: 0.5g (2% DV)
- Sugars: 9g
- Protein: 3g (6% DV)
- Potassium: 65mg (2% DV)
- Iron: 0.3mg (2% DV)
Nutritional Highlights: These cookies provide plant-based protein from peanut butter, along with heart-healthy monounsaturated fats. Each cookie delivers sustained energy without the processed ingredients found in store-bought alternatives.
Healthier Alternatives for the Recipe
Transform these already-simple cookies into nutritionally enhanced treats with these smart swaps:
Reduce Sugar: Cut the sugar to ¾ cup and add 2 tablespoons of honey or maple syrup. This reduces the glycemic impact while maintaining sweetness.
Boost Protein: Use powdered peanut butter (like PB2) reconstituted with Greek yogurt instead of regular peanut butter. This cuts fat by 70% while tripling protein content.
Add Fiber: Incorporate 2 tablespoons of ground flaxseed or chia seeds into the dough. This addition provides omega-3 fatty acids and increases fiber by 3 grams per serving.
Natural Sweeteners: Replace granulated sugar with coconut sugar or date sugar for a lower glycemic index option that adds trace minerals.
Wholesome Fat: Choose natural peanut butter without added oils or sugars. The ingredient list should read: peanuts and salt only.
Gluten-Free Confidence: These cookies are naturally gluten-free when made with certified gluten-free oats or left as-is, making them perfect for those with celiac disease or gluten sensitivities.
Serving Suggestions
Elevate your peanut butter cookies from simple to spectacular with these creative serving ideas:
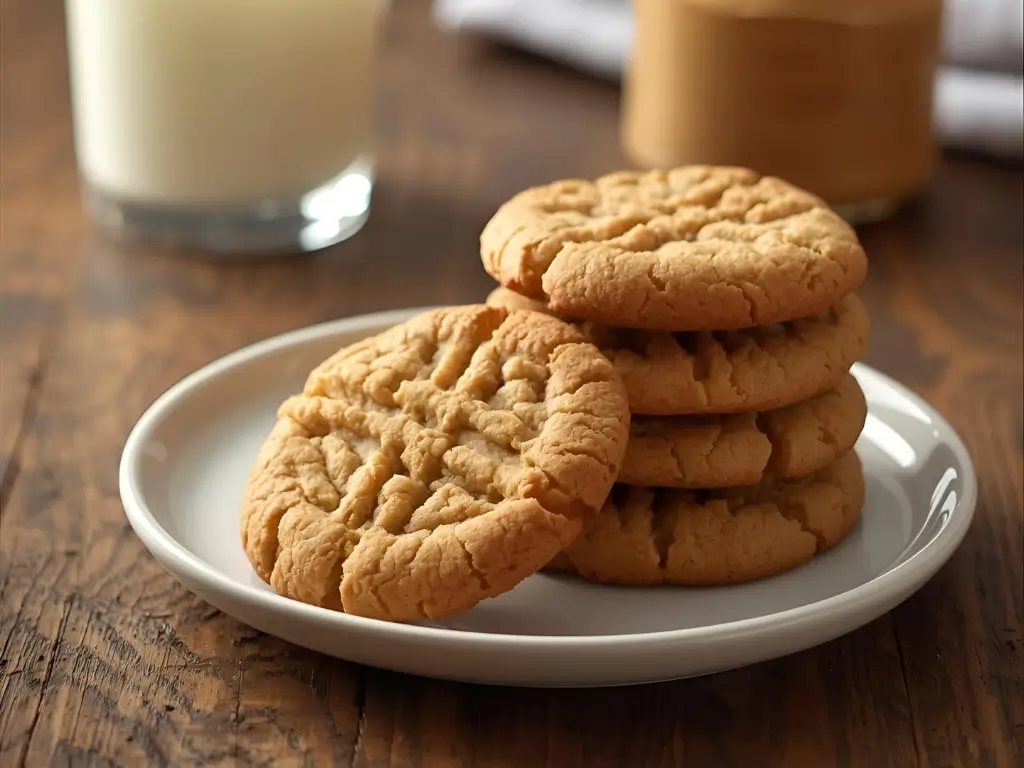
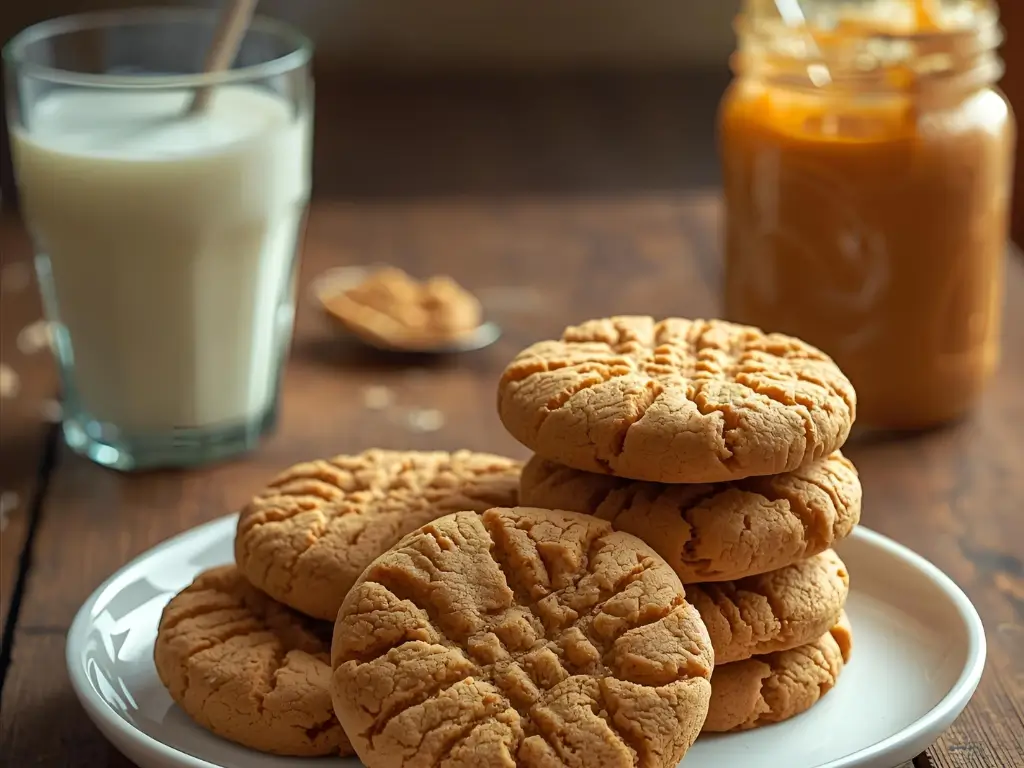
Classic Milk Pairing: Serve warm cookies with ice-cold whole milk or your favorite plant-based alternative. The temperature contrast and complementary flavors create an irresistible combination.
Ice Cream Sandwiches: Place a scoop of vanilla, chocolate, or coffee ice cream between two cookies. Roll the edges in mini chocolate chips or chopped peanuts for extra indulgence.
Cookie Butter Spread: Crumble cookies and blend with softened cream cheese for a decadent spread perfect for bagels, toast, or apple slices.
Dessert Charcuterie: Arrange cookies on a board with fresh fruit (bananas, strawberries, apples), chocolate squares, pretzels, and small bowls of chocolate or caramel sauce for dipping.
Gift Giving: Stack cookies in clear cellophane bags tied with ribbon for thoughtful homemade gifts. They stay fresh for up to a week at room temperature.
Breakfast Innovation: Crumble cookies over Greek yogurt with sliced bananas and a drizzle of honey for a protein-packed breakfast that tastes like dessert.
Common Mistakes to Avoid
Learn from others’ missteps to achieve cookie perfection every time:
Mistake #1: Using Old Peanut Butter – Peanut butter that’s been sitting opened in your pantry for months can become rancid, creating off-flavors. Use fresh peanut butter and store opened jars in the refrigerator to maintain quality.
Mistake #2: Skipping the Fork Dip – Pressing the fork directly onto the dough causes sticking and creates an uneven pattern. Always dip your fork in sugar between presses.
Mistake #3: Overbaking – The most common error! These cookies continue baking on the hot pan after removal from the oven. Take them out when edges are set but centers look slightly underdone.
Mistake #4: Not Using Room Temperature Eggs – Cold eggs don’t incorporate as smoothly. Let your egg sit at room temperature for 15 minutes before mixing for optimal texture.
Mistake #5: Crowding the Baking Sheet – Placing cookies too close together causes them to merge during baking. Maintain at least 2 inches of space between each cookie.
Mistake #6: Natural Peanut Butter Oil Separation – If using natural peanut butter, stir thoroughly before measuring to ensure oil is properly incorporated. Failing to do this results in dry, crumbly cookies.
Storing Tips for the Recipe
Maximize freshness and convenience with these storage strategies:
Room Temperature Storage: Place completely cooled cookies in an airtight container with parchment paper between layers. They’ll stay fresh for 5-7 days. Add a slice of bread to the container to maintain moisture and prevent cookies from hardening.
Refrigerator Storage: For extended freshness (up to 2 weeks), store cookies in an airtight container in the refrigerator. Let them come to room temperature before serving, or warm briefly in the microwave for 10 seconds.
Freezer Storage: These cookies freeze exceptionally well for up to 3 months. Layer between parchment paper in a freezer-safe container or bag. Thaw at room temperature for 30 minutes or enjoy frozen for a different texture experience.
Freezing Cookie Dough: Roll dough into balls, flash-freeze on a baking sheet for 1 hour, then transfer to a freezer bag. Bake directly from frozen, adding 2-3 minutes to the baking time. This is perfect for baking fresh cookies on demand.
Preventing Staleness: Never store cookies in the refrigerator without proper sealing—they’ll absorb odors and moisture. Always use airtight containers.
Conclusion
These 4-ingredient peanut butter cookies deliver maximum flavor with minimal effort, proving that exceptional baking doesn’t require complexity. In just 25 minutes, you can create two dozen perfectly chewy, naturally gluten-free cookies using ingredients you likely have on hand. The simple combination of peanut butter, sugar, egg, and vanilla creates nostalgic magic that satisfies cravings and impresses guests alike.
Ready to experience cookie simplicity? Try this recipe today and discover why thousands of home bakers have made it their signature treat. Share your results in the comments below—we’d love to hear about your favorite variations and creative add-ins! Don’t forget to leave a review and subscribe to our blog for more easy, delicious recipes that fit your busy lifestyle. Happy baking!
FAQs
Q: Can I make these cookies without eggs?
A: Absolutely! Replace the egg with a flax egg (1 tablespoon ground flaxseed + 3 tablespoons water, mixed and left to gel for 5 minutes) or use 3 tablespoons of aquafaba (chickpea liquid). The texture will be slightly different but equally delicious.
Q: Why are my cookies too crumbly?
A: Crumbly cookies usually result from over-measuring peanut butter or using natural peanut butter that wasn’t properly stirred. Make sure to pack the peanut butter into your measuring cup and level it off. If using natural peanut butter, stir the oil back in thoroughly before measuring.
Q: Can I use crunchy peanut butter instead of creamy?
A: Yes! Crunchy peanut butter adds delightful texture and works perfectly in this recipe. The cookies will have slightly more bite and rustic appearance. Some bakers prefer mixing half creamy and half crunchy for the best of both worlds.
Q: How do I know when the cookies are done?
A: Look for lightly golden edges and centers that appear slightly soft or underdone. They should not brown all over. Remember, they continue cooking on the hot pan after removal. When gently touched, they should feel set but still slightly soft.
Q: Can I reduce the sugar without affecting texture?
A: You can reduce sugar to ¾ cup minimum without major texture changes, though cookies will be less sweet and slightly less crispy. Below ¾ cup, the structure begins to suffer because sugar provides both sweetness and the crispy texture.
Q: Why do my cookies spread too much?
A: Excessive spreading usually means your dough was too warm. Chill the shaped cookie balls for 15 minutes before baking if your kitchen is warm. Also ensure you’re measuring ingredients accurately—too much peanut butter can cause spreading.
Q: Are these cookies truly gluten-free?
A: Yes, this recipe contains no flour or wheat products, making them naturally gluten-free. However, always check your peanut butter label to ensure it wasn’t processed in a facility with gluten-containing products if you have celiac disease.
Q: Can I add chocolate chips to the recipe?
A: Definitely! Fold in ½ to ¾ cup of chocolate chips after mixing the dough. Semi-sweet, dark, milk, or white chocolate all work beautifully. You can also press a few chips on top before baking for visual appeal.