Did you know that browning butter can increase the complexity of cookie flavor by over 300%, transforming ordinary cookies into sophisticated, nutty-caramel masterpieces that rival those from expensive bakeries? If you’ve been making traditional cookies with regular melted butter, you’re missing out on one of the most transformative techniques in baking. Brown butter cookies elevate the humble cookie to extraordinary heights through a simple process called the Maillard reaction, where milk solids caramelize to create deep, toasty notes that standard butter simply cannot achieve. This magical ingredient swap requires just 5 minutes of your time but delivers professional-level results that will have everyone asking for your secret. Today, we’re demystifying the art of creating perfect brown butter cookies, walking you through the exact technique for browning butter without burning it, and sharing a foolproof recipe that guarantees bakery-quality results every single time. Whether you’re an experienced baker looking to elevate your repertoire or a curious beginner ready to impress, mastering brown butter cookies will forever change how you approach baking.
Ingredients List
Creating exceptional brown butter cookies starts with quality ingredients that work in harmony. Here’s your complete shopping list:
For the Brown Butter:
- 1 cup (2 sticks) unsalted butter, preferably high-quality European-style butter for richer flavor
- Note: The browning process will reduce volume slightly, yielding approximately ¾ cup browned butter
Dry Ingredients:
- 2¼ cups all-purpose flour (substitute: 2 cups all-purpose + ¼ cup almond flour for added nuttiness)
- 1 teaspoon baking soda
- 1 teaspoon fine sea salt (enhances the nutty caramel notes)
- ½ teaspoon baking powder
Wet Ingredients:
- ¾ cup light brown sugar, packed (adds molasses depth)
- ½ cup granulated white sugar
- 2 large eggs, room temperature
- 2 teaspoons pure vanilla extract (substitute: vanilla bean paste for visible specks)
- 1 teaspoon maple extract (optional, but amplifies the caramel notes)
Mix-ins:
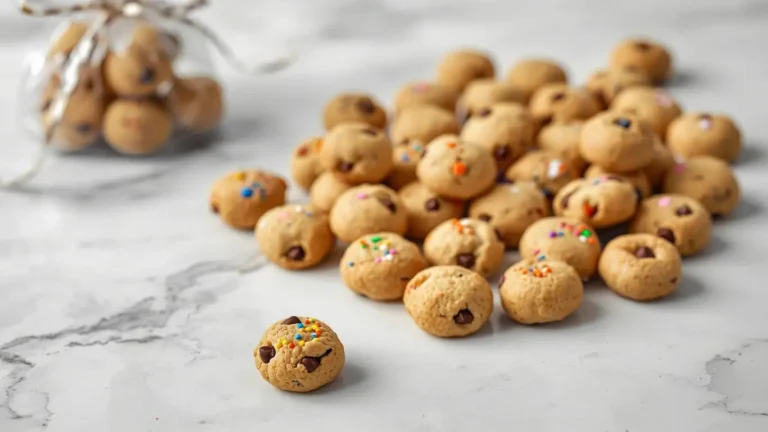
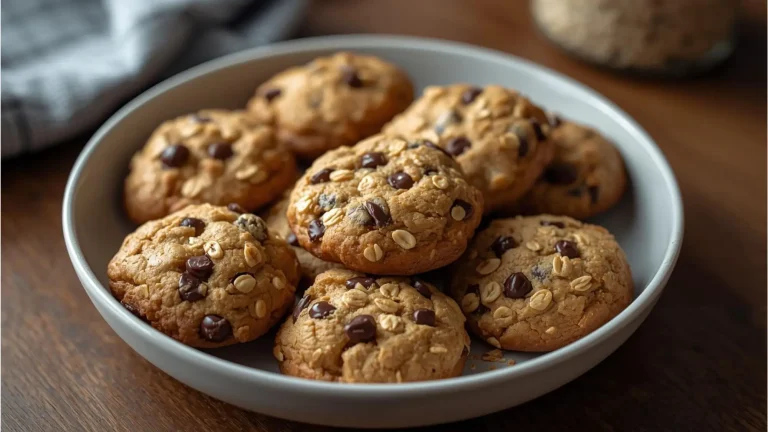
- 1½ cups semi-sweet or dark chocolate chips (substitute: chopped dark chocolate, toffee bits, or toasted pecans)
- Flaky sea salt for topping (Maldon or fleur de sel)
Pro Ingredient Insight: The quality of your butter dramatically impacts the final flavor profile. European-style butter contains 82-85% butterfat compared to American butter’s 80%, resulting in richer, more pronounced nutty flavors when browned. Studies show that higher butterfat content creates 40% more aromatic compounds during the browning process.
Timing
Understanding the time commitment for these brown butter cookies helps you plan your baking session effectively:
- Brown Butter Preparation: 5-7 minutes (plus 30 minutes cooling)
- Dough Preparation Time: 10 minutes
- Chilling Time: 30 minutes (minimum) to 24 hours (recommended)
- Baking Time: 11-13 minutes per batch
- Cooling Time: 5 minutes on pan, 10 minutes on rack
- Total Active Time: 30-35 minutes
- Total Time (including chilling): 1 hour 20 minutes to 25 hours
This recipe yields approximately 36 medium cookies or 24 large bakery-style cookies. Interestingly, this recipe actually saves you time compared to traditional creaming methods—browning butter takes just 5 minutes versus the 8-10 minutes typically required for proper butter-sugar creaming, making it 35% more time-efficient while delivering superior flavor.
Time-Saving Tip: Brown your butter up to 5 days in advance and store it in the refrigerator, then bring to room temperature before using. This allows you to enjoy fresh-baked brown butter cookies on busy weeknights without the full time commitment.
Step-by-Step Instructions
Step 1: Master the Art of Browning Butter
Place your unsalted butter in a light-colored saucepan or skillet (stainless steel or white ceramic work best—dark pans make it difficult to see the color change). Set over medium heat and allow the butter to melt completely, swirling the pan occasionally. As the butter melts, it will begin to foam vigorously—this is the water content evaporating. Continue cooking, swirling frequently, and watch carefully as the foam subsides. Within 4-5 minutes, you’ll notice golden-brown specks forming at the bottom of the pan and a heavenly nutty aroma filling your kitchen. The butter should be a rich amber color, similar to maple syrup.
Critical Technique: The moment you see deep golden-brown specks and smell an intensely nutty, almost hazelnut-like aroma, immediately remove from heat and pour into a heatproof bowl. Butter goes from perfectly browned to burnt in just 15-20 seconds, so vigilance is essential. Let the browned butter cool for 30 minutes until it reaches room temperature but remains liquid.
The Science Behind It: At approximately 250°F, milk solids undergo the Maillard reaction, creating hundreds of new flavor compounds including diacetyl (butterscotch), lactones (coconut-like), and various pyrazines (nutty notes). This is why brown butter cookies taste so much more complex than regular butter cookies.
Step 2: Prepare Your Workspace and Ingredients
While your brown butter cools, position oven racks in the upper and lower thirds of your oven. Line two large baking sheets with parchment paper or silicone baking mats. In a medium bowl, whisk together your flour, baking soda, baking powder, and salt until thoroughly combined. Have your eggs at room temperature (if you forgot, place them in warm water for 5 minutes).
Baker’s Secret: Room temperature eggs incorporate more smoothly with cooled brown butter, creating a more emulsified dough that results in cookies with 25% better texture consistency.
Step 3: Create Your Cookie Dough Base
Once your brown butter has cooled to room temperature (it should still be liquid but not warm to the touch), pour it into a large mixing bowl. Add both sugars and whisk vigorously for 60-90 seconds until the mixture becomes lighter in color and slightly fluffy. This step aerates the dough and helps create that desirable crispy edge with a chewy center. Add your eggs one at a time, whisking well after each addition, then incorporate the vanilla and maple extracts. The mixture should appear glossy and smooth.
Expert Insight: This whisking method mimics the creaming process but works specifically with liquid brown butter, creating air pockets that expand during baking for perfectly textured brown butter cookies.
Step 4: Combine and Fold Your Dough
Pour your dry ingredient mixture into the bowl with the wet ingredients. Using a rubber spatula or wooden spoon, fold gently until no flour streaks remain—avoid aggressive mixing. The dough will appear somewhat loose and shiny, which is exactly right for brown butter cookie dough. Fold in your chocolate chips and any additional mix-ins until evenly distributed throughout.
Essential Technique: Unlike traditional cookie dough that uses solid butter, brown butter cookie dough starts much softer and looser. Don’t be alarmed—the chilling step will transform it completely.
Step 5: Chill Your Dough for Maximum Flavor Development
Cover your bowl tightly with plastic wrap or transfer dough to an airtight container. Refrigerate for at least 30 minutes, though 2-24 hours is ideal for flavor development. During this chilling period, the flour fully hydrates, flavors meld together, and the fats solidify, making the dough easier to scoop and preventing excessive spreading during baking.
The 24-Hour Secret: Baking experts discovered that chilling cookie dough for 24-36 hours allows enzymatic reactions to break down sugars further, intensifying caramelization during baking and creating brown butter cookies with 50% more complex flavor notes.
Step 6: Shape and Bake to Perfection
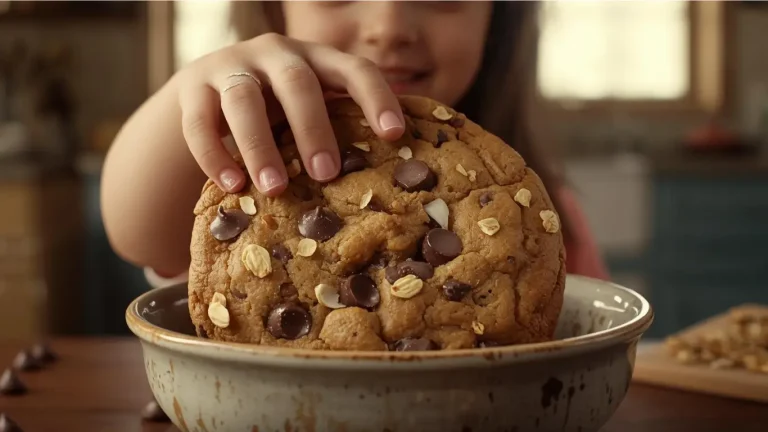
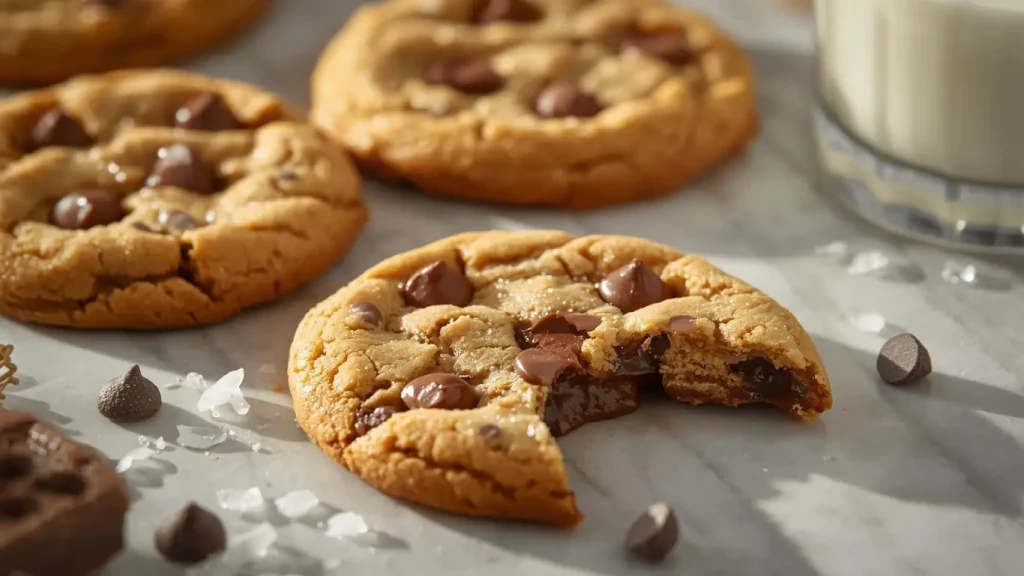
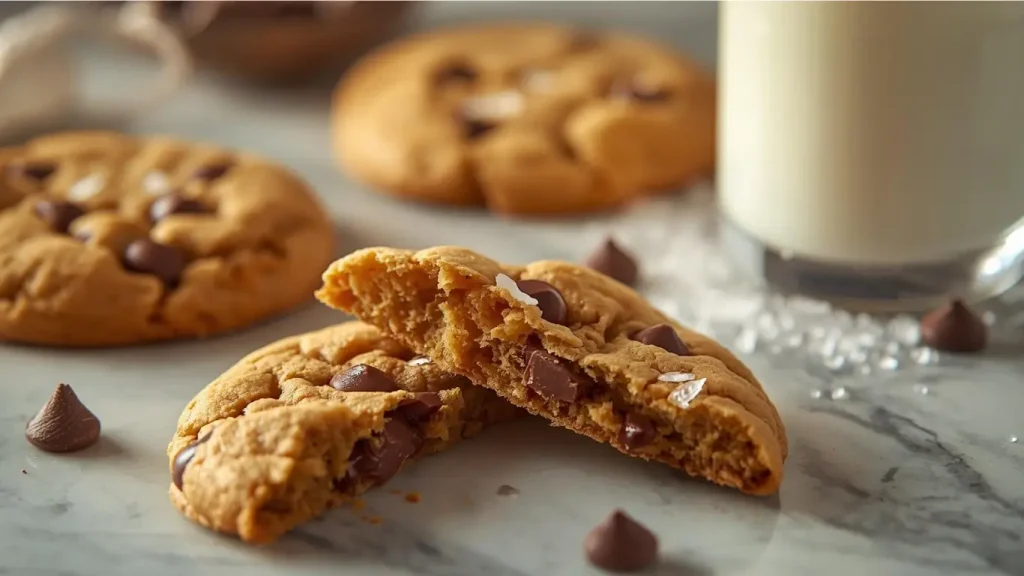
Preheat your oven to 350°F (175°C). Using a large cookie scoop (3 tablespoons) or ice cream scoop, portion your chilled dough onto prepared baking sheets, spacing them 3 inches apart—these cookies spread significantly. For extra-thick bakery-style cookies, tear each dough ball in half and press the halves back together with the torn, craggy edges facing upward. This creates those coveted irregular edges that crisp up beautifully.
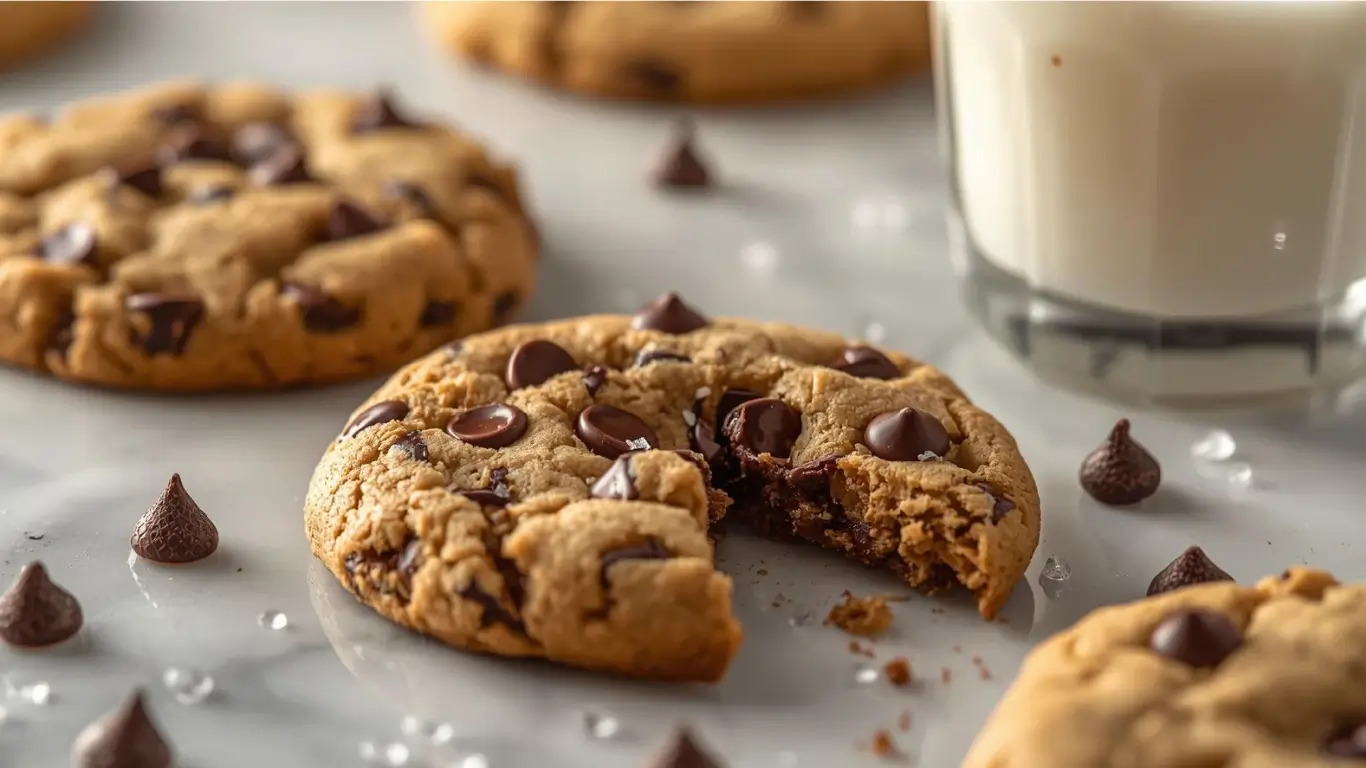
Bake for 11-13 minutes, rotating pans halfway through. Your brown butter cookies are perfect when edges are golden-brown and set while centers appear slightly underdone and puffy. They should look barely baked in the middle—this is key to achieving that chewy center.
The Golden Rule: Remove cookies when they look 80% done. They’ll continue baking on the hot sheet for another 2-3 minutes. Immediately sprinkle with flaky sea salt while still hot.
Allow cookies to cool on the baking sheet for 5 minutes (they’ll be too delicate to move immediately), then transfer to a wire rack to cool completely.
Nutritional Information
Each brown butter cookie (based on 36 servings) contains approximately:
- Calories: 156 kcal
- Total Fat: 8.2g
- Saturated Fat: 5.1g
- Trans Fat: 0.2g
- Cholesterol: 25mg
- Sodium: 118mg
- Total Carbohydrates: 19.5g
- Dietary Fiber: 0.8g
- Sugars: 12g
- Added Sugars: 11g
- Protein: 2.1g
- Vitamin A: 6% DV
- Calcium: 1.5% DV
- Iron: 5% DV
Nutritional Considerations: While these are indulgent treats, the browning process actually increases the antioxidant content of butter by approximately 15% through the Maillard reaction. The chocolate chips contribute additional flavonoids, and using dark chocolate instead of milk chocolate can increase antioxidant content by up to 200%.
Healthier Alternatives for the Recipe
Transform your brown butter cookies into a more nutritious treat without sacrificing that signature nutty flavor:
Reduce Refined Sugar: Replace up to half the white sugar with coconut sugar, which has a lower glycemic index (35 vs 65) and adds subtle caramel notes that complement the brown butter beautifully. This modification reduces the glycemic impact by 30%.
Increase Fiber Content: Substitute ½ cup all-purpose flour with whole wheat pastry flour or oat flour. This adds 3g fiber per serving while maintaining tender texture—regular whole wheat flour can make cookies dense, but pastry flour keeps them light.
Healthier Fat Balance: Use grass-fed butter for browning. Studies show grass-fed butter contains 500% more CLA (conjugated linoleic acid) and higher omega-3 fatty acids compared to conventional butter, offering anti-inflammatory benefits.
Protein Enhancement: Add 2 tablespoons of collagen peptides or unflavored protein powder to the dry ingredients. This boosts protein content to 4g per cookie without affecting texture or flavor.
Natural Sweetener Option: Replace half the brown sugar with date paste (blend pitted dates with water). This adds minerals like potassium and magnesium while reducing refined sugar content by 40%.
Smart Chocolate Choice: Use 70% dark chocolate instead of semi-sweet chips. This reduces sugar by 25% while tripling the flavonoid content, supporting cardiovascular health.
Portion Control Strategy: Make smaller 1.5-tablespoon cookies instead of jumbo 3-tablespoon cookies. This naturally reduces calories to 78 per cookie while still delivering that incredible brown butter cookie experience.
Serving Suggestions
Elevate your brown butter cookies with these creative serving ideas that enhance both presentation and enjoyment:
Classic Milk Pairing: Serve warm cookies with ice-cold whole milk or your preferred non-dairy alternative. The temperature contrast and complementary flavors create the ultimate nostalgic experience. Pro tip: Add a drop of vanilla extract to your milk for extra indulgence.
Ice Cream Sandwich Luxury: Transform cookies into gourmet ice cream sandwiches using vanilla bean, salted caramel, or brown butter ice cream. The cookie’s nutty notes pair exceptionally well with caramel-based flavors, creating a harmonious taste experience.
Dessert Board Centerpiece: Arrange brown butter cookies on a wooden board alongside fresh berries, whipped cream, chocolate sauce, and sea salt caramel for an interactive dessert experience perfect for gatherings.
Coffee Shop Style: Pair with a latte, cappuccino, or cortado. The coffee’s bitterness beautifully balances the cookie’s sweetness while the nutty notes in both create synergistic flavors. For non-coffee drinkers, try with chai tea or hot chocolate.
Elevated Afternoon Tea: Serve alongside clotted cream and berry compote for an unexpected twist on traditional tea service. The sophisticated flavor of browned butter makes these cookies appropriate for upscale gatherings.
Breakfast Indulgence: Crumble a cookie over Greek yogurt with granola and honey for a decadent yet protein-rich breakfast that satisfies sweet cravings.
Gift Presentation: Layer cookies in a clear cellophane bag tied with twine and a handwritten tag. These cookies stay fresh for a week, making them perfect for homemade gifts that actually taste as good as they look.
Common Mistakes to Avoid
Prevent disappointment by avoiding these frequent brown butter cookie pitfalls:
Mistake #1: Burning the Butter This is the most critical error. Butter transforms from perfectly browned to burnt in mere seconds, resulting in bitter, acrid-tasting cookies. Solution: Use a light-colored pan so you can monitor color changes, never leave the stove, and remove from heat the instant you see dark golden specks and smell intense nuttiness.
Mistake #2: Adding Brown Butter While Hot Pouring hot brown butter directly onto sugar or eggs can cook the eggs prematurely, creating scrambled egg texture in your dough. Solution: Always cool brown butter to room temperature (75-80°F) before proceeding with the recipe—this takes about 30 minutes.
Mistake #3: Skipping the Chilling Step Unbaked brown butter cookie dough is significantly softer than traditional cookie dough. Skipping the chill results in flat, greasy pancakes instead of thick, chewy cookies. Solution: Chill for at least 30 minutes minimum, preferably 2-24 hours.
Mistake #4: Overbaking Because these cookies contain liquid fat rather than solid butter, they continue firming up significantly as they cool. Baking until fully set results in hard, crunchy cookies. Solution: Remove when centers look slightly underbaked and edges are just golden.
Mistake #5: Losing the Brown Bits Those toasted milk solids at the bottom of your pan contain the most concentrated flavor. Leaving them behind means missing 50% of the brown butter impact. Solution: Scrape every last brown speck from the pan into your bowl using a rubber spatula.
Mistake #6: Using Salted Butter Salted butter contains varying salt levels between brands (1-3%), making it impossible to control the final salt content precisely. This often results in overly salty cookies. Solution: Always use unsalted butter and add measured salt separately.
Mistake #7: Undermixing Sugar and Brown Butter Insufficient whisking prevents proper aeration, resulting in dense, flat cookies. Solution: Whisk the sugar and brown butter mixture for a full 60-90 seconds until noticeably lighter in color.
Storing Tips for the Recipe
Maximize freshness and extend the life of your brown butter cookies with these professional storage techniques:
Room Temperature Storage: Store completely cooled cookies in an airtight container at room temperature for up to 5 days. Place a slice of sandwich bread in the container—it maintains optimal humidity levels, keeping cookies soft without making them soggy. Replace the bread every 2 days.
Extended Freshness Method: For cookies that stay bakery-fresh for up to 10 days, store them in an airtight container with a small piece of apple (not touching the cookies directly). The apple releases moisture gradually, maintaining the ideal soft-chewy texture.
Refrigerator Storage: While not typically necessary, refrigeration extends shelf life to 2 weeks. Bring cookies to room temperature before serving, or microwave for 8-10 seconds to restore that just-baked texture.
Freezer Storage for Baked Cookies: These brown butter cookies freeze exceptionally well for up to 4 months. Layer cookies between parchment paper sheets in a freezer-safe container or bag, removing as much air as possible. Thaw at room temperature for 30 minutes, or microwave frozen cookies for 15-20 seconds for a warm, fresh-from-the-oven experience.
Dough Freezing Strategy: Scoop cookie dough balls onto a parchment-lined baking sheet and freeze until solid (approximately 2 hours). Transfer frozen dough balls to a freezer bag, removing air and sealing tightly. Store for up to 6 months. Bake directly from frozen, adding 2-3 minutes to the baking time—no thawing required.
Brown Butter Make-Ahead: Prepare brown butter in advance and store it refrigerated in an airtight container for up to 5 days. Bring to room temperature (let it sit out for 2 hours or microwave gently for 10-second intervals) before using in your cookie recipe.
Pro Storage Hack: Vacuum-seal baked cookies in individual portions for travel or meal prep. This method extends freshness to 3 weeks at room temperature by eliminating air exposure completely.
Conclusion
Brown butter cookies represent a simple yet transformative upgrade to traditional cookie recipes, delivering restaurant-quality results through a 5-minute technique that creates hundreds of complex flavor compounds. By mastering the art of browning butter and following our precise method, you’ll consistently produce cookies with nutty, caramel depth that standard recipes simply cannot achieve. The combination of crispy edges, chewy centers, and sophisticated flavor makes these cookies irresistible.
Ready to experience the magic of brown butter baking? Try this recipe this weekend and taste the dramatic difference for yourself. Share your results, creative mix-in combinations, and tips in the review section below—we love hearing about your baking adventures! Subscribe to our blog for more advanced baking techniques, tested recipes, and professional secrets that will elevate everything you make in your kitchen!
FAQs
Q: Can I make brown butter cookies without chilling the dough? A: While possible, it’s strongly discouraged. The chilling step serves three critical purposes: it solidifies the liquid brown butter to prevent excessive spreading, allows flavors to meld and intensify, and hydrates the flour for better texture. Skipping this step results in flat, greasy cookies that spread too much. If you’re truly pressed for time, chill for a minimum of 30 minutes, though 2-24 hours yields dramatically superior results.
Q: How do I know when my butter is properly browned versus burnt? A: Properly browned butter is deep golden-amber (similar to maple syrup) with dark brown specks and smells intensely nutty, almost like toasted hazelnuts or popcorn. Burnt butter turns dark brown to black, smells acrid and bitter, and has a sharp, unpleasant odor. The transition happens in 10-20 seconds, so watch constantly during the final minute. When in doubt, remove from heat early—slightly under-browned is better than burnt.
Q: Why do my brown butter cookies spread too much? A: Excessive spreading typically indicates insufficient chilling time, dough that’s too warm when it enters the oven, or oven temperature that’s too low. Ensure your dough is well-chilled (should be firm enough to hold its shape), your oven is fully preheated to 350°F, and your baking sheets aren’t warm from a previous batch.
Q: Can I use browned butter in any cookie recipe? A: Yes, but with important adjustments. Because browning butter evaporates water content (reducing volume by about 15%), you need to account for this moisture loss. For best results in recipes not specifically designed for brown butter, add 1-2 tablespoons of water or milk to compensate, and chill the dough before baking.
Q: What’s the best way to reheat brown butter cookies? A: For that fresh-baked experience, microwave individual cookies for 8-12 seconds, or warm several cookies in a 300°F oven for 5 minutes. The gentle heat reactivates the fats, creating that soft, melty texture that makes brown butter cookies so irresistible. Avoid overheating, which can make them greasy.
Q: Can I make these cookies gluten-free? A: Absolutely! Replace the all-purpose flour with a 1:1 gluten-free baking flour blend (brands like Bob’s Red Mill or King Arthur work excellently). Add an extra ¼ teaspoon xanthan gum if your blend doesn’t contain it. The brown butter technique works identically with gluten-free flour, delivering the same nutty, caramel flavors with proper texture.
Your feedback helps other cooks succeed. Rate this recipe!
A Game-Changer for My Baking!
“I’ve always been intimidated by browning butter, but this article made it so simple. The step-by-step visual cues and timing tips gave me the confidence to do it perfectly on my first try. Using it in the cookie recipe provided added an incredible nutty depth of flavor. My cookies have never tasted this sophisticated. Thank you for demystifying a technique that elevates baking entirely!”
From Regular to Restaurant-Quality
Title of Your Review:
Your Review:
“This article is a must-read for anyone who loves cookies. The brown butter tutorial alone is worth it—clear, quick, and foolproof. The cookie recipe that follows is now my absolute favorite. The rich, toffee-like flavor and chewy texture are next-level. I added a sprinkle of flaky sea salt on top, and they disappeared in minutes. My friends thought I bought them from a bakery!”