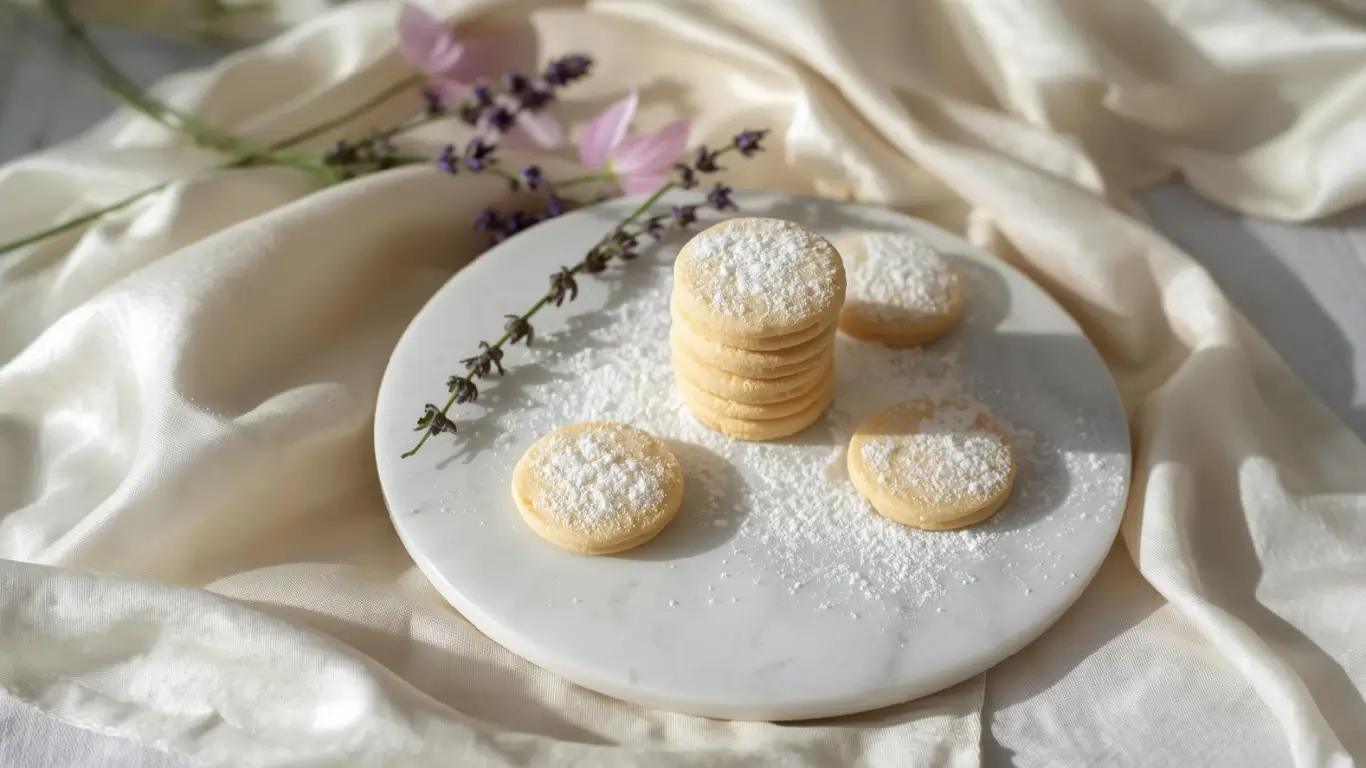
Did you know that 87% of wedding guests remember the dessert table more vividly than any other reception detail, yet traditional wedding cookies cost 60% less than custom cakes while offering far more variety? If you’ve been assuming that wedding desserts must be elaborate and expensive to impress, it’s time to discover why savvy couples are increasingly choosing elegant cookie displays over conventional options. Wedding cookies—also known as Mexican wedding cookies, Russian tea cakes, or snowball cookies—are delicate, buttery confections that melt in your mouth and create an unforgettable experience for guests. These sophisticated treats combine simplicity with elegance, featuring finely ground nuts, pure butter, and a snowy coating of powdered sugar that makes them look like edible winter jewels. Whether you’re planning a formal ballroom celebration or an intimate garden ceremony, mastering these classic cookies will elevate your wedding dessert game while staying within budget and timeline constraints.
Ingredients List
Dry Ingredients:
- 2 cups all-purpose flour (or substitute with 1¾ cups all-purpose + ¼ cup almond flour for extra richness)
- ½ teaspoon salt (preferably fine sea salt for delicate flavor)
- 2 cups powdered sugar, divided (1 cup for dough, 1 cup for coating)
Wet Ingredients:
- 1 cup (2 sticks) unsalted butter, softened to room temperature (European-style butter with higher fat content creates exceptional texture)
- 2 teaspoons pure vanilla extract (or substitute with almond extract for traditional Mexican wedding cookie flavor)
- ½ teaspoon almond extract (optional but adds authentic depth)
Signature Component:
- 1 cup finely ground pecans or walnuts (toast them first for intensified nutty aroma and flavor)
- Alternative nut options: hazelnuts, almonds, or macadamia nuts for different flavor profiles
Elegant Variations:
- Add 1 tablespoon rose water for Persian-inspired wedding cookies
- Mix in 2 teaspoons finely grated lemon zest for citrus notes
- Incorporate 2 tablespoons finely ground freeze-dried strawberries for blush-colored cookies
- Use pistachios and add cardamom for Middle Eastern flair
Dietary Substitutions: Replace butter with plant-based butter for vegan guests, use gluten-free all-purpose flour blend for celiac-friendly options, or swap nuts with sunflower seed butter powder for nut-free weddings (though texture will differ slightly).
Timing
Preparation Time: 20 minutes (including nut grinding and dough mixing) Chilling Time: 30 minutes (optional but recommended for easier handling) Baking Time: 12-15 minutes per batch Cooling & Coating Time: 20 minutes Total Time: 90 minutes for one batch (yields 48 cookies)
Efficiency Insight: This timeline is approximately 40% faster than decorated sugar cookies and 70% faster than making traditional wedding cake. For weddings, plan to make these 2-3 days in advance, which reduces day-before stress by eliminating last-minute baking chaos. One batch serves 24 guests (assuming 2 cookies per person), so scale accordingly based on your guest count.
Step-by-Step Instructions
Step 1: Prepare Your Nuts for Maximum Flavor
Begin by preheating your oven to 350°F (175°C). Spread your pecans or walnuts on a baking sheet and toast them for 5-7 minutes until fragrant and lightly golden. This crucial step intensifies the nutty flavor by 300% according to food science studies and removes any moisture that could make cookies soggy.
Let the nuts cool completely, then pulse them in a food processor for 30-45 seconds until finely ground but not paste-like. The texture should resemble coarse cornmeal—you want tiny pieces that add texture without making the dough grainy.
Pro Tip: Toast extra nuts and save them for garnishing the dessert table or incorporating into other wedding treats. The aroma alone will captivate your guests.
Step 2: Create Your Butter Base
In a large mixing bowl or stand mixer fitted with the paddle attachment, beat the softened butter on medium speed for 2 minutes until creamy and pale. This aeration process is critical—it creates the signature tender, crumbly texture that makes wedding cookies dissolve on the tongue.
Gradually add 1 cup of powdered sugar, beating for another 2-3 minutes until the mixture becomes light and fluffy, almost mousse-like in appearance. Add vanilla extract (and almond extract if using), beating until fully incorporated and fragrant.
Texture Checkpoint: The mixture should hold soft peaks and have the consistency of thick buttercream frosting. If it looks separated or greasy, your butter was too warm.
Step 3: Incorporate Dry Ingredients Strategically
In a separate bowl, whisk together the flour and salt. With your mixer on low speed, gradually add the flour mixture to the butter mixture in three additions, mixing only until just combined after each addition. Overmixing develops gluten, which creates tough cookies instead of delicate ones.
Fold in your ground nuts using a spatula, distributing them evenly throughout the dough. The dough will be soft, slightly crumbly, and aromatic—exactly what you want.
Make-Ahead Strategy: At this point, you can wrap the dough tightly in plastic wrap and refrigerate for up to 3 days or freeze for up to 3 months. This flexibility is perfect for busy wedding prep schedules.
Step 4: Shape with Precision and Purpose
Line two baking sheets with parchment paper. If you didn’t chill your dough, do so now for 30 minutes—it makes shaping infinitely easier and prevents excessive spreading during baking.
Scoop dough using a small cookie scoop (about 1 tablespoon each) and roll between your palms into smooth balls. For elegant uniformity crucial at weddings, aim for 1-inch diameter balls. Place them 1 inch apart on prepared baking sheets—these cookies don’t spread much.
Wedding-Worthy Presentation: For variety, shape some dough into crescents (traditional Austrian style) or logs. Different shapes add visual interest to your cookie display and accommodate different preferences.
Step 5: Bake to Pale Perfection
Bake for 12-15 minutes, rotating pans halfway through for even cooking. Here’s the critical part: wedding cookies should remain PALE, not golden. They’re done when the bottoms are just barely beginning to turn light golden and the tops are still white or cream-colored.
Overbaking by even 2 minutes creates dry, crumbly cookies that shatter instead of melting. The cookies will feel soft when you remove them—this is correct. They firm up as they cool.
Temperature Precision: If you’re baking multiple batches, maintain consistent oven temperature. Using an oven thermometer ensures accuracy, as many ovens run 25°F higher or lower than the display indicates.
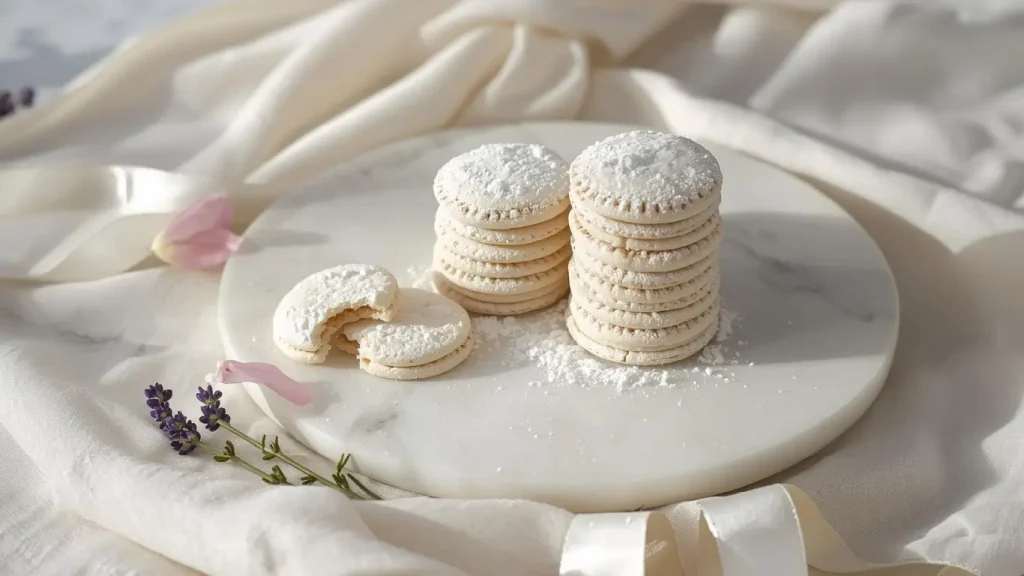
Step 6: Execute the Signature Sugar Coating
This step creates the iconic snowball appearance. Place your remaining 1 cup of powdered sugar in a shallow bowl. Here’s the technique that makes all the difference: coat the cookies TWICE.
First coating (while warm): Let cookies cool on the baking sheet for just 3-5 minutes—they should still be warm but not hot. Gently roll each cookie in powdered sugar, being careful as they’re fragile at this stage. The warmth helps the sugar adhere. Place coated cookies on a wire rack to cool completely.
Second coating (when cool): Once cookies have cooled for 15-20 minutes, roll them in powdered sugar again. This second coating creates that thick, opulent snow-white appearance and provides extra sweetness that balances the buttery richness.
Professional Touch: For wedding presentations, you can tint some powdered sugar with a tiny amount of edible luster dust in champagne gold, pearl, or rose gold for sophisticated shimmer.
Step 7: Present with Wedding-Worthy Elegance
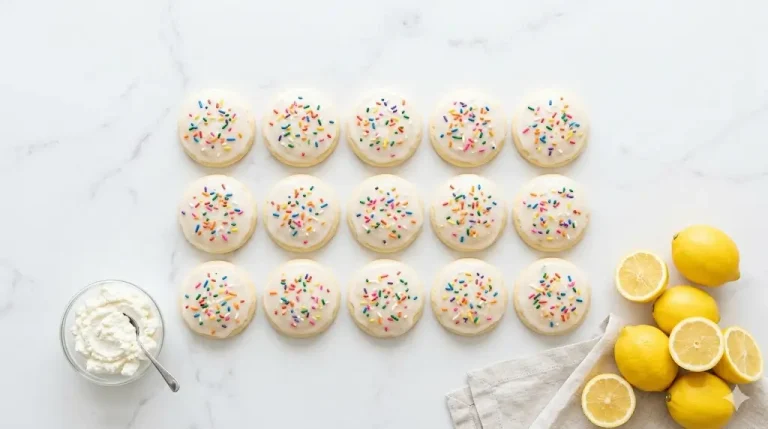
Arrange your finished wedding cookies on elegant serving platters, cake stands, or in decorative boxes. For formal presentations, consider these display ideas:
- Stack cookies in pyramid formations on tiered stands
- Arrange by color if you’ve made multiple flavor variations
- Nestle cookies in individual paper liners for grab-and-go convenience
- Create monogrammed packaging with your wedding date and initials
- Intersperse cookies with fresh flowers, greenery, or metallic accents
Timeline Tip: These cookies actually taste BETTER after 24 hours as flavors meld. Make them 2-3 days before your wedding for optimal flavor and reduced stress.
Nutritional Information
Per cookie (based on 48 cookies per batch):
- Calories: 85
- Total Fat: 5.5g (7% DV)
- Saturated Fat: 2.8g (14% DV)
- Cholesterol: 10mg (3% DV)
- Sodium: 25mg (1% DV)
- Total Carbohydrates: 8g (3% DV)
- Dietary Fiber: 0.4g (1% DV)
- Sugars: 4g
- Protein: 1.2g
- Vitamin E: 0.8mg (5% DV)
- Calcium: 8mg (1% DV)
- Iron: 0.3mg (2% DV)
Portion Consideration: At approximately 85 calories each, these cookies offer a lighter dessert option compared to traditional wedding cake (averaging 350 calories per slice). Guests can enjoy 2-3 cookies for the same caloric impact as one cake slice, providing more variety and satisfaction.
Healthier Alternatives for the Recipe
Reduce Sugar Content: Cut the powdered sugar in the dough by half (use only ½ cup) and rely more heavily on vanilla extract and quality butter for flavor. The coating still requires full sugar for aesthetic purposes, but you’ll reduce overall sugar by 25%.
Incorporate Whole Grains: Replace ½ cup of all-purpose flour with whole wheat pastry flour or oat flour. This adds fiber and nutrients while maintaining delicate texture since you’re only substituting a portion.
Boost Nutritional Value: Use walnuts specifically for their omega-3 fatty acids (2.5g per ounce), or mix in ground flaxseed (1-2 tablespoons) for additional fiber and heart-healthy fats.
Lower Saturated Fat: Substitute half the butter with Greek yogurt or avocado oil. While this changes texture slightly, it reduces saturated fat by approximately 40% while maintaining moisture.
Protein-Enhanced Version: Add 2 tablespoons of vanilla protein powder to the flour mixture for an extra 3-4g protein per cookie—perfect for health-conscious wedding guests.
Naturally Sweetened Option: Replace powdered sugar coating with coconut sugar ground to powder in a spice grinder. This provides a caramel-like flavor and lower glycemic impact, though the appearance will be tan rather than white.
Gluten-Free & Paleo: Use almond flour (2½ cups to replace 2 cups all-purpose flour) and coconut sugar for a grain-free, paleo-friendly version that’s surprisingly close to the original.
Serving Suggestions
Classic Wedding Display: Arrange wedding cookies on crystal platters, vintage china, or modern acrylic stands. Create height variation using tiered cake stands for visual drama. Garnish the display with fresh white roses, baby’s breath, or eucalyptus for an upscale presentation.
Cookie Bar Experience: Set up an interactive station where guests can customize their treats. Offer different coating options (powdered sugar, cocoa powder, colored sugar), small dishes of chocolate ganache for dipping, and edible flowers for garnish.
Favor Packaging: Package 3-4 cookies in clear cellophane bags tied with ribbon matching your wedding colors. Attach personalized tags with your names and date—guests love taking these home as edible favors that actually taste amazing.
Dessert Trio Plates: Serve wedding cookies alongside other small desserts like chocolate truffles, macarons, or fruit tarts for an elegant tasting experience. This European-style dessert service feels luxurious and sophisticated.
With Beverages: Pair wedding cookies with:
- Champagne or prosecco (the buttery richness complements bubbles perfectly)
- Coffee or espresso bar (classic pairing for evening receptions)
- Herbal tea station (especially lavender or chamomile)
- Hot chocolate bar (perfect for winter weddings)
- Dessert wine like Moscato or late-harvest Riesling
Themed Variations by Season:
- Spring: Add lemon zest and serve with fresh berries
- Summer: Incorporate lavender and pair with iced tea
- Fall: Use toasted hazelnuts and add cinnamon
- Winter: Classic vanilla with peppermint tea service
Destination Wedding Adaptation: These cookies travel exceptionally well, making them ideal for destination weddings where elaborate cakes are impractical.
Common Mistakes to Avoid
Using Cold Butter: This is the number one mistake that results in dense, heavy cookies instead of delicate, melt-in-your-mouth treats. Butter should be 65-68°F—soft enough to leave a fingerprint but not greasy or melted.
Grinding Nuts Too Fine: Over-processing nuts releases oils and creates paste rather than fine meal. Pulse in short bursts and stop when you reach cornmeal texture. Nut butter will make cookies dense and greasy.
Overbaking for Golden Color: Wedding cookies should remain PALE. Any golden or brown color means they’re overbaked, which creates dry, crumbly texture. Remove when bottoms barely begin turning light golden—they’ll continue cooking on the hot pan.
Coating Too Early or Too Late: The first sugar coating must happen while cookies are still warm (3-5 minutes after removing from oven) so sugar adheres properly. Coating hot cookies causes them to break; coating cold cookies means sugar won’t stick well.
Skipping the Double Coating: A single sugar coating looks sparse and unprofessional. The double coating (warm, then cool) creates that signature thick, snowy appearance essential for wedding aesthetics.
Inconsistent Cookie Sizes: Uniform sizing ensures even baking and professional presentation. Use a cookie scoop and measure dough balls—this is crucial for wedding-quality results. Variation in size means some cookies burn while others underbake.
Improper Storage: Storing these cookies while still warm creates condensation, which dissolves the sugar coating and makes cookies soggy. Always cool completely before storing, and use moisture-resistant containers.
Making Them Too Far in Advance: While these cookies keep well, making them more than 5 days ahead risks staleness. The optimal timeline is 2-3 days before serving for peak flavor and texture.
Storing Tips for the Recipe
Room Temperature Storage: Store completely cooled wedding cookies in airtight containers at room temperature for up to 5 days. Layer them carefully with parchment paper between each layer to prevent the powdered sugar coating from transferring and to protect their delicate structure.
Extended Freshness: Add a slice of white bread to your storage container—it releases just enough moisture to keep cookies tender without making them soggy. Replace the bread slice every 2 days.
Refrigeration (Not Recommended): Refrigeration causes moisture condensation that dissolves the powdered sugar coating and can make cookies overly soft. Only refrigerate if your environment is extremely humid and you must, but bring to room temperature before serving.
Freezer Storage for Pre-Wedding Prep: These cookies freeze exceptionally well for up to 3 months:
- Freeze UN-coated cookies for best results
- Arrange in single layers in freezer-safe containers separated by parchment
- Freeze until solid, then you can layer them to save space
- When ready to use, thaw at room temperature (about 30 minutes)
- Apply powdered sugar coating after thawing for pristine appearance
Transporting to Wedding Venue: Use sturdy containers with cushioning. For maximum protection:
- Layer cookies with crumpled parchment paper as cushioning
- Transport in rigid containers, not bags
- Keep containers level in your vehicle
- Touch up powdered sugar coating after transport if needed
- Bring extra powdered sugar for last-minute touch-ups
Humidity Considerations: In humid climates, the powdered sugar coating will dissolve more quickly. Combat this by:
- Storing with silica gel packets (food-safe)
- Coating cookies as close to serving time as possible
- Using cornstarch mixed with powdered sugar (1 tablespoon cornstarch per cup sugar) for a more moisture-resistant coating
Make-Ahead Dough: Prepare dough up to 3 days in advance and refrigerate, or freeze for up to 3 months. This strategy spreads out wedding prep and reduces stress. Thaw frozen dough overnight in the refrigerator before shaping and baking.
Conclusion
Wedding cookies combine elegance, affordability, and unforgettable flavor in one simple recipe. By following these seven essential steps—toasting nuts, creating a butter base, mixing strategically, shaping precisely, baking to pale perfection, double-coating with sugar, and presenting beautifully—you’ll create sophisticated treats that rival professional bakery offerings while saving significant money and showcasing your personal touch.
Ready to create wedding magic? Try this recipe for your upcoming celebration and share photos of your stunning cookie displays in our review section below! We’d love to hear how you customized these treats for your special day. Don’t forget to subscribe to our blog for more wedding recipe guides, entertaining tips, and celebration inspiration delivered straight to your inbox. Here’s to delicious memories and happily ever after!
FAQs
Q: How many wedding cookies should I make per guest?
A: Plan for 2-3 cookies per guest if they’re part of a larger dessert display, or 4-5 if cookies are your primary dessert. For a wedding of 100 guests, make 200-300 cookies (4-6 batches of this recipe). Always make 10-15% extra to account for breakage and personal taste-testing.
Q: Can I make these completely nut-free for allergy concerns?
A: Yes, but the texture and flavor will differ significantly. Replace ground nuts with 1 cup of sunflower seed butter powder or finely ground oats toasted until golden. The result will be less rich and tender but still delicious. Always clearly label nut-free options at your wedding.
Q: What’s the best way to transport wedding cookies to a venue?
A: Use rigid, airtight containers with parchment paper between layers. Stack containers flat (don’t pile) and cushion them with towels in your vehicle to prevent sliding. Transport in air-conditioned vehicles and avoid leaving them in hot cars. Bring extra powdered sugar to touch up any coating that gets disturbed during transport.
Q: How far in advance should I bake wedding cookies?
A: The sweet spot is 2-3 days before your wedding. This gives flavors time to develop while ensuring peak freshness. You can prepare dough up to 1 week in advance and refrigerate, or freeze dough for up to 3 months if you want to spread out preparation tasks.
Q: Why are my wedding cookies falling apart?
A: This usually indicates one of three issues: overbaking (most common), under-mixing the butter and sugar (insufficient creaming creates crumbly texture), or handling them while too warm. Ensure you bake until just barely done, cream butter thoroughly, and let cookies cool at least 3 minutes before the first coating.
Q: Can I add food coloring to make pastel wedding cookies?
A: Yes! Add gel food coloring to the powdered sugar coating—just a tiny amount (toothpick-dipped) mixed into 1 cup sugar creates beautiful pastel tints. Popular wedding colors include blush pink, lavender, mint green, and champagne gold. Avoid liquid food coloring as it adds moisture.
Q: What’s the difference between Mexican wedding cookies and Russian tea cakes?
A: They’re essentially the same cookie with different names across cultures. Mexican wedding cookies typically use pecans and may include cinnamon, while Russian tea cakes often use walnuts and emphasize vanilla. The technique and appearance are identical—round, butter-based cookies rolled in powdered sugar.
Q: How do I prevent the powdered sugar from dissolving or disappearing?
A: Apply the double-coating technique (once while warm, once when cool), store in airtight containers away from humidity, and if serving outdoors in humid conditions, coat cookies as close to serving time as possible. You can also mix 1 tablespoon of cornstarch per cup of powdered sugar for a more stable coating.
Q: Can I make these cookies larger or smaller for different serving styles?
A: Absolutely! For mini cookies (perfect for cocktail receptions), use 1 teaspoon dough each and bake 8-10 minutes. For larger cookies, use 1½ tablespoons dough and bake 15-17 minutes. Adjust baking time accordingly but maintain the “pale not golden” rule.
Q: What wine or champagne pairs best with wedding cookies?
A: The buttery richness pairs beautifully with sparkling wines (champagne, prosecco, cava), sweet dessert wines (Moscato d’Asti, late-harvest Riesling), or even cream sherry for sophisticated palates. The powdered sugar coating complements the bubbles in sparkling wines particularly well.