Did you know that the perfect batch of chocolate cookies doesn’t require a pantry full of ingredients or hours of baking experience? In fact, you can create irresistibly rich, fudgy chocolate cookies using just five simple ingredients that you likely already have in your kitchen. These minimalist chocolate cookies prove that exceptional flavor doesn’t demand complexity—just quality ingredients and the right technique. Whether you’re a beginner baker looking for a foolproof recipe or a seasoned home chef seeking a quick dessert solution, this streamlined approach to making chocolate cookies delivers bakery-quality results in under 30 minutes. The beauty of this five-ingredient wonder lies in its versatility and accessibility, making homemade chocolate chip cookies, double chocolate cookies, and chewy chocolate treats achievable any day of the week.
Ingredients List
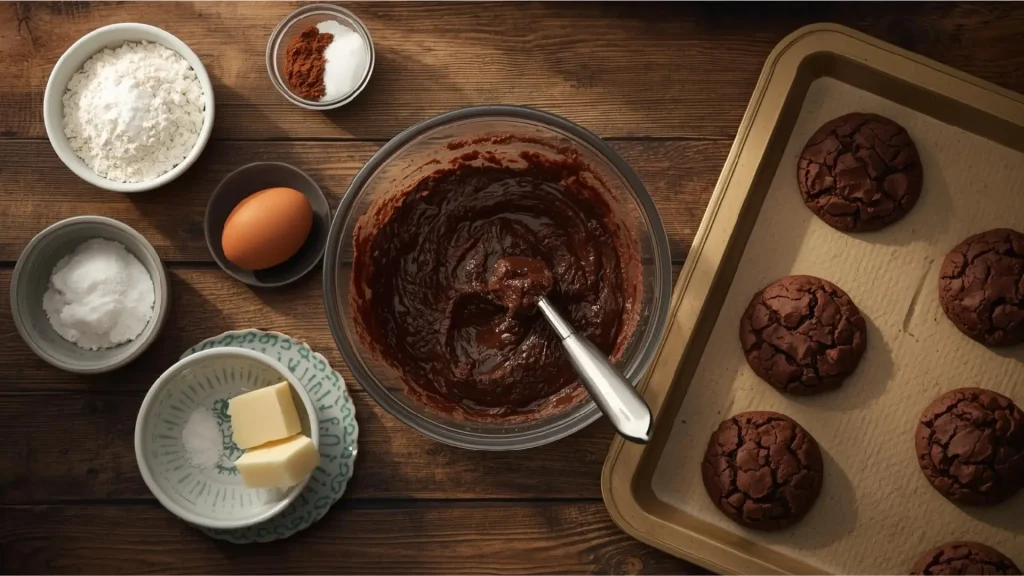
Creating these delectable chocolate cookies requires just five pantry staples:
- 2 cups all-purpose flour (substitute with whole wheat flour for added fiber, or use a 1:1 gluten-free baking blend for a gluten-free version)
- 1 cup unsalted butter, softened (coconut oil works as a dairy-free alternative, though it will slightly alter the texture)
- 1 cup granulated sugar (swap with coconut sugar for a lower glycemic option, or use half sugar and half brown sugar for extra chewiness)
- 2 large eggs (flax eggs—2 tablespoons ground flaxseed mixed with 6 tablespoons water—make an excellent vegan substitute)
- 1 cup cocoa powder (Dutch-processed cocoa creates a deeper, darker flavor, while natural cocoa powder offers a more traditional chocolate taste)
Optional add-ins to customize your cookies: chocolate chips, chopped nuts, sea salt flakes, or vanilla extract can elevate these basic ingredients into personalized creations.
Timing
This recipe is remarkably efficient, perfect for satisfying sudden chocolate cravings:
- Preparation Time: 10 minutes
- Baking Time: 12-15 minutes
- Cooling Time: 5 minutes
- Total Time: 27-30 minutes
Compared to traditional chocolate cookie recipes that often require 45-60 minutes from start to finish, this streamlined version saves you approximately 40% of your time while delivering equally impressive results. The minimal ingredient list means less measuring, less cleanup, and more time enjoying warm, gooey chocolate cookies fresh from the oven.
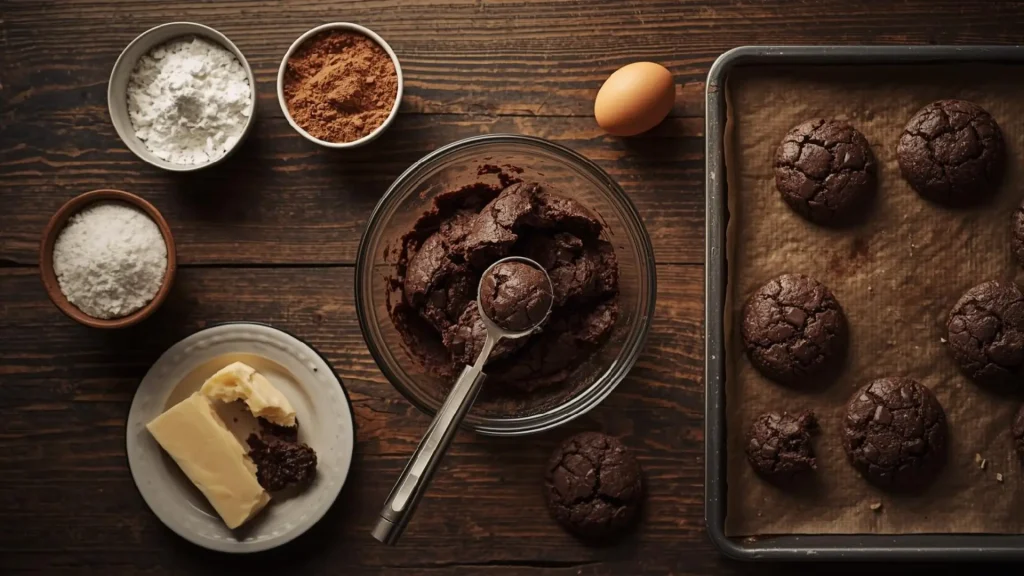
Step-by-Step Instructions
Step 1: Preheat and Prepare
Begin by preheating your oven to 350°F (175°C). Line two baking sheets with parchment paper or silicone baking mats to prevent sticking and ensure even baking. This preparation step is crucial—a properly preheated oven ensures your chocolate cookies bake evenly and develop that perfect crispy exterior with a soft, chewy center. Pro tip: Position your oven racks in the upper and lower thirds of the oven for optimal heat circulation when baking multiple trays.
Step 2: Cream Butter and Sugar
In a large mixing bowl, cream together the softened butter and granulated sugar using an electric mixer on medium speed for 3-4 minutes, or until the mixture becomes light and fluffy. This creaming process incorporates air into the batter, which is essential for creating tender chocolate cookies with the ideal texture. The mixture should appear pale yellow and have increased in volume—this indicates proper aeration. If mixing by hand, expect to spend about 7-8 minutes to achieve similar results.
Step 3: Incorporate Eggs
Add the eggs one at a time, beating well after each addition until fully incorporated. This gradual addition prevents the mixture from curdling and ensures a smooth, homogeneous batter. Each egg should be completely blended before adding the next—you’ll notice the mixture becoming glossier and more cohesive with each addition. Scrape down the sides of the bowl periodically to ensure even mixing.
Step 4: Combine Dry Ingredients
In a separate bowl, sift together the all-purpose flour and cocoa powder. Sifting is a game-changer for chocolate cookies—it eliminates lumps in the cocoa powder and aerates the flour, resulting in lighter, more delicate cookies. Gradually add the dry ingredients to the wet mixture, mixing on low speed until just combined. Avoid overmixing at this stage, as excessive stirring develops gluten in the flour, leading to tough, dense cookies rather than tender ones.
Step 5: Shape and Bake
Using a cookie scoop or tablespoon, drop rounded portions of dough onto your prepared baking sheets, spacing them about 2 inches apart to allow for spreading during baking. Each cookie should contain approximately 2 tablespoons of dough. For uniform size and professional appearance, a #40 cookie scoop (about 1.5 tablespoons) works perfectly. Bake for 12-15 minutes, until the edges are set but the centers still appear slightly soft and underdone. Remember, chocolate cookies continue cooking from residual heat after removal from the oven, so slightly underbaking ensures that perfect fudgy texture.
Step 6: Cool and Enjoy
Allow the cookies to rest on the baking sheet for 5 minutes before transferring them to a wire cooling rack. This brief resting period lets the cookies firm up without becoming brittle. The result? Chocolate cookies with crispy edges, chewy centers, and intense chocolate flavor that rivals any bakery creation.
Nutritional Information
Each chocolate cookie (recipe yields approximately 24 cookies) contains:
- Calories: 145
- Total Fat: 8g (10% Daily Value)
- Saturated Fat: 5g
- Cholesterol: 35mg (12% Daily Value)
- Sodium: 15mg (1% Daily Value)
- Total Carbohydrates: 18g (7% Daily Value)
- Dietary Fiber: 1g
- Sugars: 9g
- Protein: 2g
Key Nutritional Insights: These chocolate cookies provide a modest source of iron from cocoa powder, which contains approximately 2-3mg per serving. Cocoa is also rich in flavonoids, antioxidants that have been linked to cardiovascular health benefits in numerous studies. While these are indulgent treats, the dark cocoa content offers more nutritional value than many traditional cookie recipes.
Healthier Alternatives for the Recipe
Transform these chocolate cookies into a more nutritious treat with these simple swaps:
Reduce Sugar: Cut the granulated sugar to 3/4 cup and add 1 teaspoon vanilla extract to enhance sweetness perception without additional calories. You can reduce sugar by up to 25% in most cookie recipes without significantly impacting texture.
Boost Fiber: Replace half the all-purpose flour with whole wheat pastry flour or oat flour. This modification adds 3-4g of fiber per serving while maintaining the tender texture chocolate cookies are known for.
Add Protein: Incorporate 1/4 cup of almond flour or protein powder into the dry ingredients. This addition increases protein content to 4-5g per cookie, making them more satisfying and helping stabilize blood sugar levels.
Healthy Fats: Substitute half the butter with mashed avocado or Greek yogurt. While unconventional, this swap reduces saturated fat by 40% while adding moisture and creating incredibly soft chocolate cookies.
Natural Sweeteners: Use maple syrup or honey in place of half the sugar (reduce to 1/2 cup sugar plus 1/4 cup liquid sweetener, and decrease eggs to 1.5 eggs to compensate for added moisture).
Serving Suggestions
Elevate your chocolate cookies with these creative serving ideas:
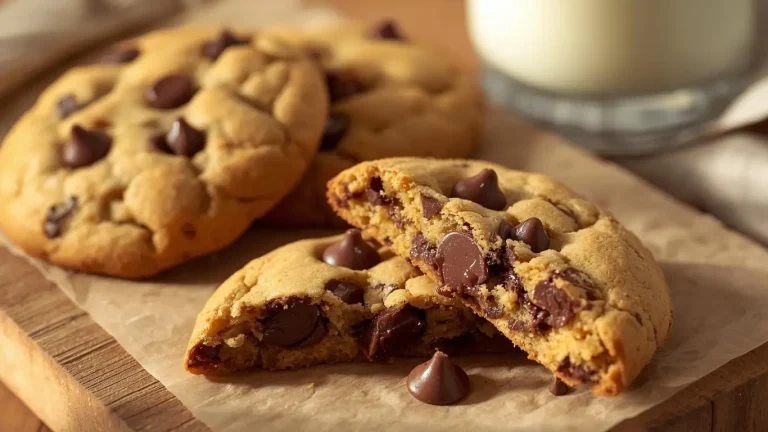
Classic Pairing: Serve warm chocolate cookies with a tall glass of cold milk—the temperature contrast enhances the sensory experience and balances the rich chocolate flavor.
Ice Cream Sandwich: Split cookies while still slightly warm and sandwich a scoop of vanilla, mint, or coffee ice cream between them for an impressive dessert that takes mere minutes to assemble.
Dessert Board: Arrange chocolate cookies on a wooden board alongside fresh berries, whipped cream, chocolate sauce, and crushed nuts, allowing guests to customize their dessert experience.
Coffee Companion: Pair these cookies with espresso, cappuccino, or dark roast coffee—the bitter notes in coffee complement the sweet chocolate perfectly, creating a sophisticated flavor combination.
Breakfast Treat: Crumble chocolate cookies over Greek yogurt with fresh strawberries and a drizzle of honey for a indulgent yet protein-rich breakfast option.
Gift Giving: Package cooled chocolate cookies in decorative tins or cellophane bags tied with ribbon—they make thoughtful homemade gifts that friends and family will appreciate.
Common Mistakes to Avoid
Ensure perfect chocolate cookies every time by steering clear of these frequent pitfalls:
Using Cold Butter: Room temperature butter is essential for proper creaming. Cold butter won’t incorporate air effectively, resulting in dense, flat chocolate cookies. Plan ahead and let butter sit at room temperature for 30-45 minutes before baking.
Overbaking: The single most common mistake with chocolate cookies is baking them too long. Remove cookies when centers still look slightly underdone—they’ll firm up during cooling. Overbaked cookies become dry and crumbly rather than chewy and fudgy.
Skipping the Sifting: Cocoa powder notoriously clumps. Failing to sift creates pockets of bitter, concentrated chocolate and an uneven texture throughout your cookies.
Overmixing the Dough: Once flour is added, mix only until just combined. Overmixing develops gluten, transforming tender chocolate cookies into tough, cake-like disks.
Crowding the Baking Sheet: Cookies need space to spread. Placing them too close together causes them to merge into one giant cookie blob. Maintain 2 inches of space between each portion of dough.
Inconsistent Sizing: Uniform cookie sizes ensure even baking. Using a cookie scoop rather than estimating by eye creates professional-looking chocolate cookies that all finish baking simultaneously.
Storing Tips for the Recipe
Maximize the shelf life and freshness of your chocolate cookies with proper storage:
Room Temperature: Store completely cooled chocolate cookies in an airtight container at room temperature for up to 5 days. Place parchment paper between layers to prevent sticking. Adding a slice of bread to the container helps maintain moisture and keeps cookies soft.
Refrigeration: While not typically necessary, refrigerated chocolate cookies stay fresh for up to 2 weeks. Store in an airtight container and allow them to come to room temperature before serving, or warm briefly in the microwave for 10-15 seconds to restore their just-baked texture.
Freezing Baked Cookies: Chocolate cookies freeze exceptionally well for up to 3 months. Arrange cooled cookies in a single layer on a baking sheet and freeze until solid, then transfer to freezer-safe bags or containers. This prevents them from sticking together and allows you to remove individual cookies as needed.
Freezing Cookie Dough: Perhaps the best storage hack—freeze scooped cookie dough portions on a baking sheet, then transfer frozen dough balls to freezer bags. Bake directly from frozen, adding 2-3 minutes to the baking time. This method gives you fresh-baked chocolate cookies anytime a craving strikes.
Reheating: Revive day-old cookies by warming them in a 300°F oven for 3-5 minutes or microwaving for 10-15 seconds. This softens the texture and releases aromatic chocolate compounds, making them taste freshly baked.
Conclusion
These 5-ingredient chocolate cookies prove that spectacular homemade treats don’t require complicated recipes or specialty ingredients. With just butter, sugar, eggs, flour, and cocoa powder, you can create bakery-quality chocolate cookies in under 30 minutes. The simple ingredient list makes this recipe accessible for bakers of all skill levels, while the rich, fudgy results satisfy even the most discerning chocolate lover’s cravings.
Ready to bake? Try this recipe today and experience how effortlessly delicious homemade chocolate cookies can be. Share your results in the review section below—we’d love to see photos of your creations and hear about any creative variations you tried. Leave a comment with your favorite serving suggestion or any questions about the recipe. Don’t forget to subscribe to our blog for more simple, crowd-pleasing recipes delivered straight to your inbox each week!
FAQs
Why are my chocolate cookies spreading too much?
Excessive spreading typically occurs when butter is too warm or dough isn’t chilled. If your kitchen is warm, refrigerate the dough for 15-30 minutes before baking. Also ensure you’re measuring flour correctly—too little flour causes spreading. Spoon flour into measuring cups and level off rather than scoking directly from the bag.
Can I add chocolate chips to this recipe?
Definitely! Fold in 1/2 to 1 cup of chocolate chips, white chocolate chips, or chopped chocolate after mixing the dough. This transforms your chocolate cookies into double chocolate chip cookies with pockets of melted chocolate throughout.
How do I know whenchocolate cookies are done baking?
Chocolate cookies are done when the edges appear set and slightly firm, but the centers still look soft and slightly underbaked. They should feel firm around the edges when gently touched but give slightly in the center. Remember, they’ll continue cooking on the hot baking sheet after removal from the oven.
Can I make the dough ahead of time?
Yes! Prepare the dough up to 3 days in advance and store covered in the refrigerator. Cold dough actually produces thicker chocolate cookies with better texture because chilling solidifies the fats and allows flour to fully hydrate. Bring dough to room temperature for 10-15 minutes before scooping and baking for easier handling.
What’s the difference between natural and Dutch-processed cocoa powder?
Natural cocoa powder has a lighter color and more acidic, fruity chocolate flavor, while Dutch-processed cocoa is treated with an alkalizing agent that creates a darker color, milder flavor, and smoother taste. Both work beautifully in these chocolate cookies—choose based on your flavor preference. Dutch-processed cocoa creates a more intense, sophisticated chocolate flavor.