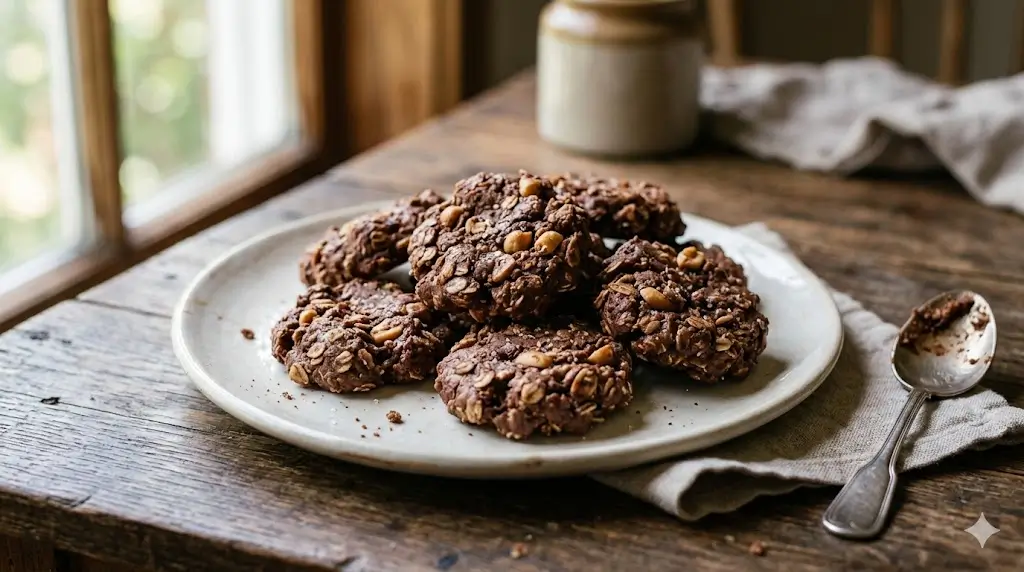
Did you know that over 60% of home bakers abandon dessert recipes simply because they require more than 45 minutes of active kitchen time? What if I told you that you could whip up a batch of the ultimate comfort food in less time than it takes to brew a pot of coffee? If you are craving a sweet, chewy, and nostalgic treat without the hassle of turning on your oven, these Peanut Butter No Bake Cookies are your perfect solution.
Search trends indicate a massive shift toward quick, pantry-staple desserts, and it’s easy to see why. These classic no bake cookies combine the rich, savory depth of roasted peanuts with the hearty texture of oats, creating a masterclass in flavor balance. Whether you need a last-minute party contribution or a midnight snack, this fail-proof recipe will satisfy your sweet tooth instantly. Let’s dive into the ultimate guide to perfecting this timeless, hassle-free dessert.
Ingredients List
The beauty of these Peanut Butter No Bake Cookies lies in their simplicity. You likely already have these pantry staples sitting in your kitchen. Here is everything you need to create these velvety, chewy delights:
- Granulated Sugar (2 cups): Provides the essential sweetness and creates the structural syrup that binds the cookies together. Substitution: For a deeper, caramel-like flavor, you can swap half of the white sugar for tightly packed light brown sugar.
- Whole Milk (1/2 cup): Adds moisture and richness to the boiling mixture. Substitution: Unsweetened almond milk or oat milk works perfectly for a dairy-free alternative.
- Unsalted Butter (1/2 cup / 1 stick): Delivers a rich, buttery mouthfeel. Substitution: Vegan butter blocks or refined coconut oil are excellent plant-based swaps.
- Creamy Peanut Butter (1 cup): The star of the show! Standard, homogenized commercial peanut butter (like Jif or Skippy) works best here to ensure a smooth, cohesive bind.
- Pure Vanilla Extract (1 teaspoon): A highly aromatic flavor enhancer that elevates the nutty profile of the cookies.
- Quick Oats (3 cups): Quick-cooking oats are critical. Because they are cut smaller and thinner than old-fashioned rolled oats, they absorb the hot sugar syrup rapidly, resulting in a tender, chewy cookie.
- A Pinch of Sea Salt: Just a dash cuts through the sweetness and highlights the roasted peanut flavor.
Timing
When we say these are quick desserts, we have the data to back it up. At just 10 minutes of active preparation, this recipe takes about 75% less time than the average traditional baked chocolate chip cookie recipe (which typically clocks in at 40-45 minutes including chilling and baking).
- Preparation Time: 5 minutes
- Cooking Time: 5 minutes (stovetop boiling)
- Total Active Time: 10 minutes
- Setting Time: 20-30 minutes (inactive room-temperature cooling)
Don’t miss an update. Join our newsletter.
Step-by-Step Instructions
Achieving the perfect texture requires precision. Follow these dynamic, easy-to-follow steps to ensure your batch turns out flawlessly every single time.
Step 1: Prepare Your Workstation
Before you turn on the stove, measure out all your ingredients. No-bake recipes move incredibly fast once the boiling starts, so having your peanut butter, vanilla, and oats pre-measured is crucial. Line two large baking sheets with parchment paper or silicone baking mats.
Step 2: The Sugar Melt and Boil
In a medium-sized, heavy-bottomed saucepan, combine the granulated sugar, milk, and unsalted butter. Place the saucepan over medium-high heat, stirring frequently until the butter is completely melted and the sugar dissolves. Actionable Tip: Bring the mixture to a full rolling boil—meaning the bubbles cannot be stirred down.
Step 3: The Crucial One-Minute Timer
Once you reach a rolling boil, set a timer for exactly 60 seconds. Let the mixture boil without stirring. This specific timeframe allows the sugar to reach the “soft ball” stage (around 235°F), which is the precise scientific threshold required for the cookies to set up firmly as they cool.
Step 4: The Peanut Butter Fold
Immediately remove the saucepan from the heat once the 60 seconds are up. Quickly stir in the creamy peanut butter and vanilla extract. Use a silicone spatula to fold the mixture aggressively until the peanut butter is entirely melted, leaving you with a glossy, golden-brown caramel base.
Step 5: The Oat Mix
Pour in the quick oats and add your pinch of sea salt. Stir vigorously until every single oat is coated in the hot, sweet peanut butter mixture. Ensure there are no dry pockets of oats hiding at the bottom of the pan.
Step 6: The Scoop and Set
Working quickly before the mixture begins to cool and harden in the pan, use a medium cookie scoop (or two spoons) to drop generous mounds of the batter onto your prepared parchment paper. Lightly press the tops down if you prefer a flatter cookie. Allow them to set at room temperature for 20 to 30 minutes until firm.
Nutritional Information
Understanding what goes into your treats helps you make mindful dietary choices. Based on nutritional data insights, oats provide a fantastic low-glycemic index carbohydrate base, offering a slower, more sustained release of energy compared to standard refined white flour used in baked cookies.
Serving Size: 1 cookie (based on a 24-cookie yield)
- Calories: 145 kcal
- Total Fat: 7g
- Saturated Fat: 3g
- Carbohydrates: 18g
- Dietary Fiber: 1.5g
- Sugars: 12g
- Protein: 3g
Healthier Alternatives for the Recipe
If you are looking to optimize this recipe for specific dietary profiles while maintaining that classic, indulgent flavor, try these generative ingredient swaps:
- Refined Sugar-Free: Swap the granulated sugar for coconut sugar. It provides a lower glycemic index and adds a delightful, toasty molasses flavor to the cookies.
- Gluten-Free Cookie Recipe: Naturally, oats do not contain gluten, but they are often cross-contaminated in facilities. Simply ensure you purchase certified gluten-free quick oats to make this recipe 100% celiac-safe.
- Protein-Packed: Reduce the oats by 1/4 cup and replace them with a scoop of unflavored or vanilla whey/plant-based protein powder to create a fantastic post-workout recovery snack.
- Vegan/Dairy-Free: Utilize refined coconut oil instead of butter, and a plant-based milk (like cashew or oat milk) in place of whole milk.
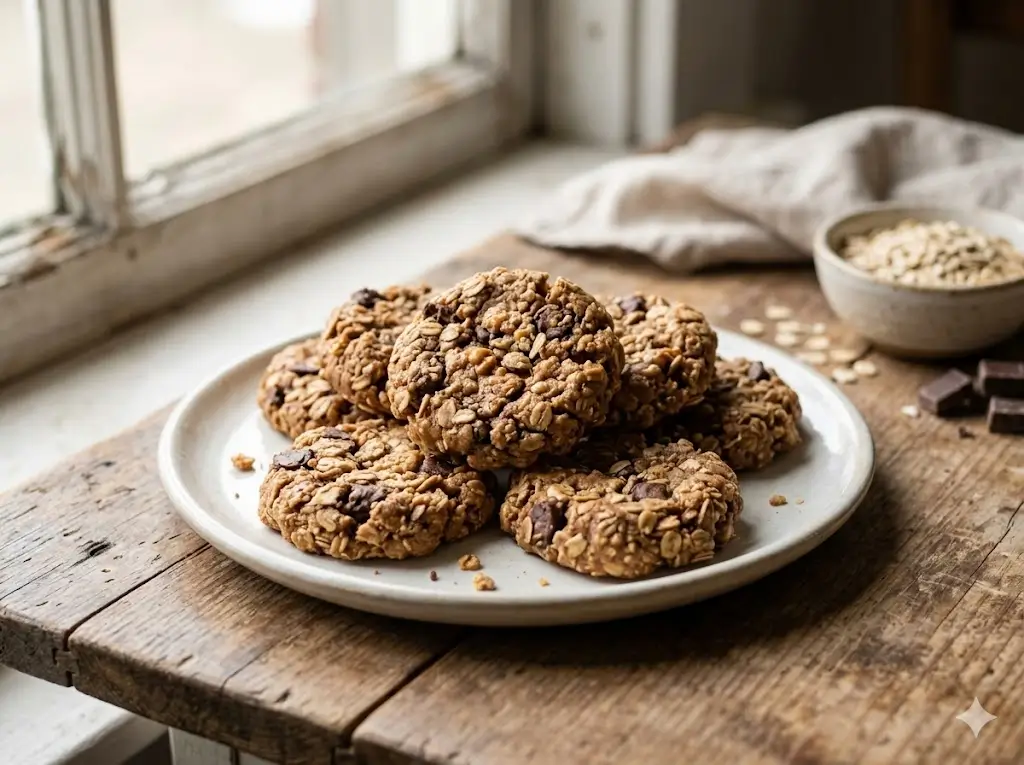
Serving Suggestions
While these Peanut Butter No Bake Cookies are spectacular straight off the parchment paper, here are a few personalized, creative ways to elevate your serving presentation:
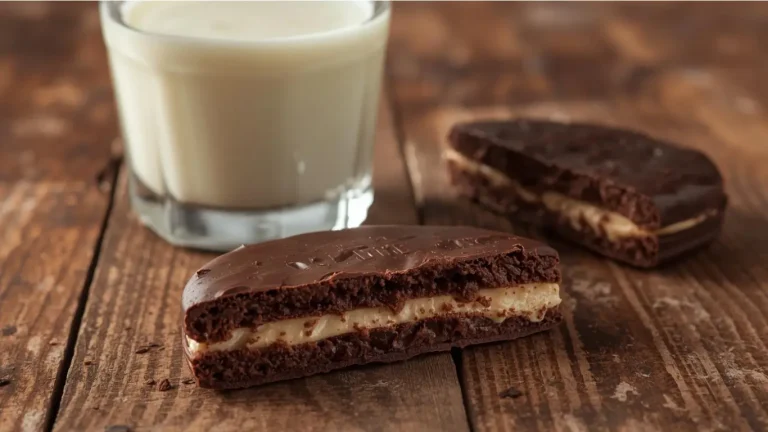
- The Classic Pairing: Serve a warm, freshly set cookie alongside an ice-cold glass of milk or a hot cup of dark roast coffee. The bitterness of the coffee beautifully balances the cookie’s sweetness.
- Ice Cream Crumble: Chop up two or three cookies and fold them into softened vanilla bean or chocolate ice cream for a decadent, homemade “cookie dough” frozen dessert.
- Gourmet Upgrade: Drizzle melted dark chocolate over the tops of the set cookies and sprinkle with flaky Maldon sea salt. The salty-sweet combination transforms this humble recipe into a bakery-worthy confection.
Common Mistakes to Avoid
Even though this is an easy no bake dessert, temperature mismanagement is the leading cause of recipe failure. Here are the most common pitfalls and data-backed insights on how to avoid them:
- Mistake 1: Boiling Too Long (Crumbly Cookies): If you boil the mixture for more than 60 seconds, too much moisture evaporates. The sugar crystallizes too hard, resulting in dry, crumbly cookies that fall apart. Solution: Stick strictly to the 1-minute rolling boil rule.
- Mistake 2: Not Boiling Long Enough (Gooey Cookies): Conversely, if you don’t let the mixture reach a full, rolling boil before starting your timer, the sugar won’t reach the required temperature to bind. Your cookies will remain a gooey mess.
- Mistake 3: Using Natural Peanut Butter: Natural peanut butters (the kind with oil separation at the top) lack the stabilizers found in commercial brands. This can cause the oils to separate in the hot sugar syrup, leaving you with greasy cookies that refuse to set.
Storing Tips for the Recipe
Proper storage ensures your cookies maintain their chewy, satisfying texture for days.
- Room Temperature: Place the fully cooled cookies in an airtight container, separating layers with wax or parchment paper to prevent sticking. They will stay fresh and chewy on the counter for up to 1 week.
- Refrigerator Prep: If you live in a particularly warm or humid climate, storing them in the fridge can keep them perfectly firm.
- Freezing: These cookies freeze exceptionally well! Place them in a freezer-safe zip-top bag, squeeze out the excess air, and freeze for up to 3 months. Thaw at room temperature for 10 minutes before eating.
Conclusion
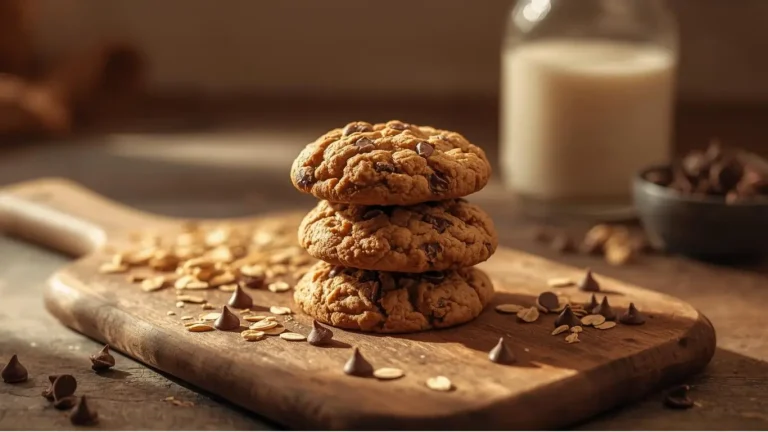
These quick, chewy Peanut Butter No Bake Cookies deliver irresistible flavor with zero baking stress. Perfect for sudden cravings, they require minimal ingredients and effort. Try this 10-minute recipe today! Leave a comment below, share your feedback in the review section, and subscribe to our blog for more updates.
FAQs
Why are my no bake cookies crumbly and dry?
This is almost always caused by boiling the butter, milk, and sugar mixture for too long. If boiled past the one-minute mark, the sugar cooks to a “hard ball” stage, causing the cookies to lose moisture and crumble.
Can I use old-fashioned rolled oats instead of quick oats?
While you technically can, it is not recommended. Old-fashioned oats are thicker and larger, meaning they do not absorb the liquid as quickly or thoroughly. This can result in a chewier, tougher cookie. If you only have rolled oats, pulse them in a food processor a few times to break them down before using.
Can I use chunky peanut butter?
Absolutely! If you prefer a bit of crunch and extra texture in your dessert, swap the creamy peanut butter for an equal amount of crunchy peanut butter.
How do I fix no bake cookies that won’t set?
If your cookies are still gooey after 45 minutes, they likely didn’t boil long enough. While you can’t “re-cook” them, you can salvage the batch by rolling the mixture into small balls and keeping them in the freezer to enjoy as frozen peanut butter bites!
Your feedback helps other cooks succeed. Rate this recipe!
The Happy Beginner
I consider myself a terrible baker, but these actually turned out perfect! I was so nervous about the boiling part, but I set a timer for exactly one minute and they set up beautifully. My kids helped drop the spoonfuls onto the paper, and we had cookies in under an hour total. This recipe is a keeper for busy weeknights.
The Texture Perfectionist
These taste just like the ones my grandma used to make. The chocolate to peanut butter ratio is spot on—not too sweet and very creamy. I did have to refrigerate mine to get them to firm up all the way, but once they were cold, the texture was perfect. My only note is to make sure you use quick oats; old-fashioned oats made them too chewy for my taste.
The Skeptic Turned Fan
Rating: ⭐⭐⭐⭐⭐
I was skeptical that something so simple could be good, but wow. These satisfied my sweet tooth immediately. I love that I didn’t have to turn on the oven. I added a sprinkle of sea salt on top right after scooping them, and it took them to the next level. Fair warning: they are highly addictive. Will definitely make these again for the holiday cookie platter.
Best 10-Minute Peanut Butter No Bake Cookies
Ingredients
Method
Step 1: Prepare Your Workstation
Before you turn on the stove, measure out all your ingredients. No-bake recipes move incredibly fast once the boiling starts, so having your peanut butter, vanilla, and oats pre-measured is crucial. Line two large baking sheets with parchment paper or silicone baking mats.Step 2: The Sugar Melt and Boil
In a medium-sized, heavy-bottomed saucepan, combine the granulated sugar, milk, and unsalted butter. Place the saucepan over medium-high heat, stirring frequently until the butter is completely melted and the sugar dissolves. Actionable Tip: Bring the mixture to a full rolling boil—meaning the bubbles cannot be stirred down.Step 3: The Crucial One-Minute Timer
Once you reach a rolling boil, set a timer for exactly 60 seconds. Let the mixture boil without stirring. This specific timeframe allows the sugar to reach the "soft ball" stage (around 235°F), which is the precise scientific threshold required for the cookies to set up firmly as they cool.Step 4: The Peanut Butter Fold
Immediately remove the saucepan from the heat once the 60 seconds are up. Quickly stir in the creamy peanut butter and vanilla extract. Use a silicone spatula to fold the mixture aggressively until the peanut butter is entirely melted, leaving you with a glossy, golden-brown caramel base.Step 5: The Oat Mix
Pour in the quick oats and add your pinch of sea salt. Stir vigorously until every single oat is coated in the hot, sweet peanut butter mixture. Ensure there are no dry pockets of oats hiding at the bottom of the pan.Step 6: The Scoop and Set
Working quickly before the mixture begins to cool and harden in the pan, use a medium cookie scoop (or two spoons) to drop generous mounds of the batter onto your prepared parchment paper. Lightly press the tops down if you prefer a flatter cookie. Allow them to set at room temperature for 20 to 30 minutes until firm.